Captive Portal Authentication
Our proxy will utilize Google Workspace authentication with the help of Captive Portal. The idea is simple - if a connecting user is not known for the proxy, the proxy redirects the user to authentication page of Google Workspace.
After credentials are verified, Google Workspace tells the proxy which user name should be used for the connection. The proxy will then select the appropriate web filtering policy, apply filtering algorithms, save the information about the user in the traffic monitor and reporting modules.
Create Cloud Project
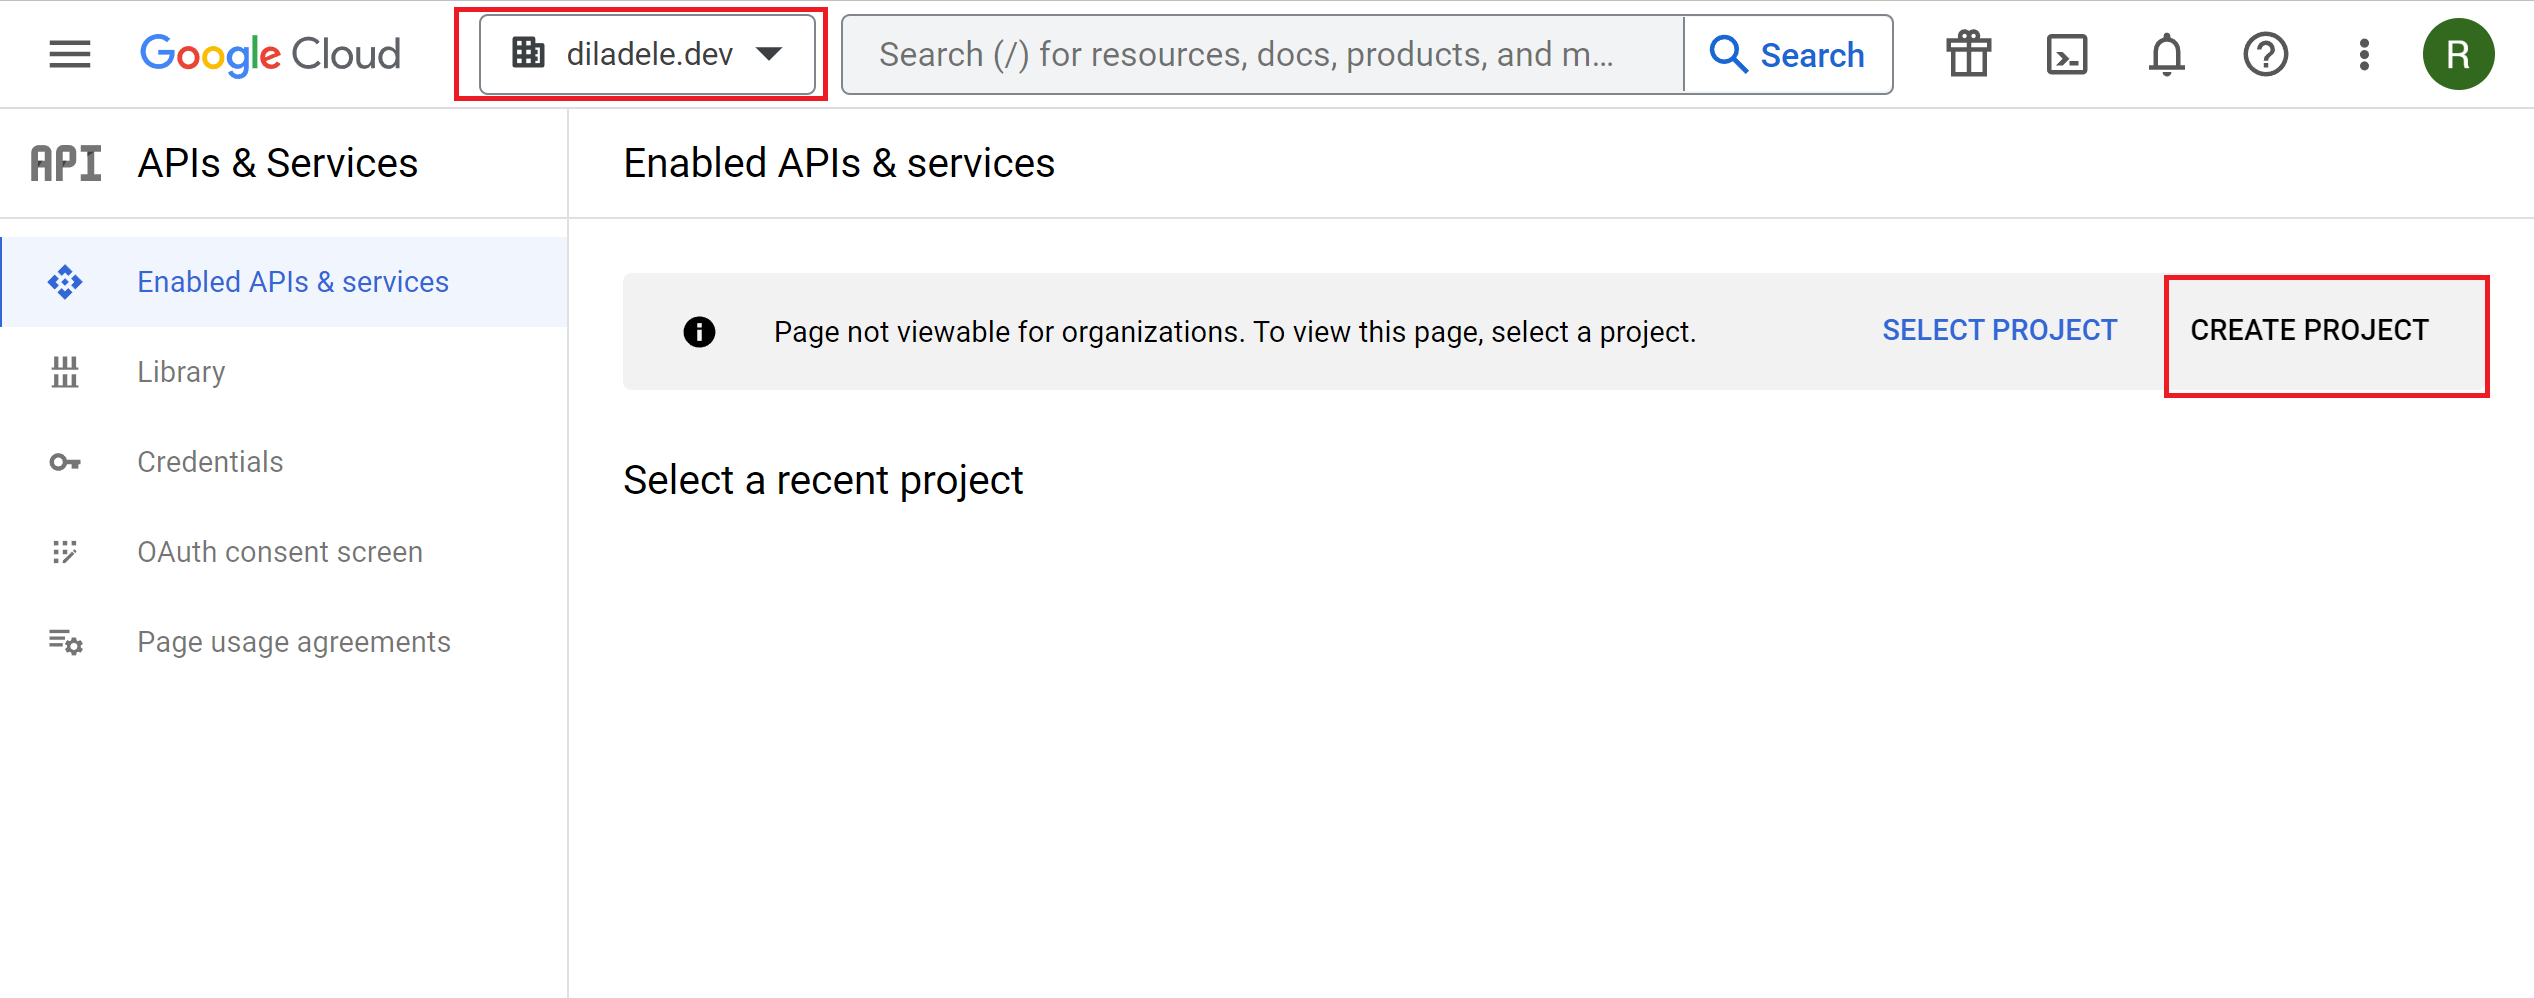
In order to the proxy to be able to redirect users to Google Workspace we need to create a project in Google Cloud. So, login into Cloud Console at https://console.cloud.google.com, select your organization on the top left and create a new project.
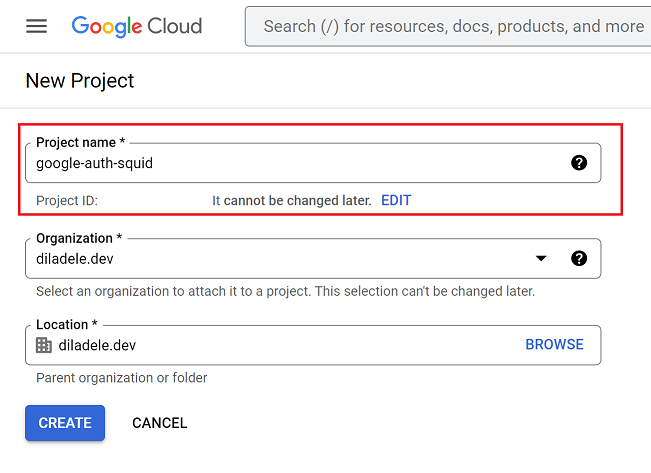
Name the project for example google-auth-squid and click Create button. Wait for a couple of minutes until Cloud Console creates the project.
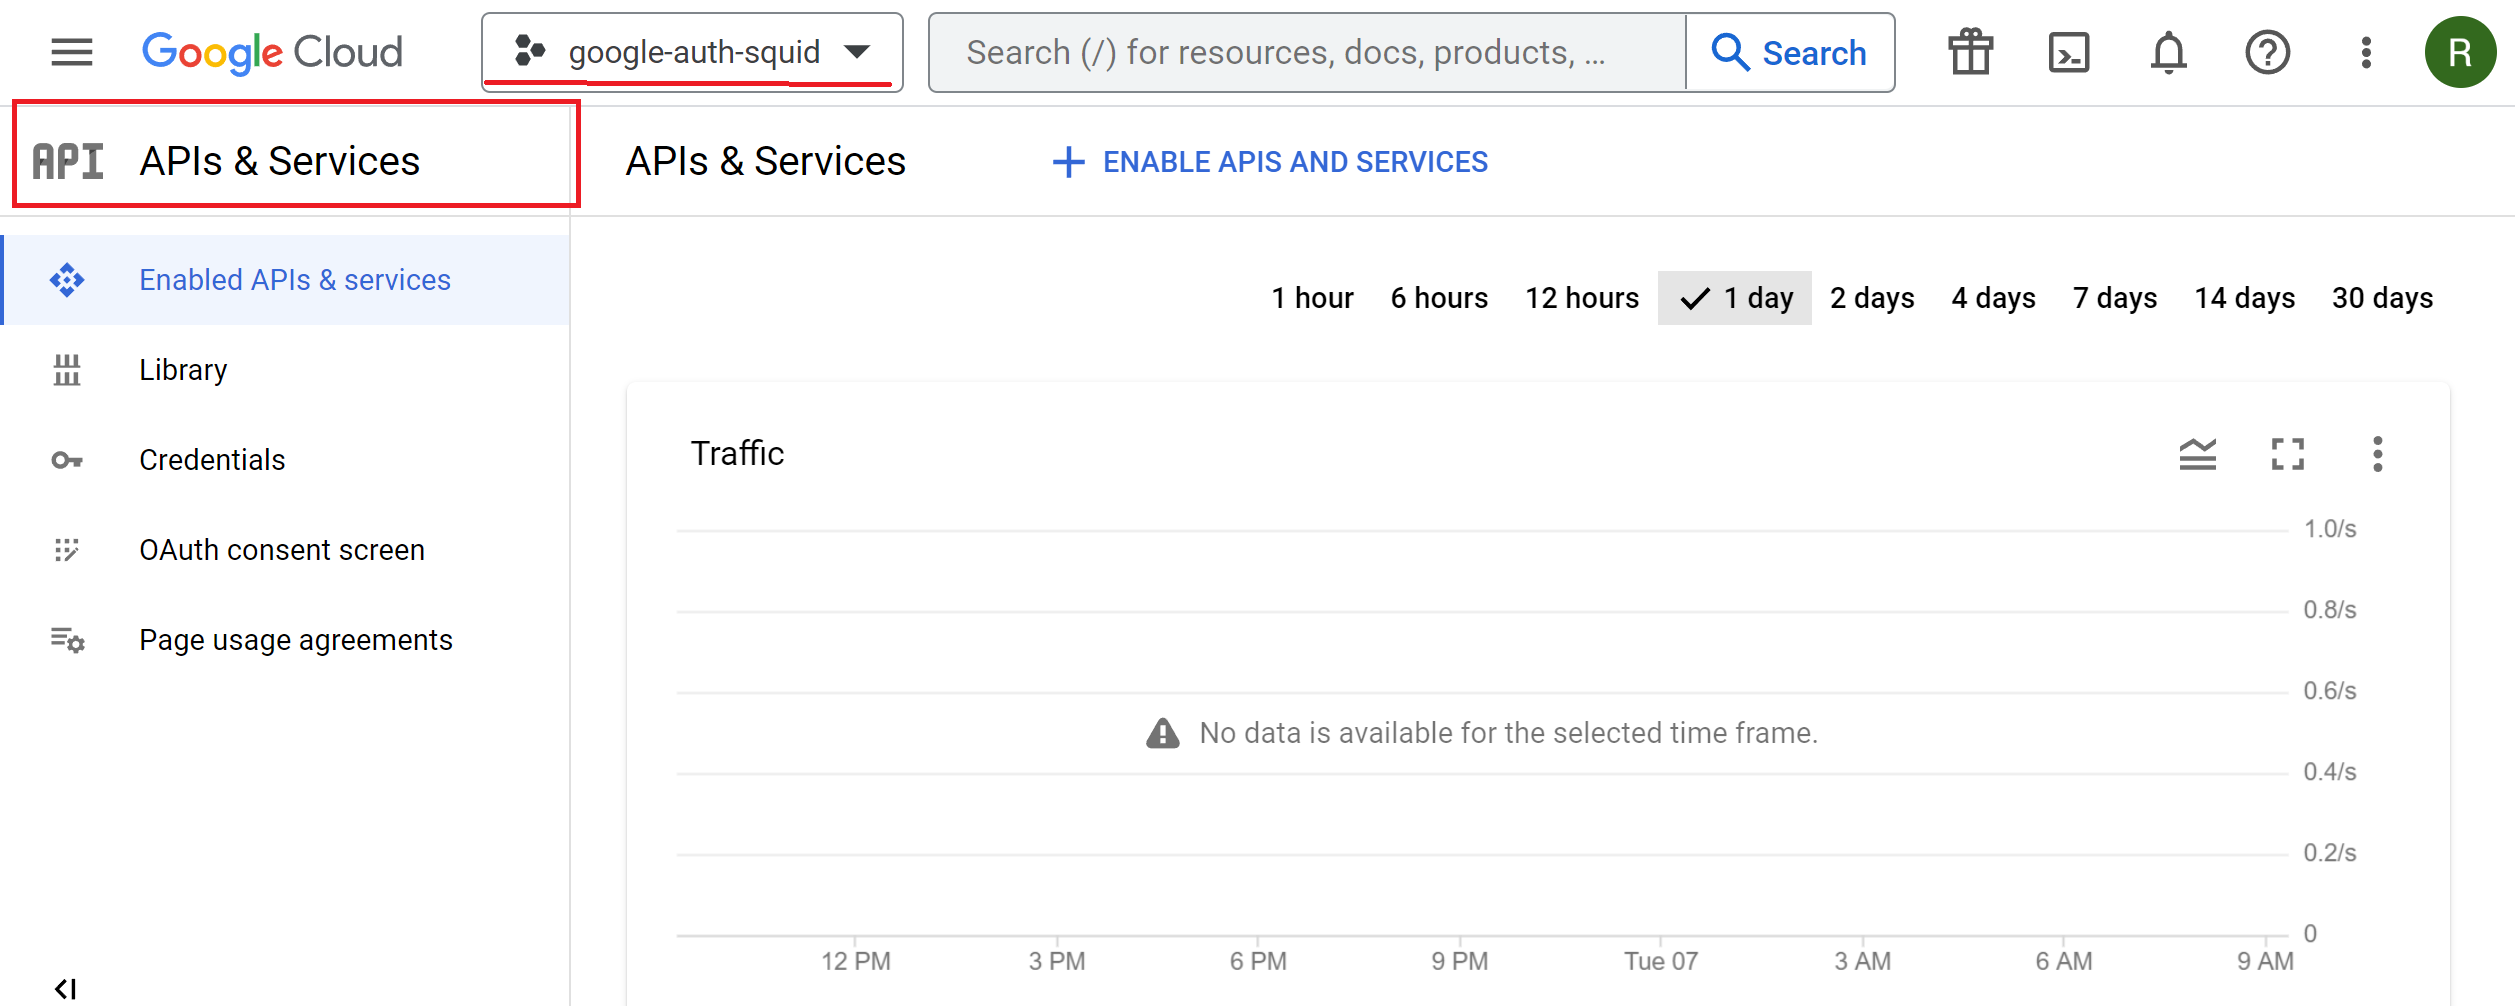
Select the Menu / APIs & Services to show the dashboard of API and Services subsection.
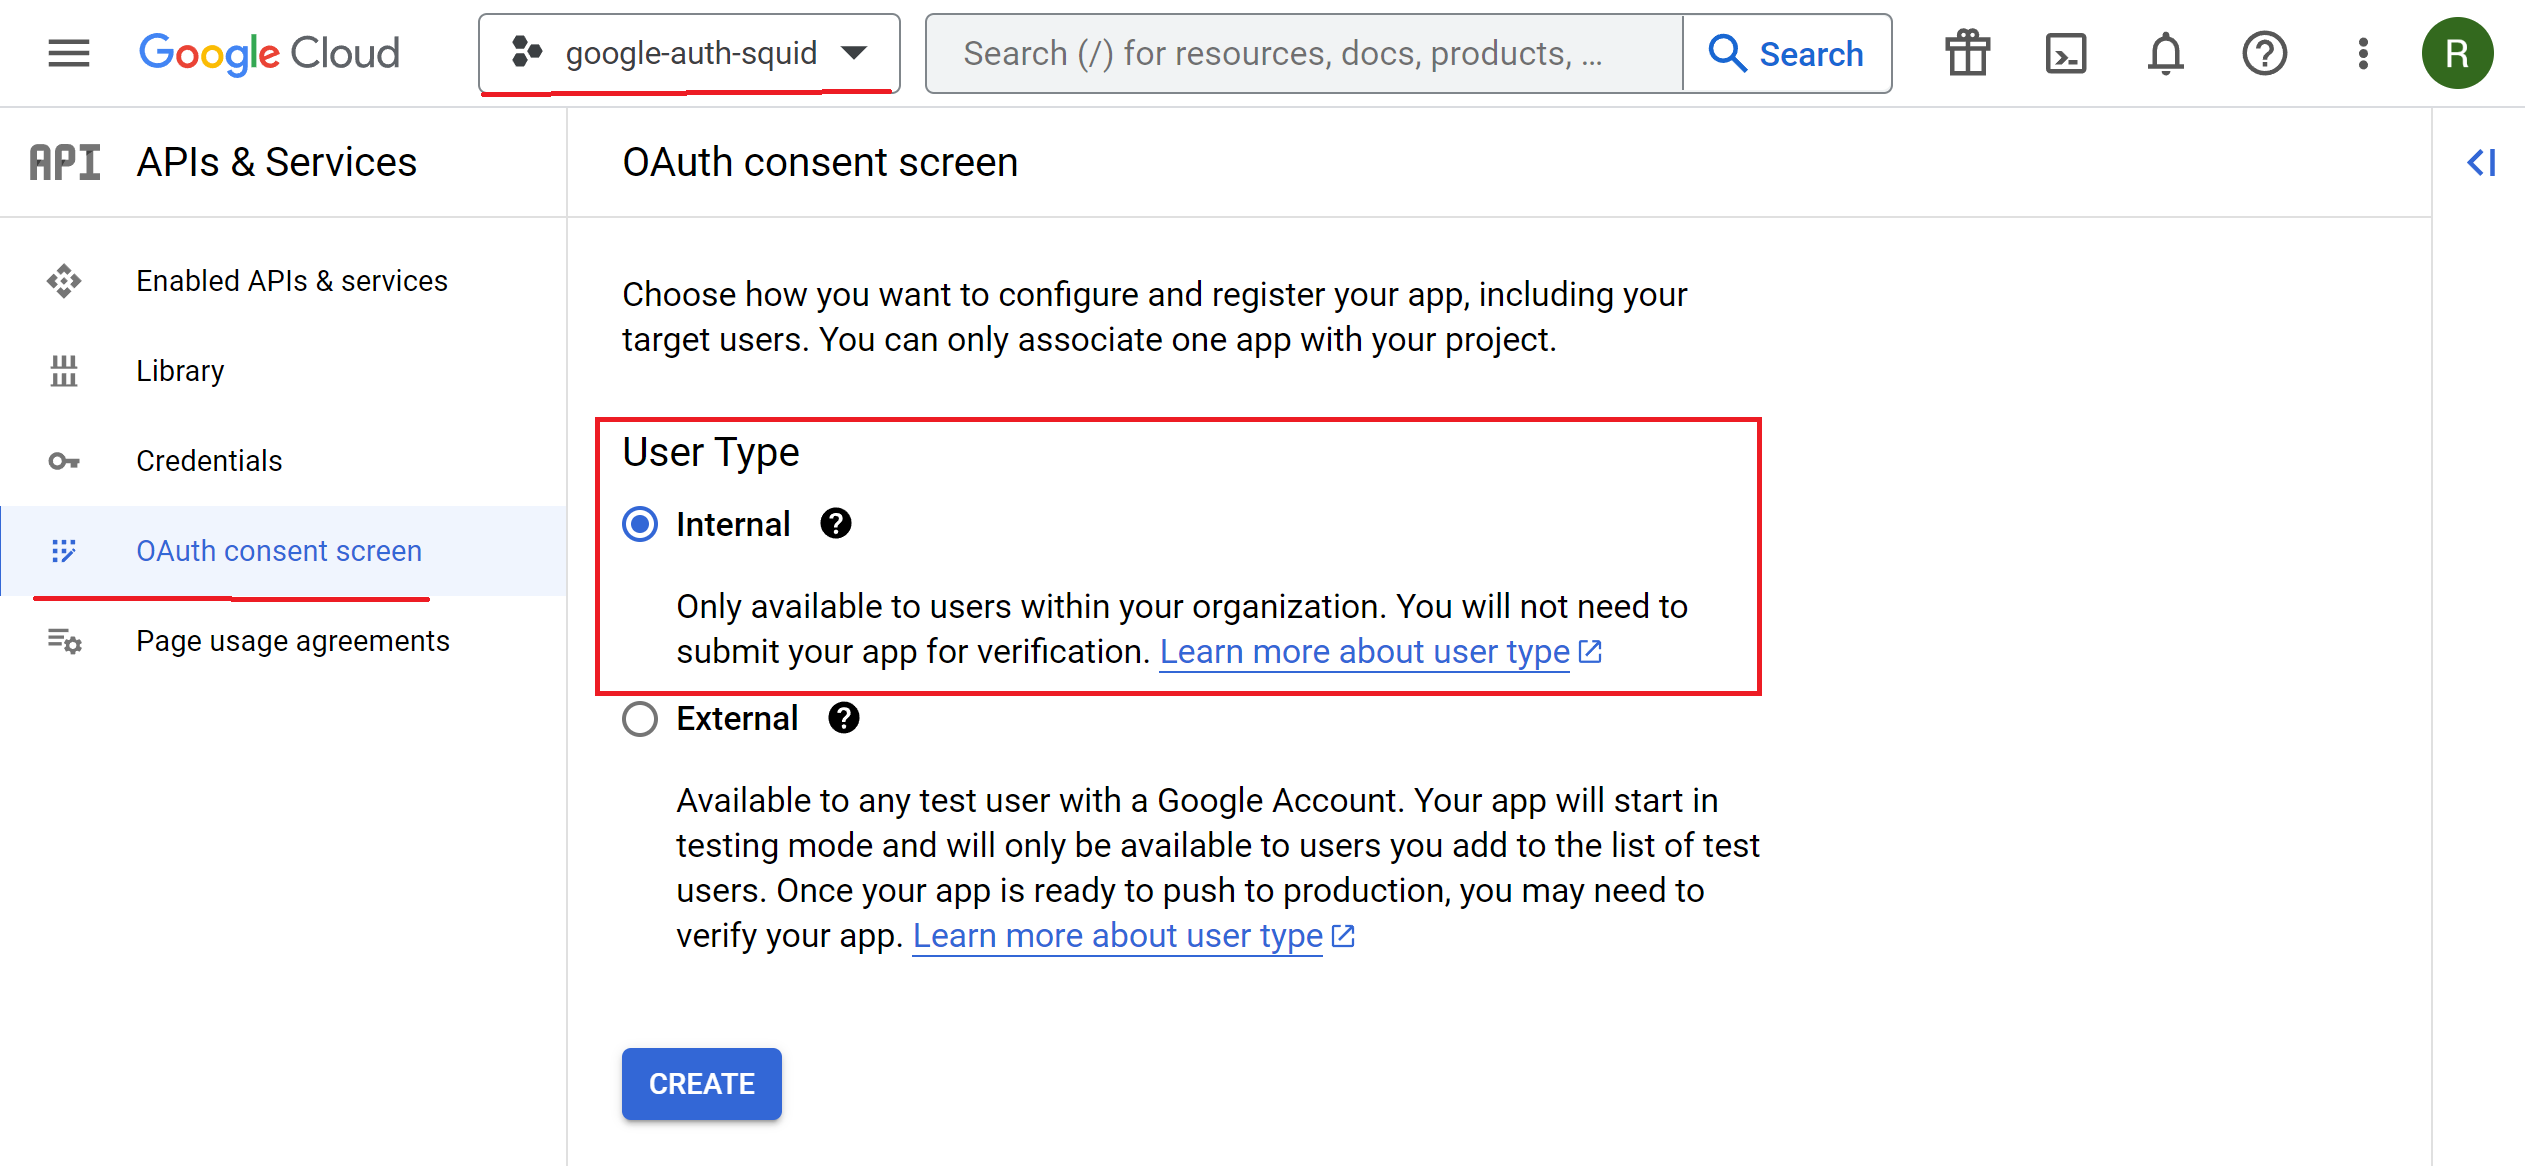
Configure OAuth Consent Screen
To configure the OAuth Consent Screen, click on it on the left, select the Internal type and click Create button.
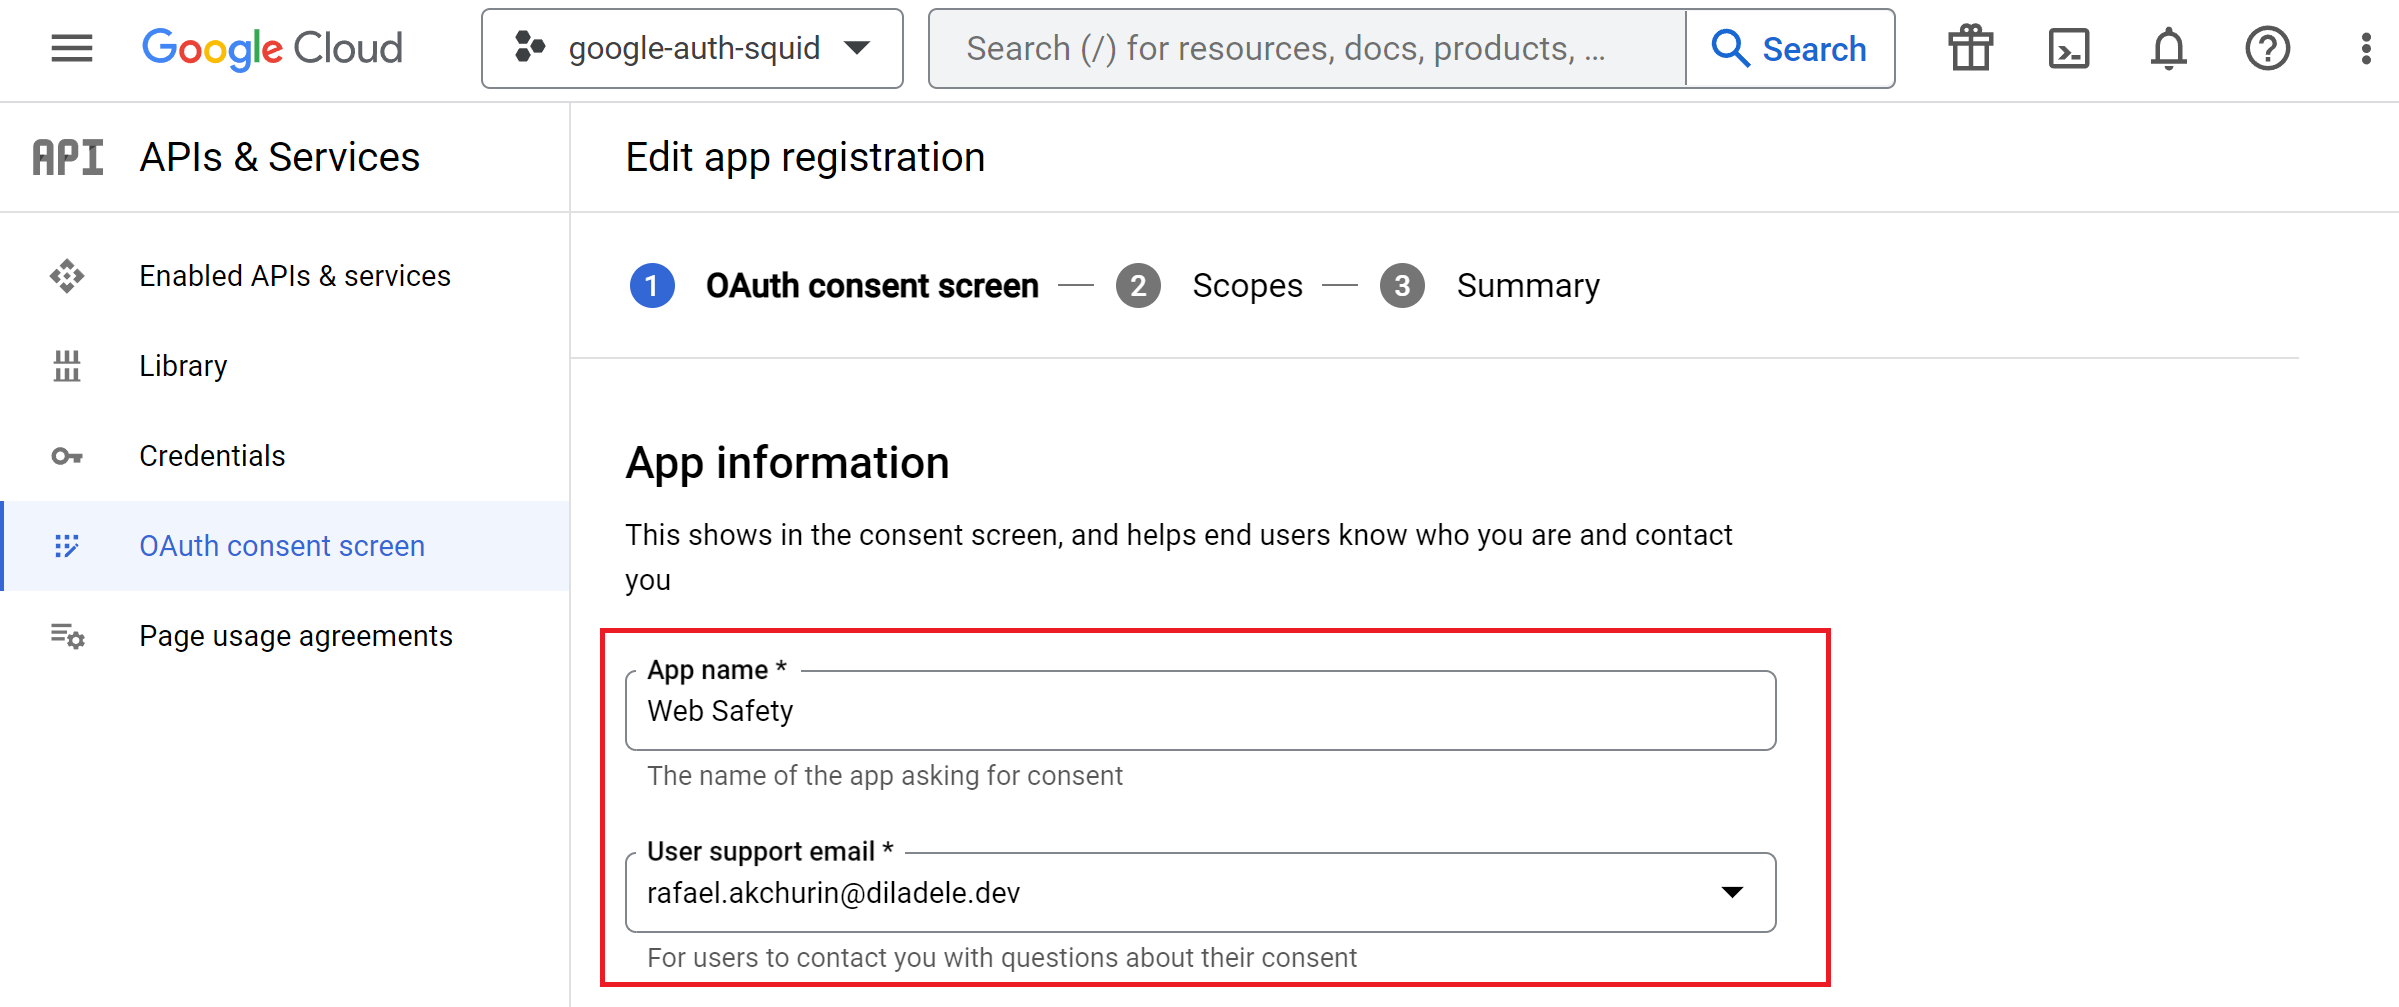
Provide the application name, for example Web Safety, user and developer support e-mails, logos and any other optional info you would like to be shown on the consent screen. Then click Continue button.
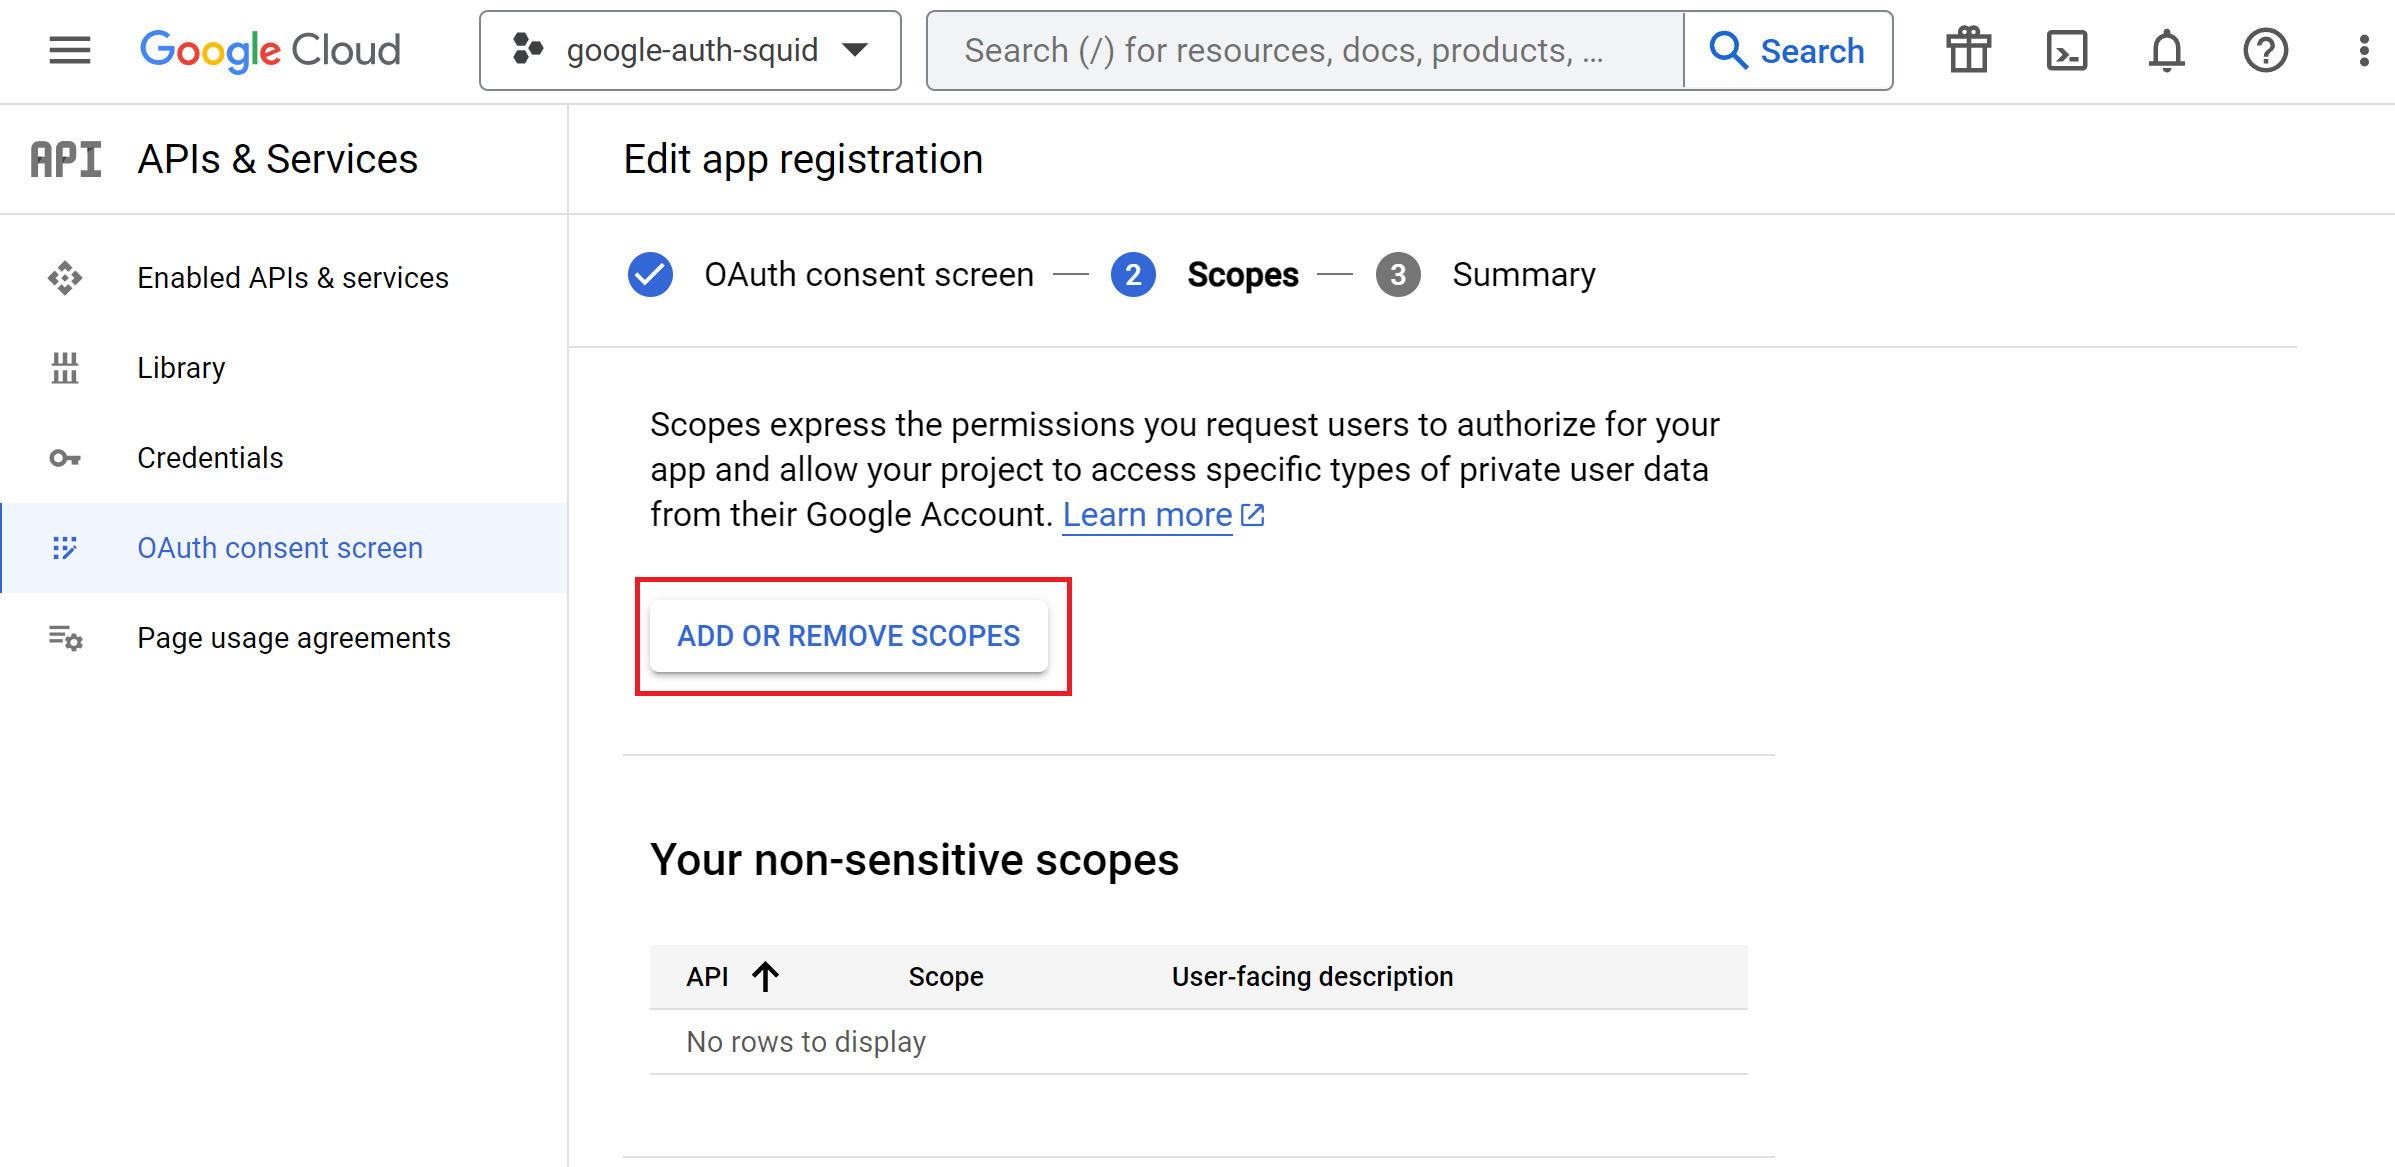
Next step is to configure what information (scopes) the application will be using for authentication, so click on Add or Remove Scopes button.
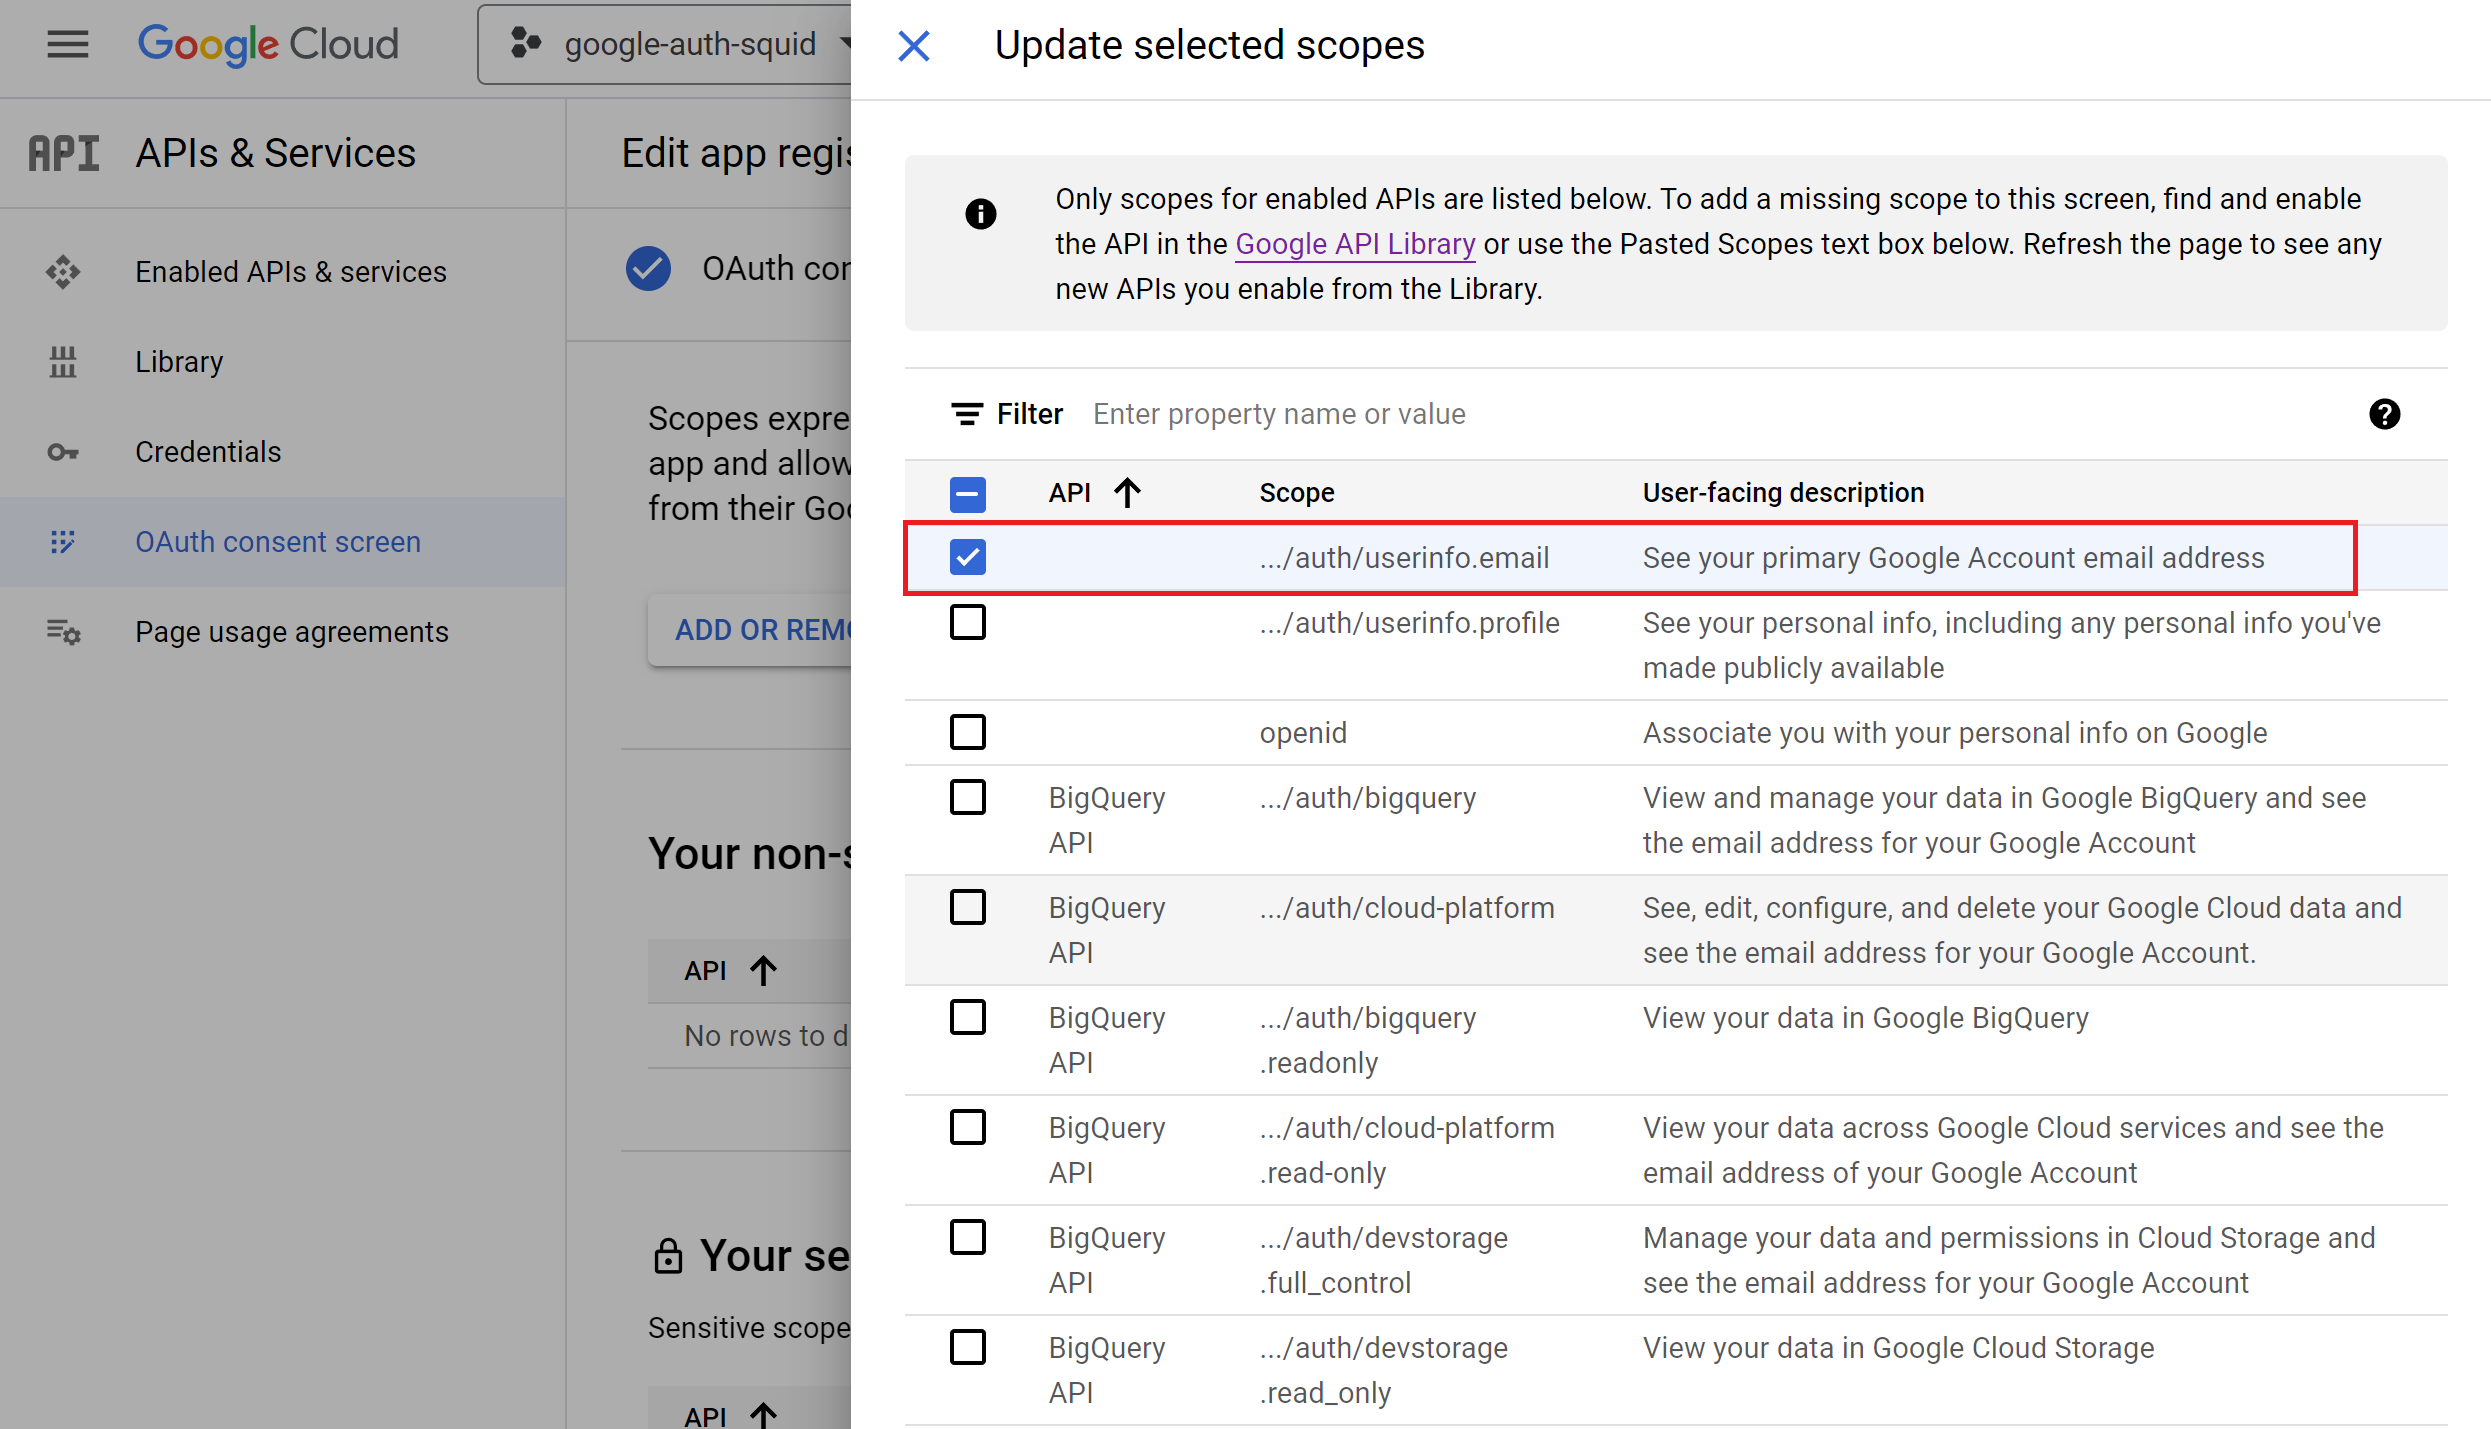
Select the ../auth/userinfo.email scope as shown on the following screenshot, click the Update button and then Save and Continue.
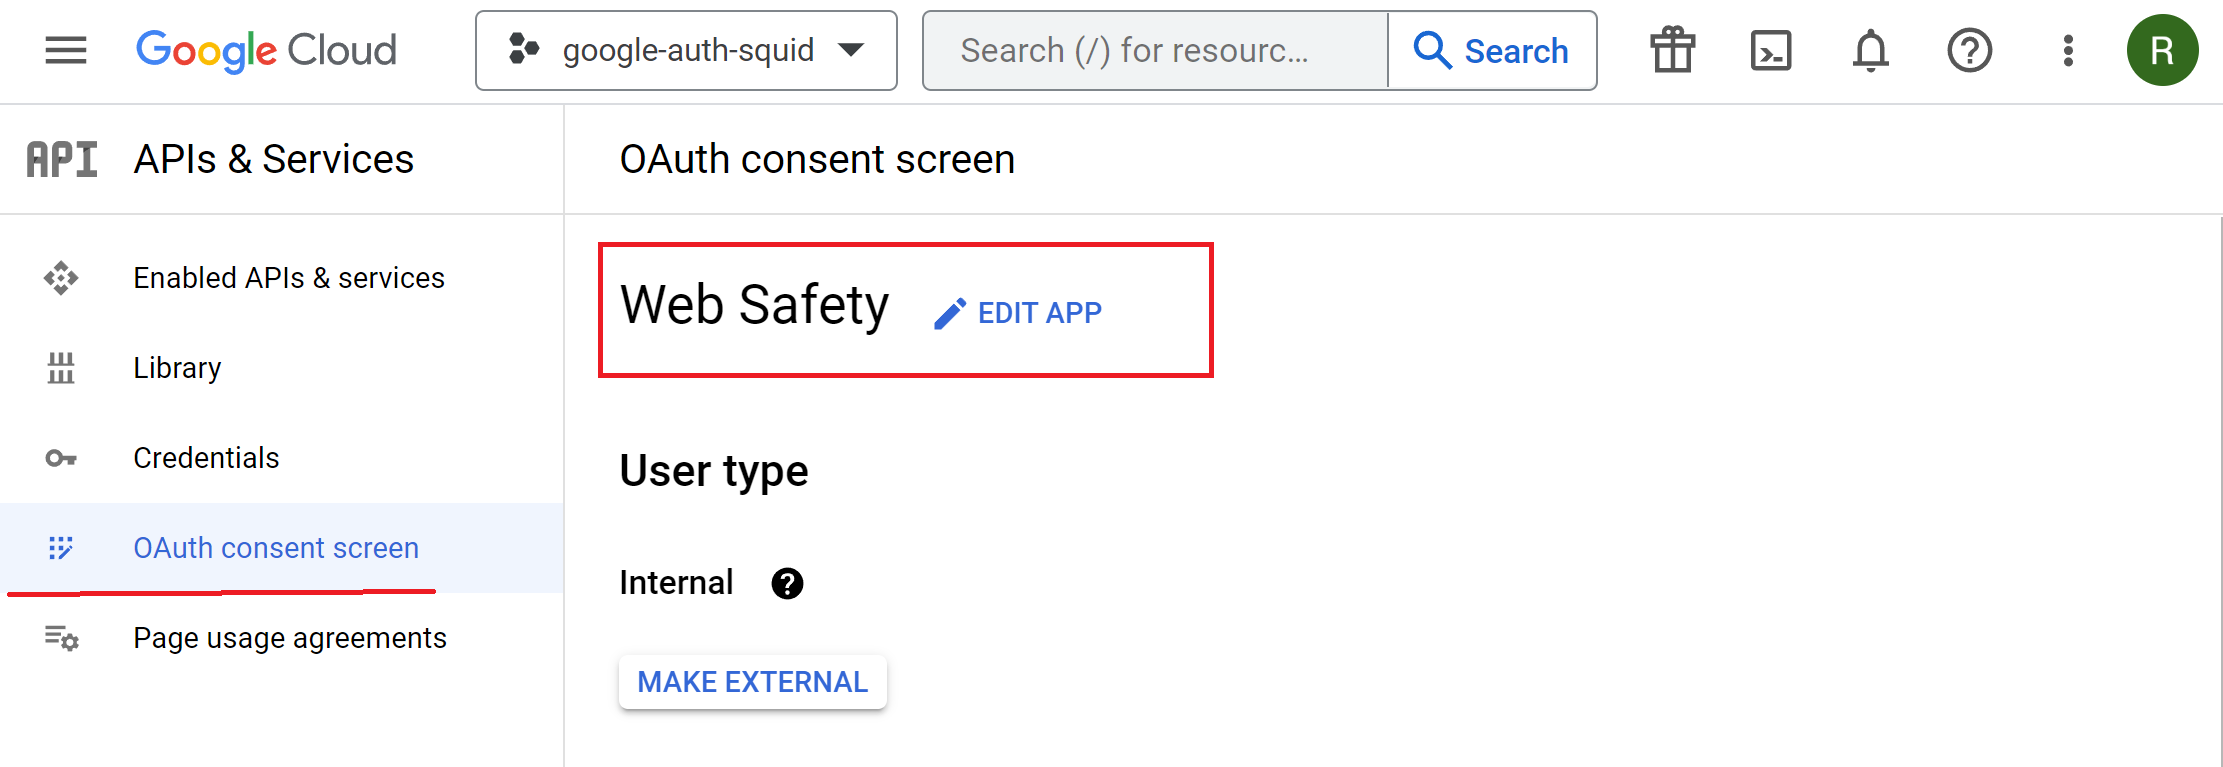
The OAuth Consent Screen is now configured for our Web Safety app. If you ever need to change it, this can be done by using the Edit App button.
Configure OAuth Credentials
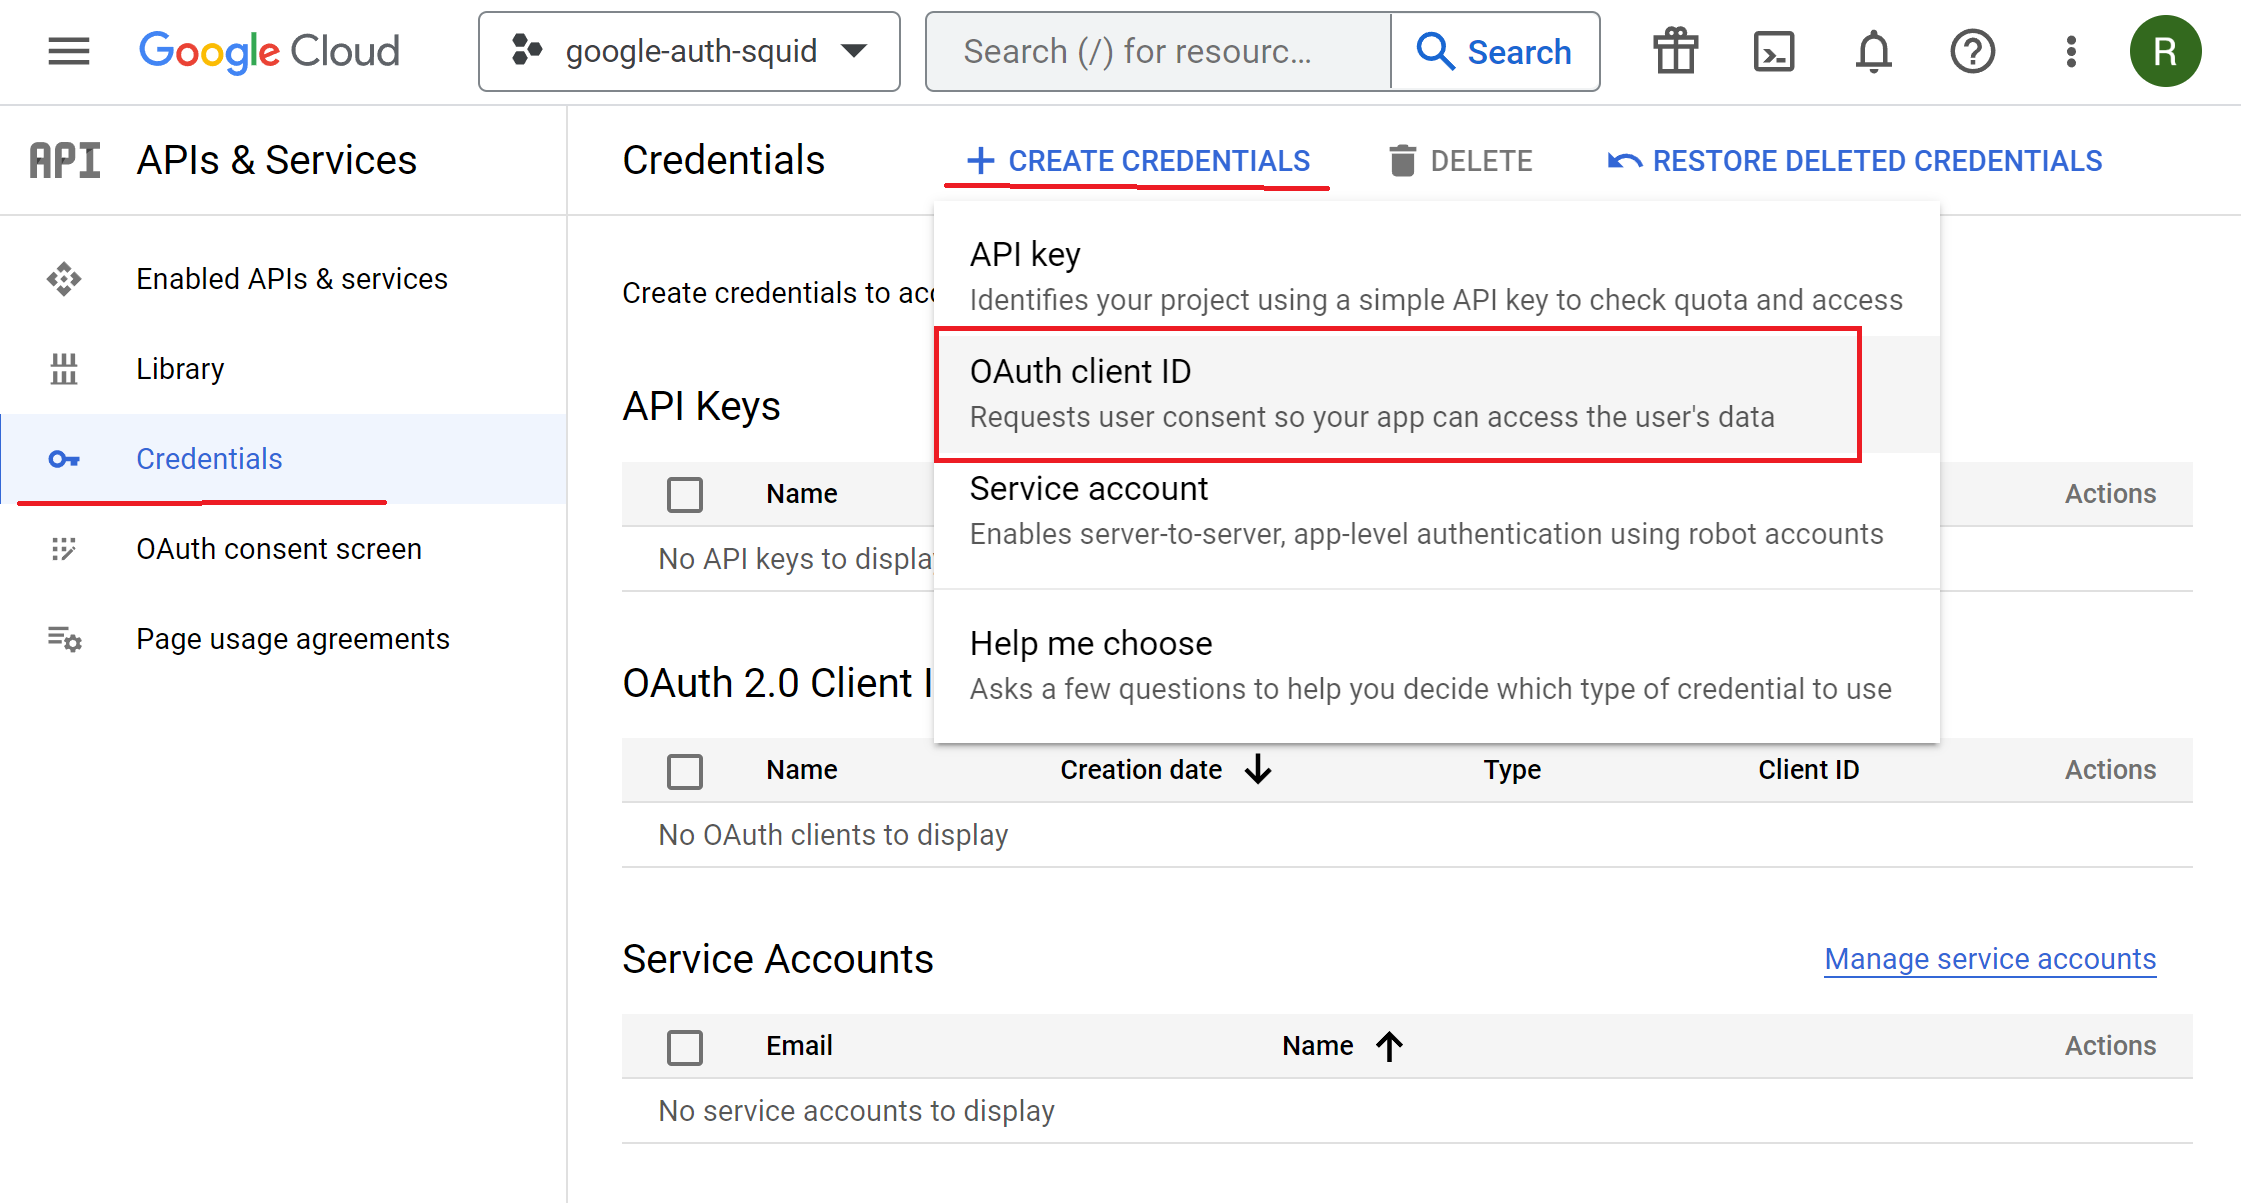
Navigate to Menu / APIs & Services / Credentials, click Create Credentials button on the top and select OAuth Client ID.
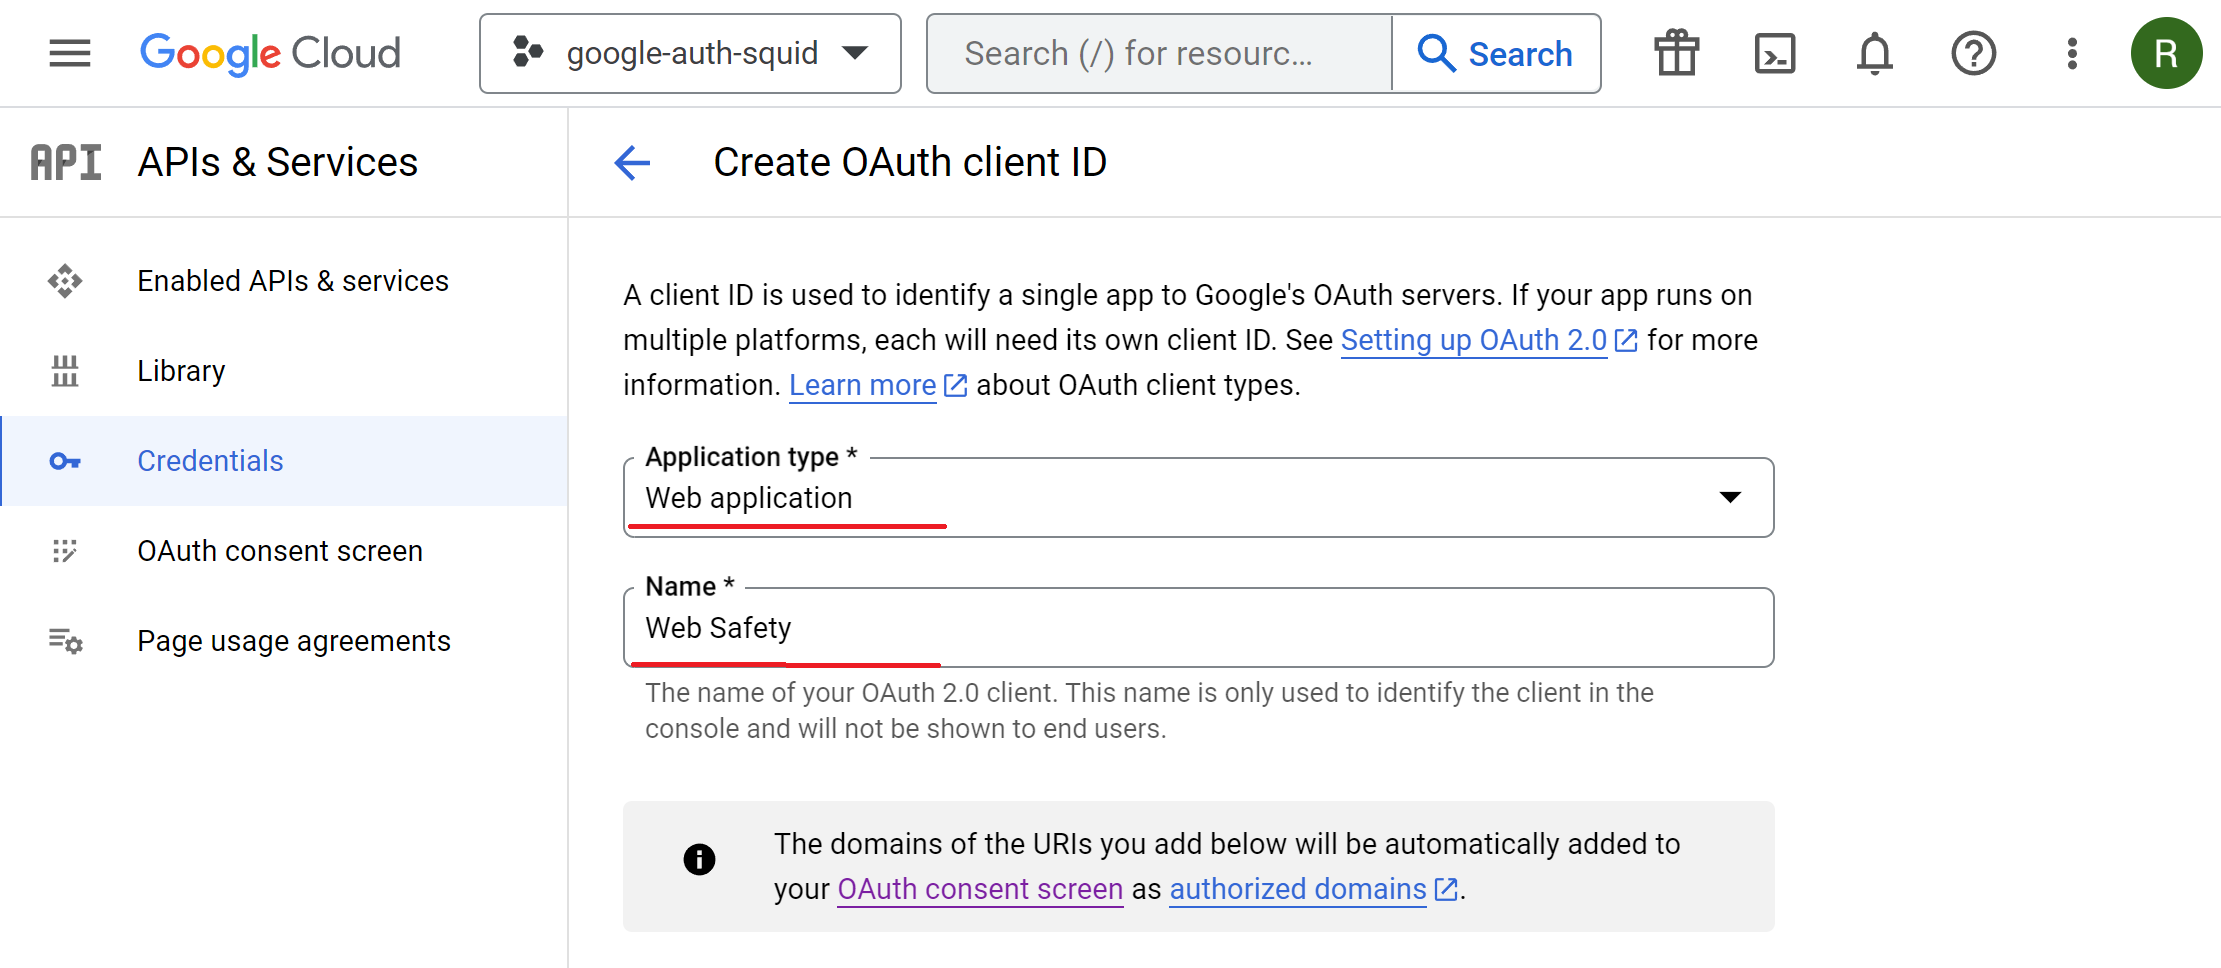
Select the Web Application type and name it for example Web Safety.
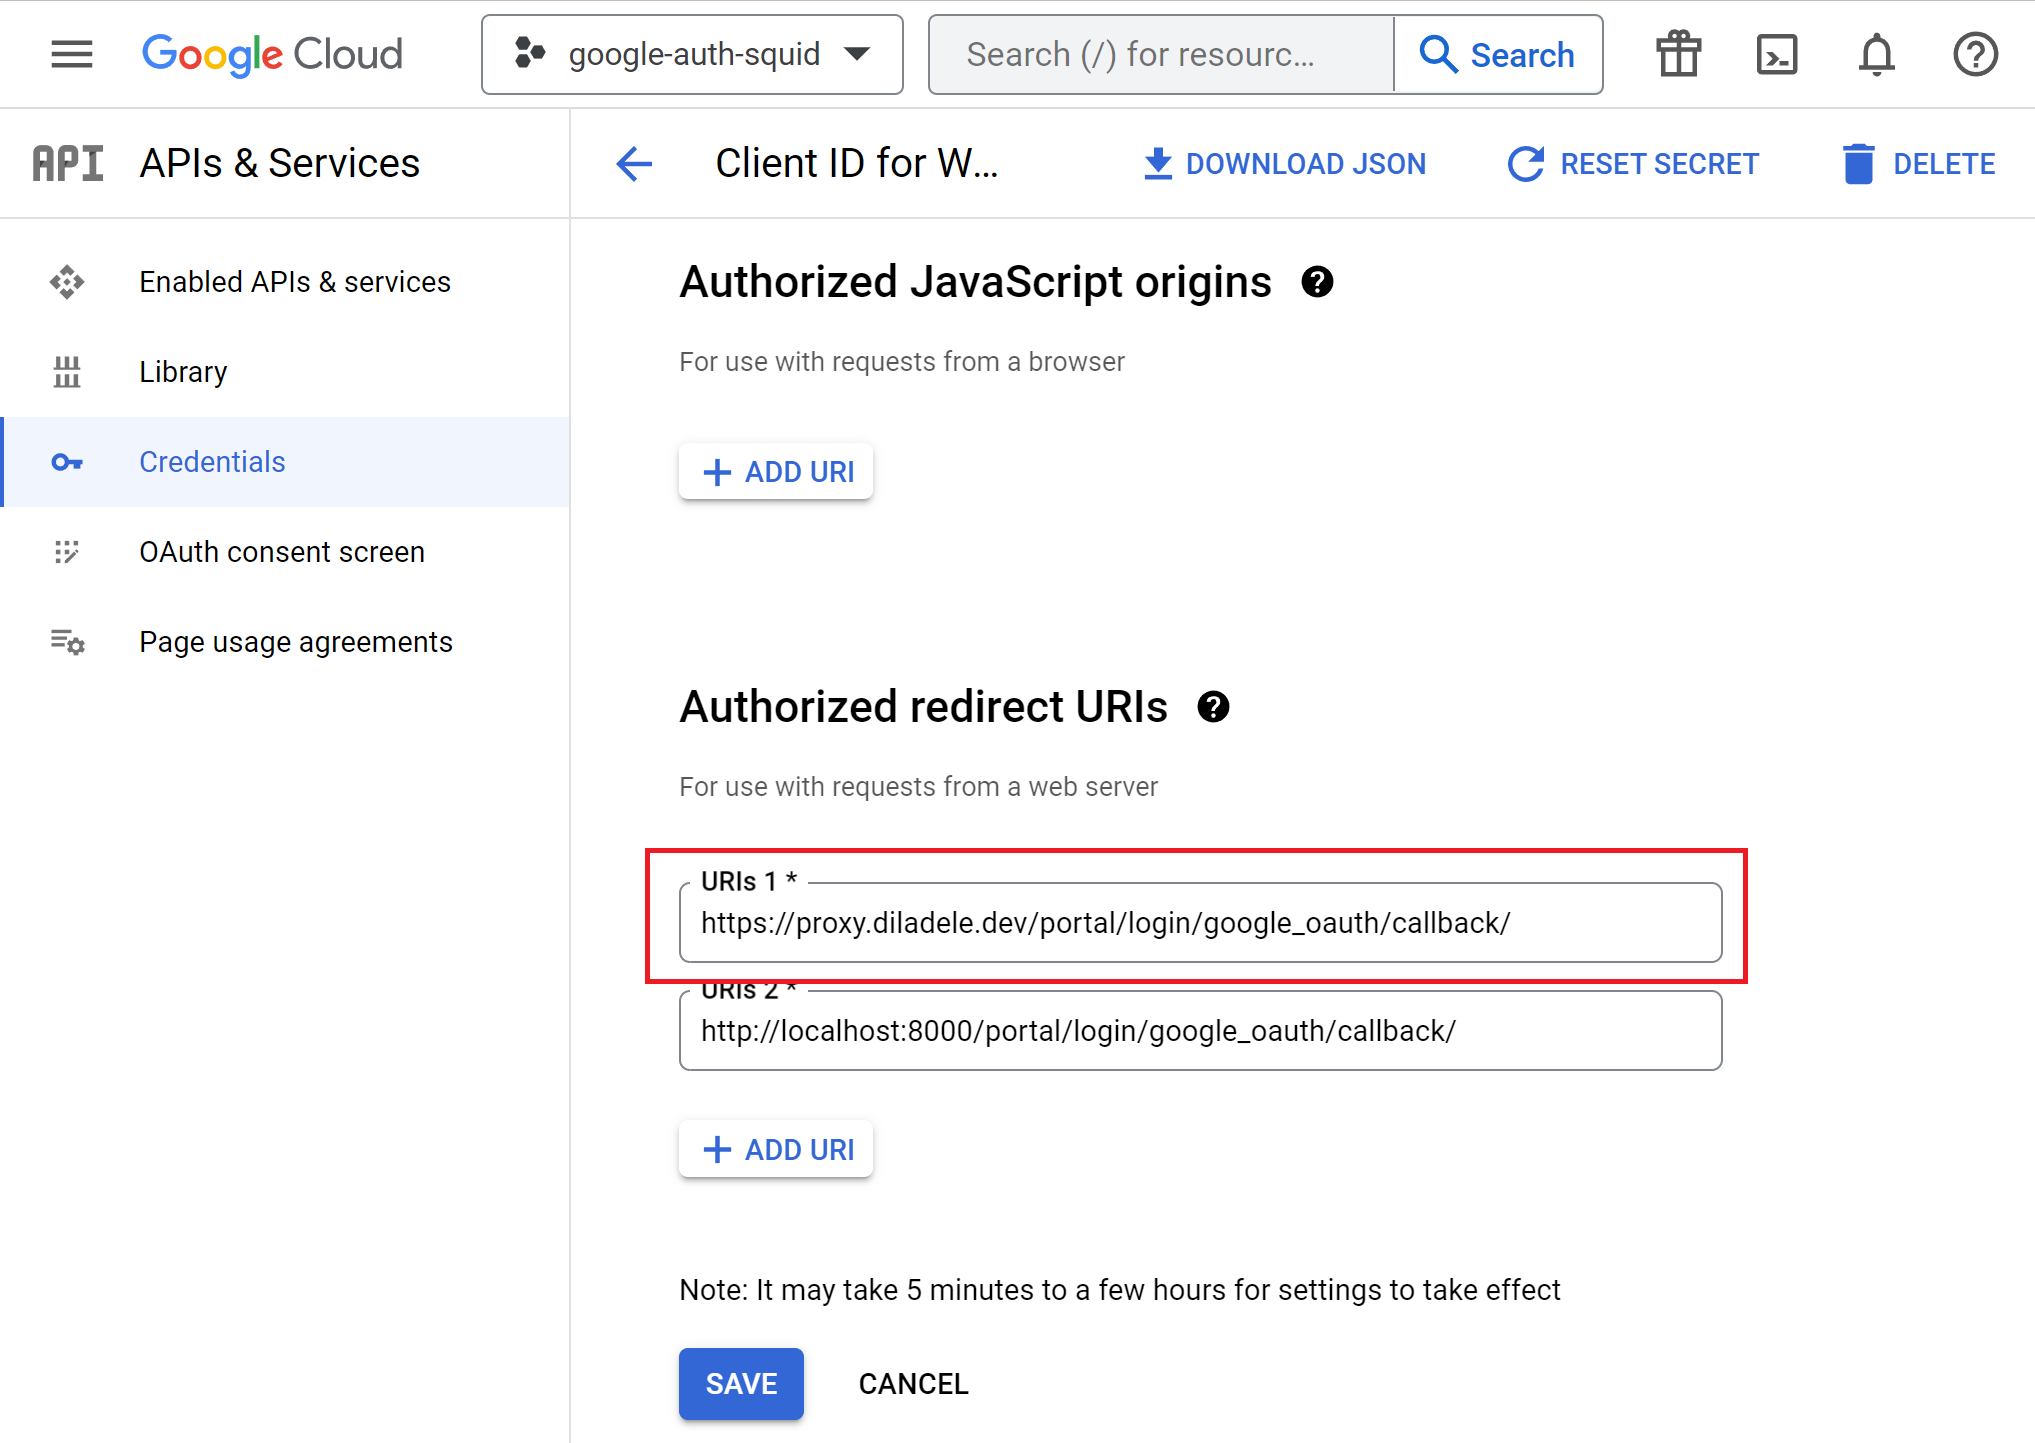
Scroll down the page and configure the Authorized Redirect URL as https://proxy.diladele.dev/portal/login/google_oauth/callback/. Change the proxy.diladele.dev to your own proxy name of course.
Click the Create or Save button and wait for 5 minutes or so until the client credentials are created. Be sure to note the Client ID and Client Secret because you would need them in actual Captive Portal settings later. It is a good idea to Download JSON file with secrets.
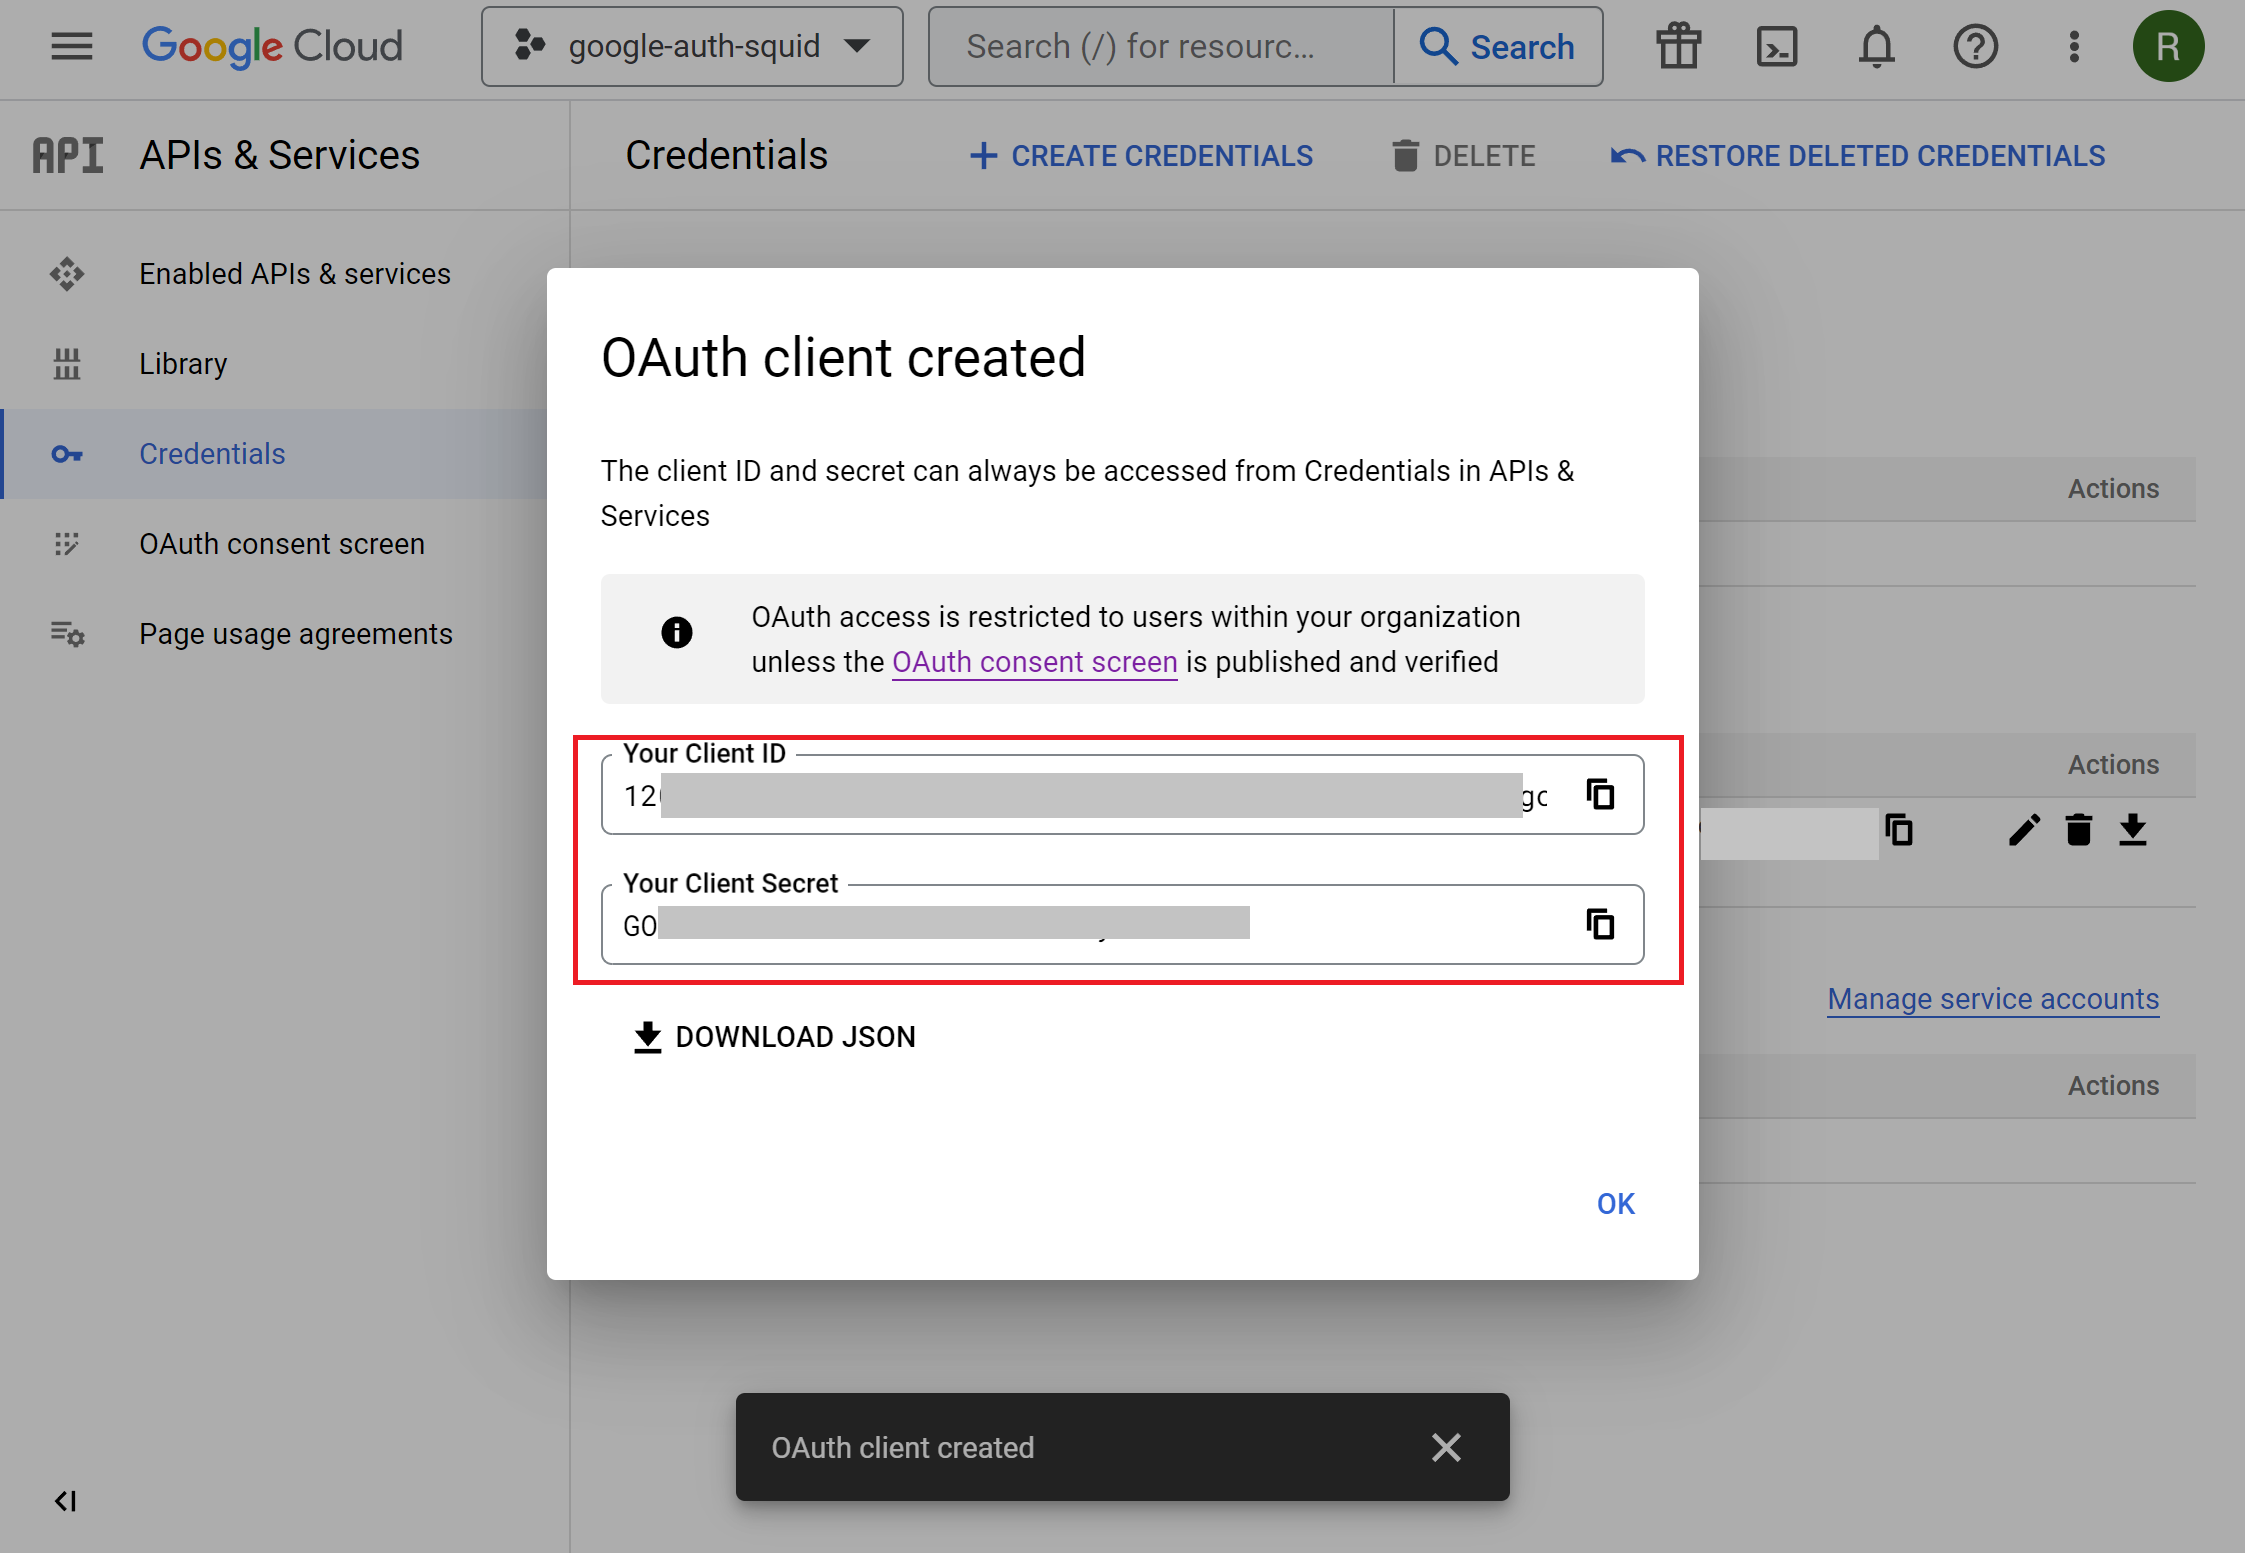
The list of credentials will then look like the following.

Configure Captive Portal in Admin UI
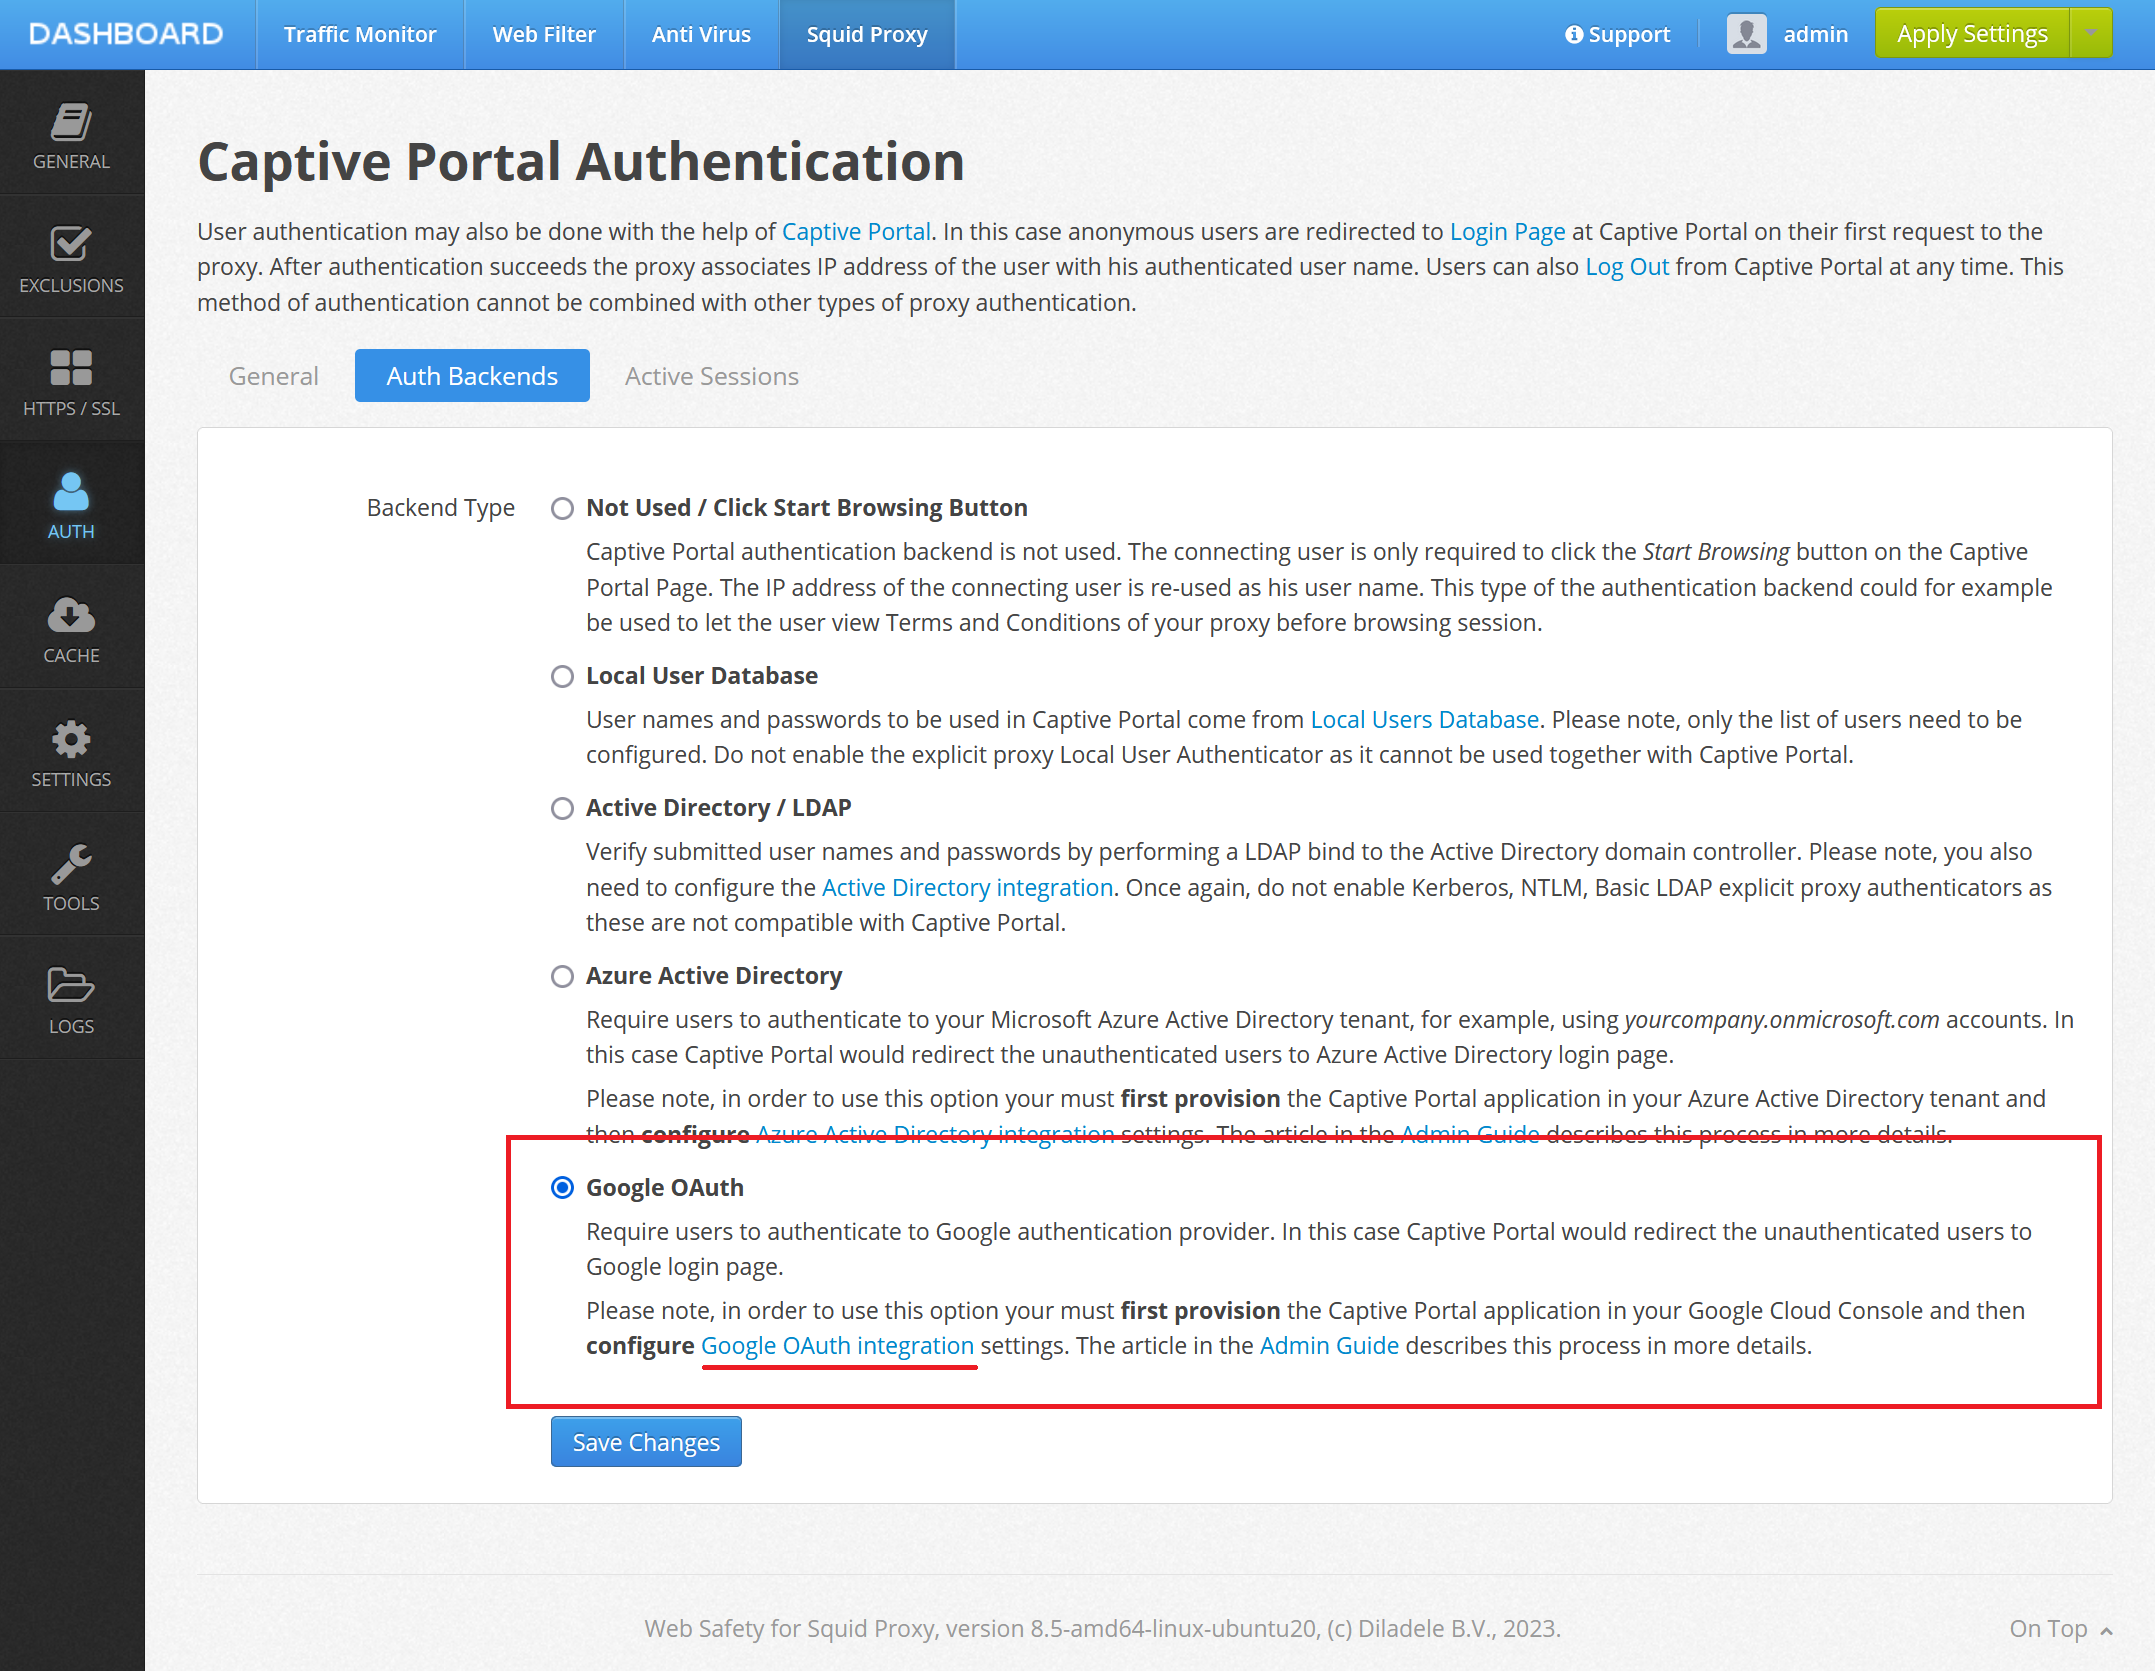
Next, we need to configure the proxy side for the Captive Portal authentication. This can be done at Admin UI / Squid / Auth / Captive Portal. Select the Auth Backends tab and click the Google OAuth integration settings.
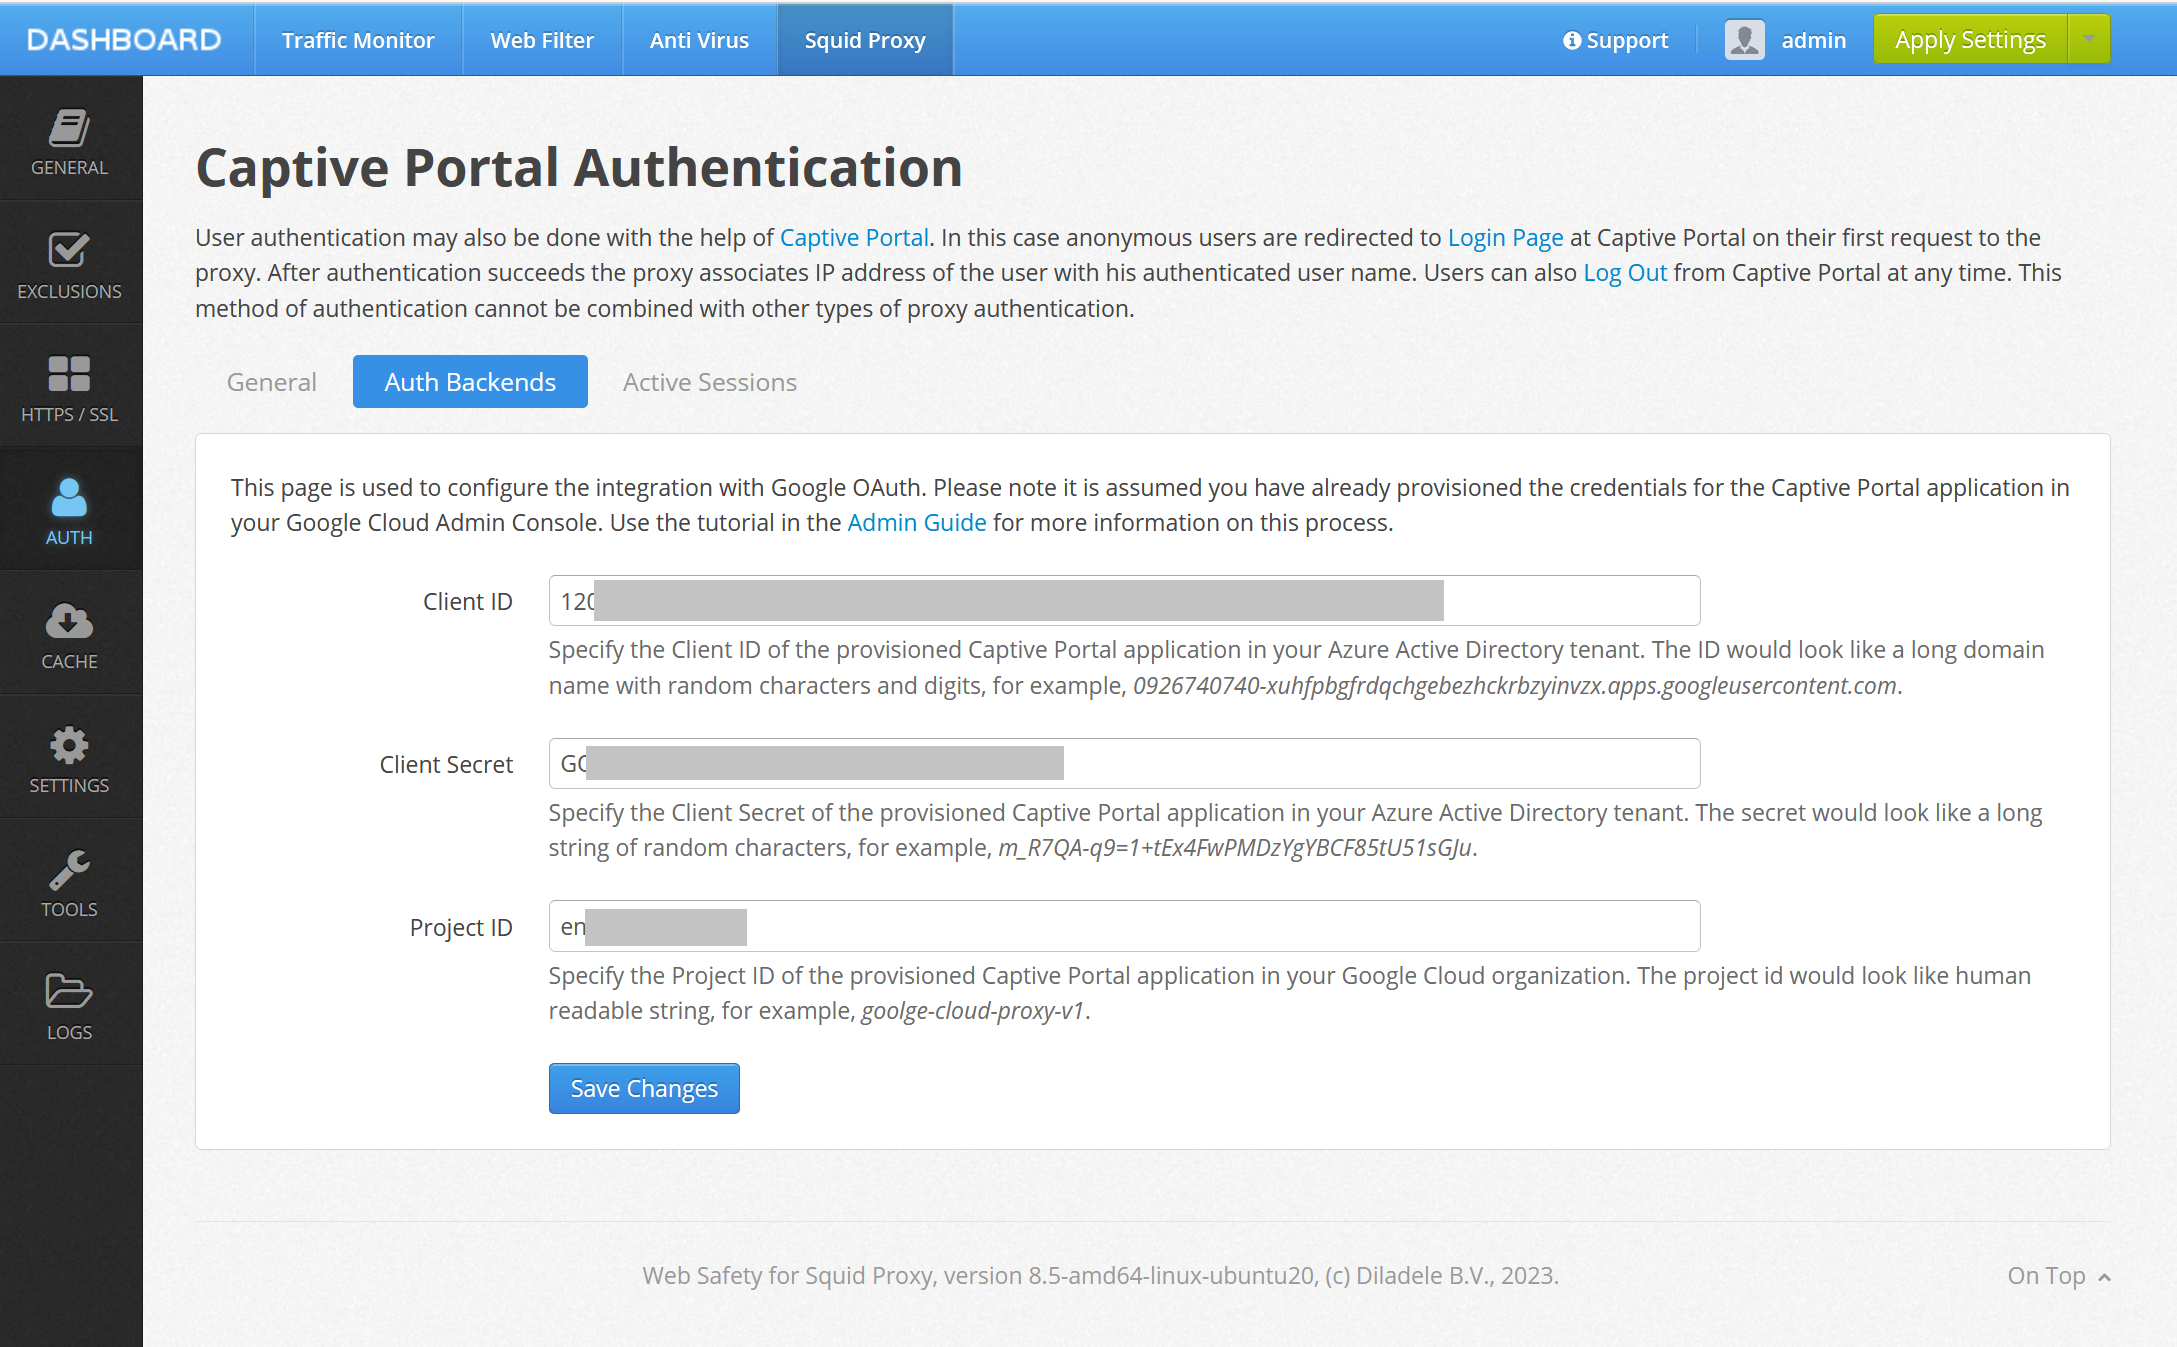
Fill in the settings with the following information. Please be sure to put actual values for your specific case. This info can be found in the credentials JSON file we downloaded earlier.
Project ID |
some-random-names-and-chars |
Client ID |
long string of numbers ending with .apps.googleusercontent.com |
Client Secret |
long string of chars starting with GO |
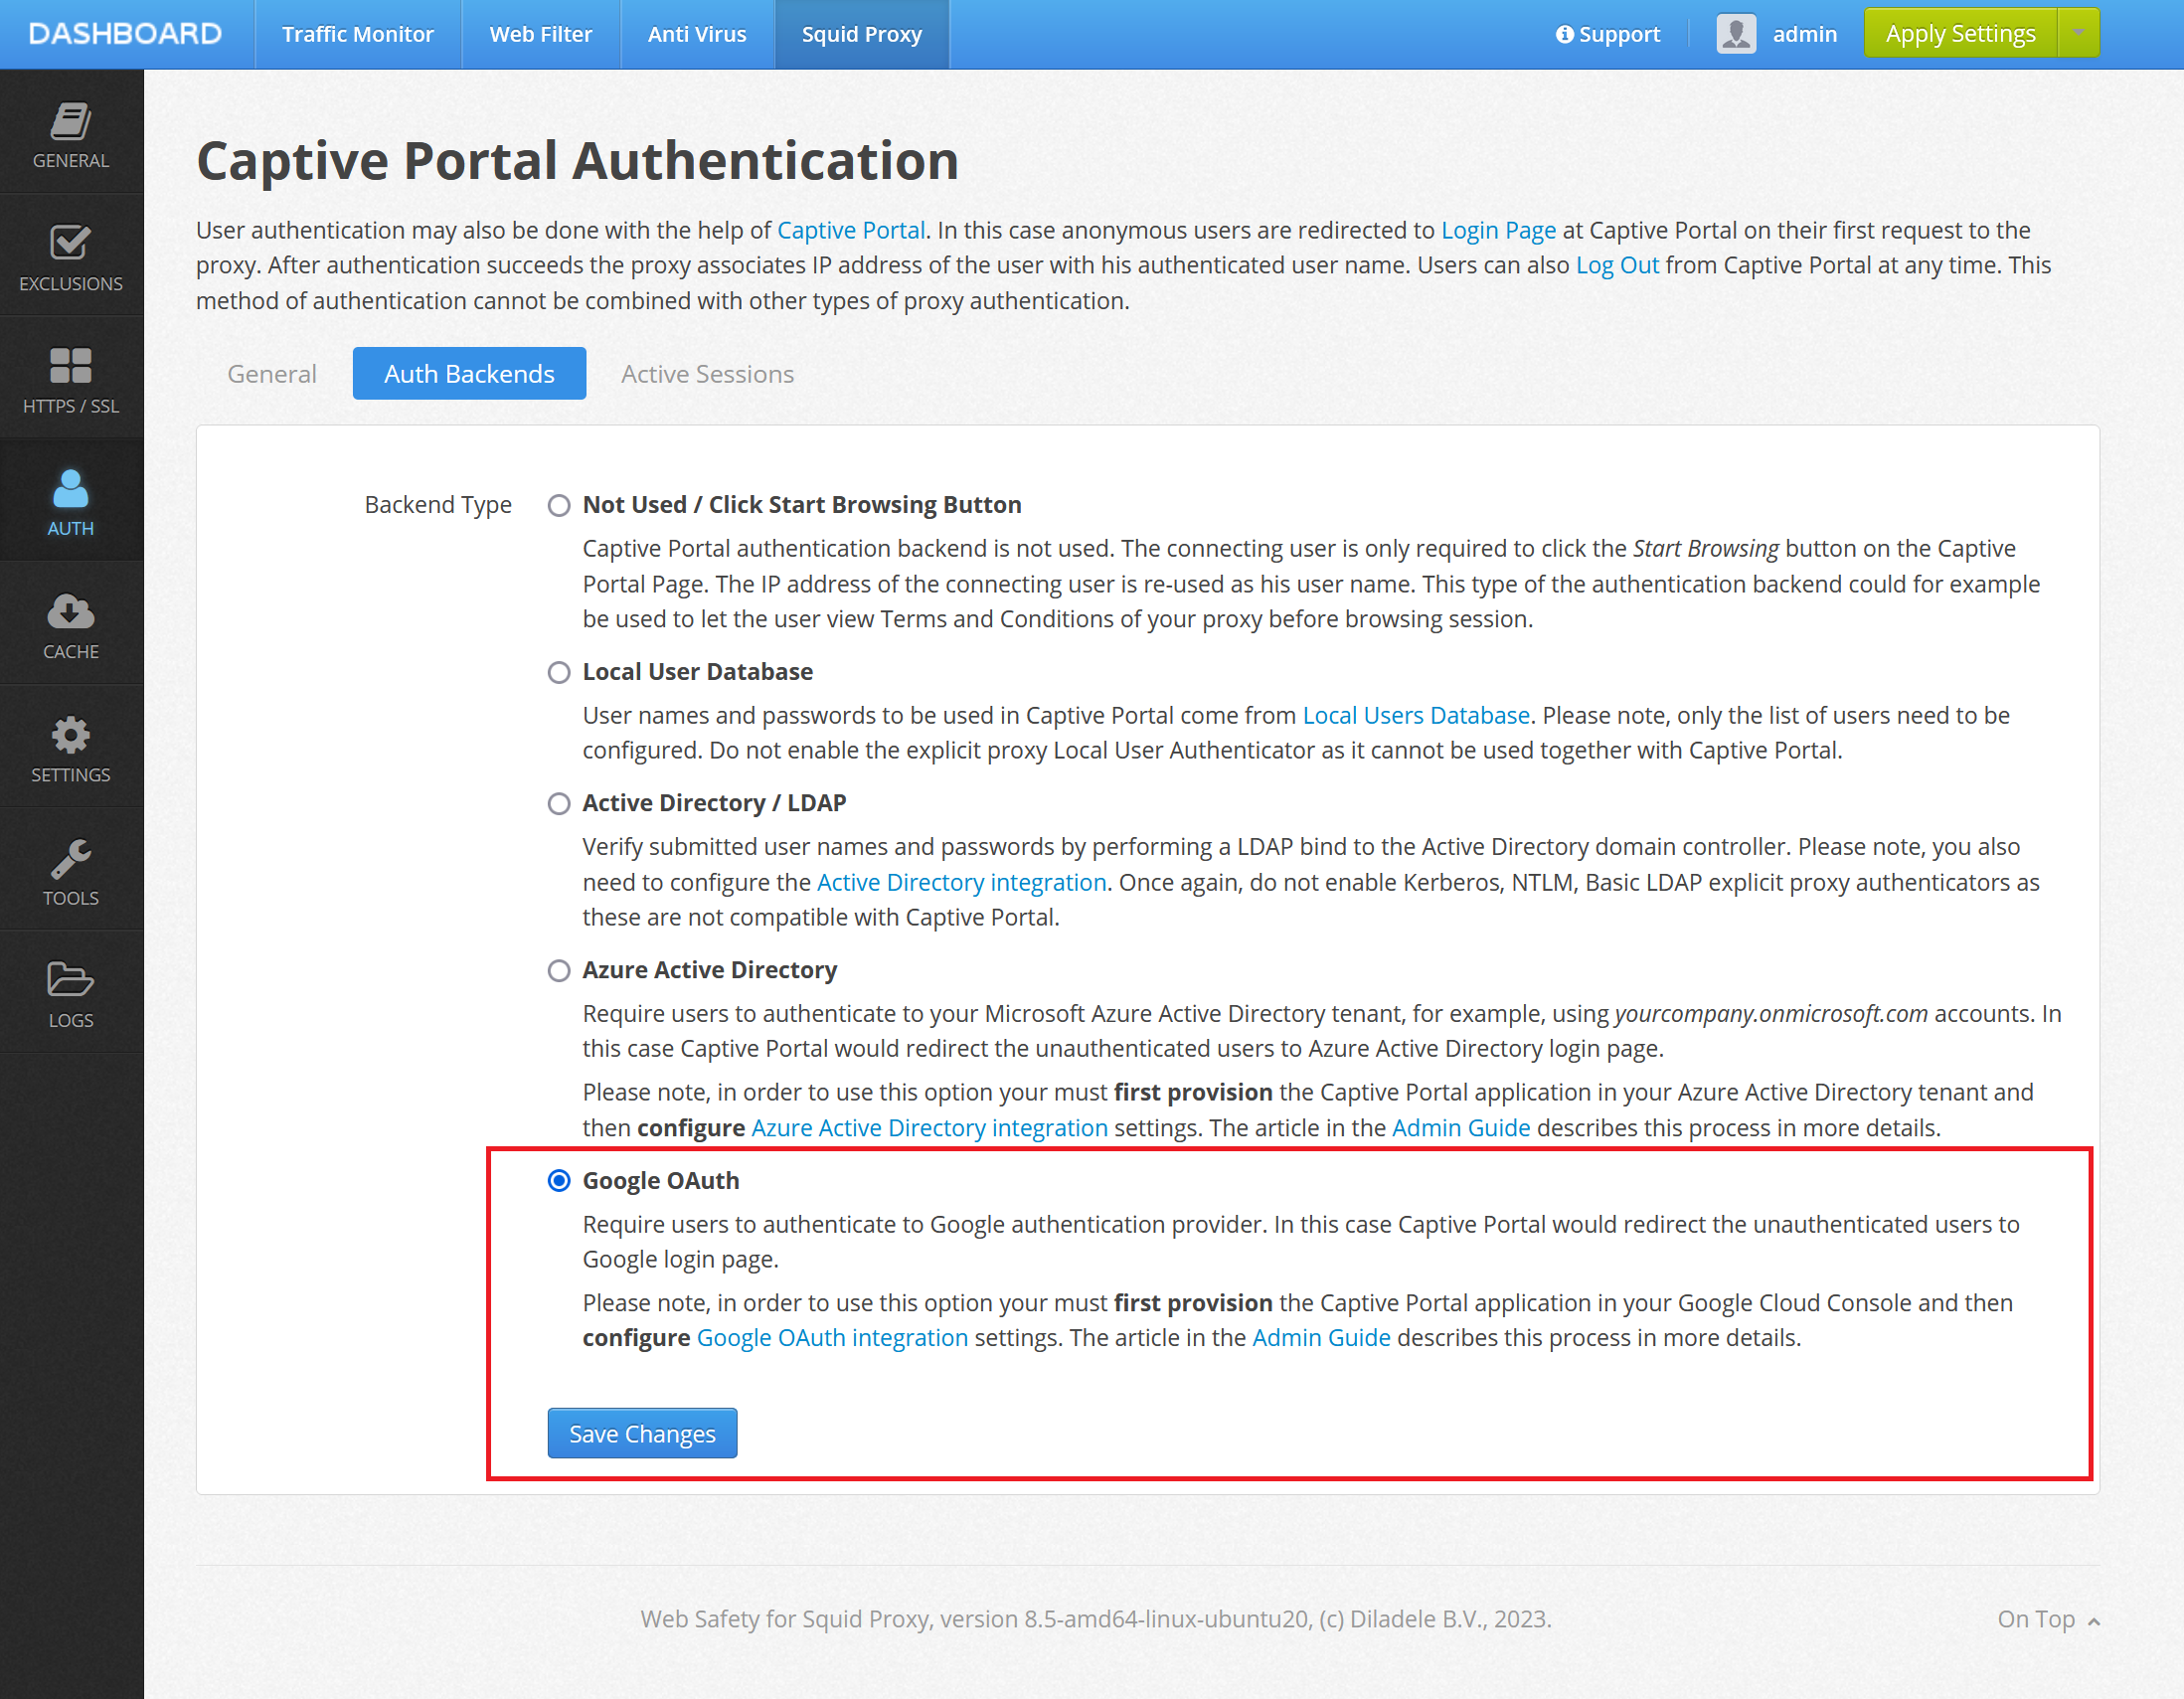
Click Save Changes, then select Google OAuth on the Auth Backends tab click Save Changes again.
Finally switch to the General tab and set the Portal Address to your proxy fully qualified domain name (proxy.diladele.dev in our example). Note this is important as Captive Portal is not able to determine correct FQDN/IP address to redirect to if deployed in Amazon AWS or Microsoft Azure.
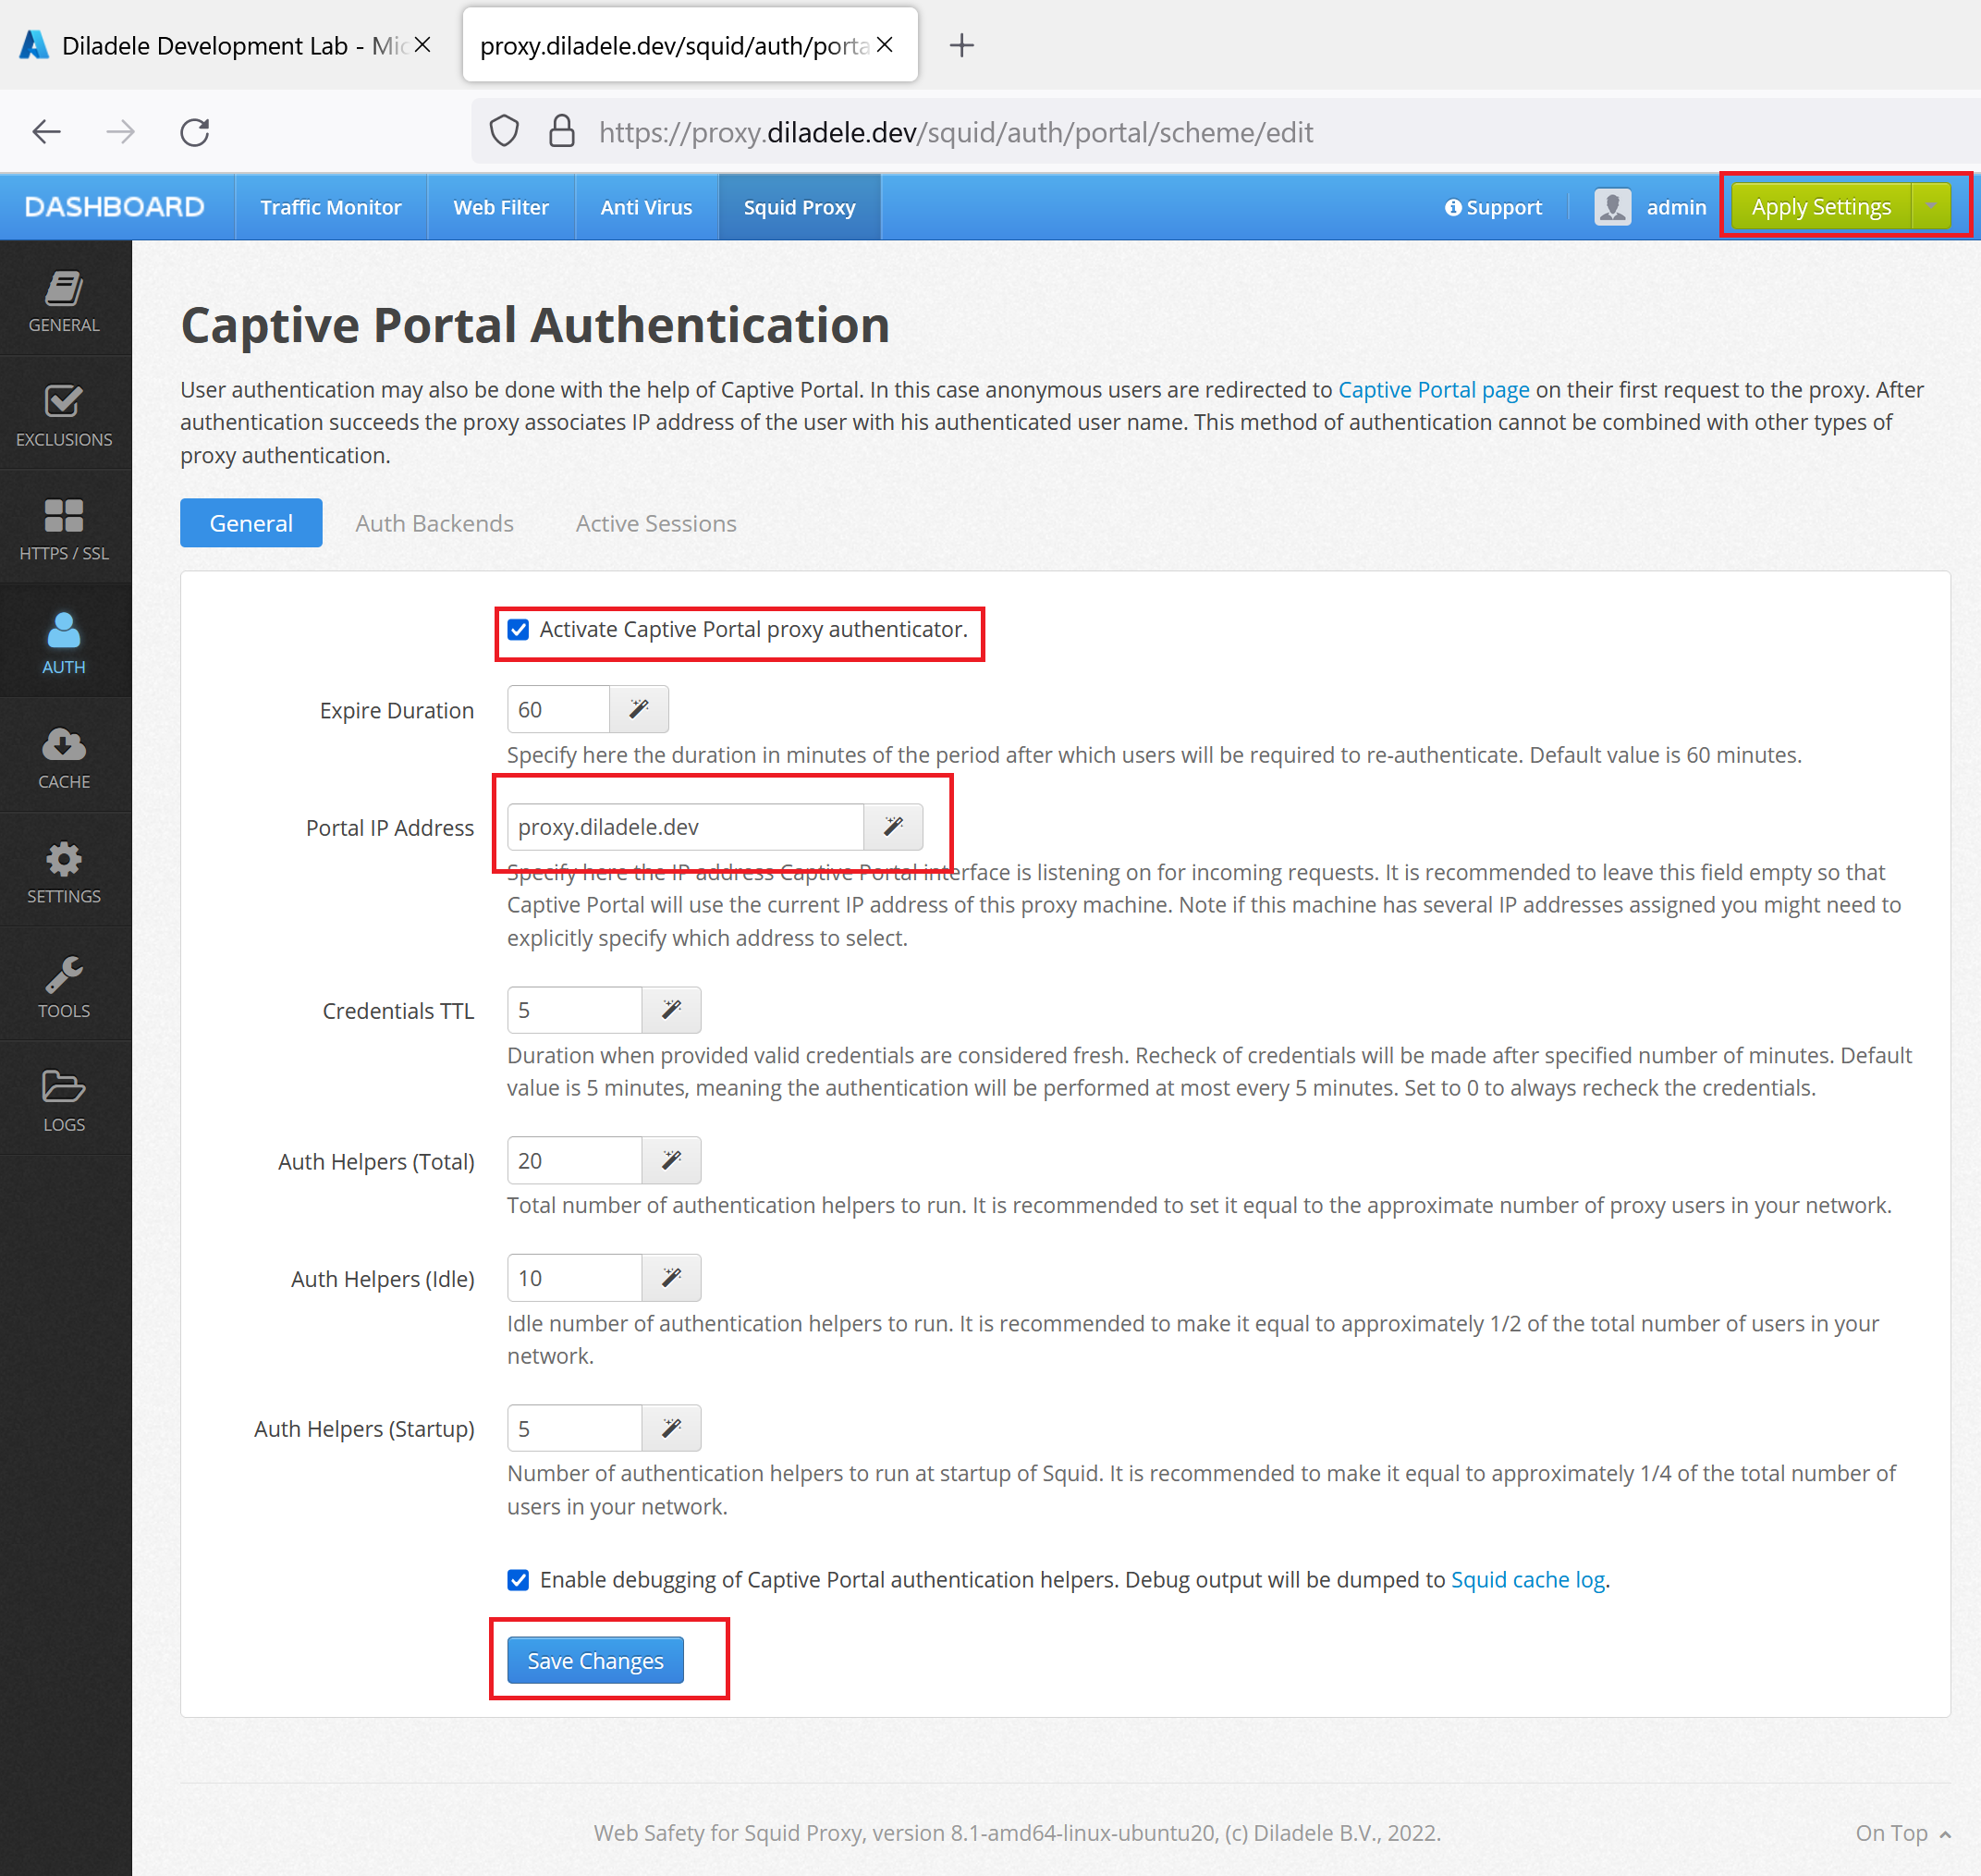
Click Save Changes and then Apply Settings from top right corner of Admin UI. Our proxy is now ready to redirect connecting clients to the Azure Active Directory for authentication.
Add Required Exclusions in Admin UI
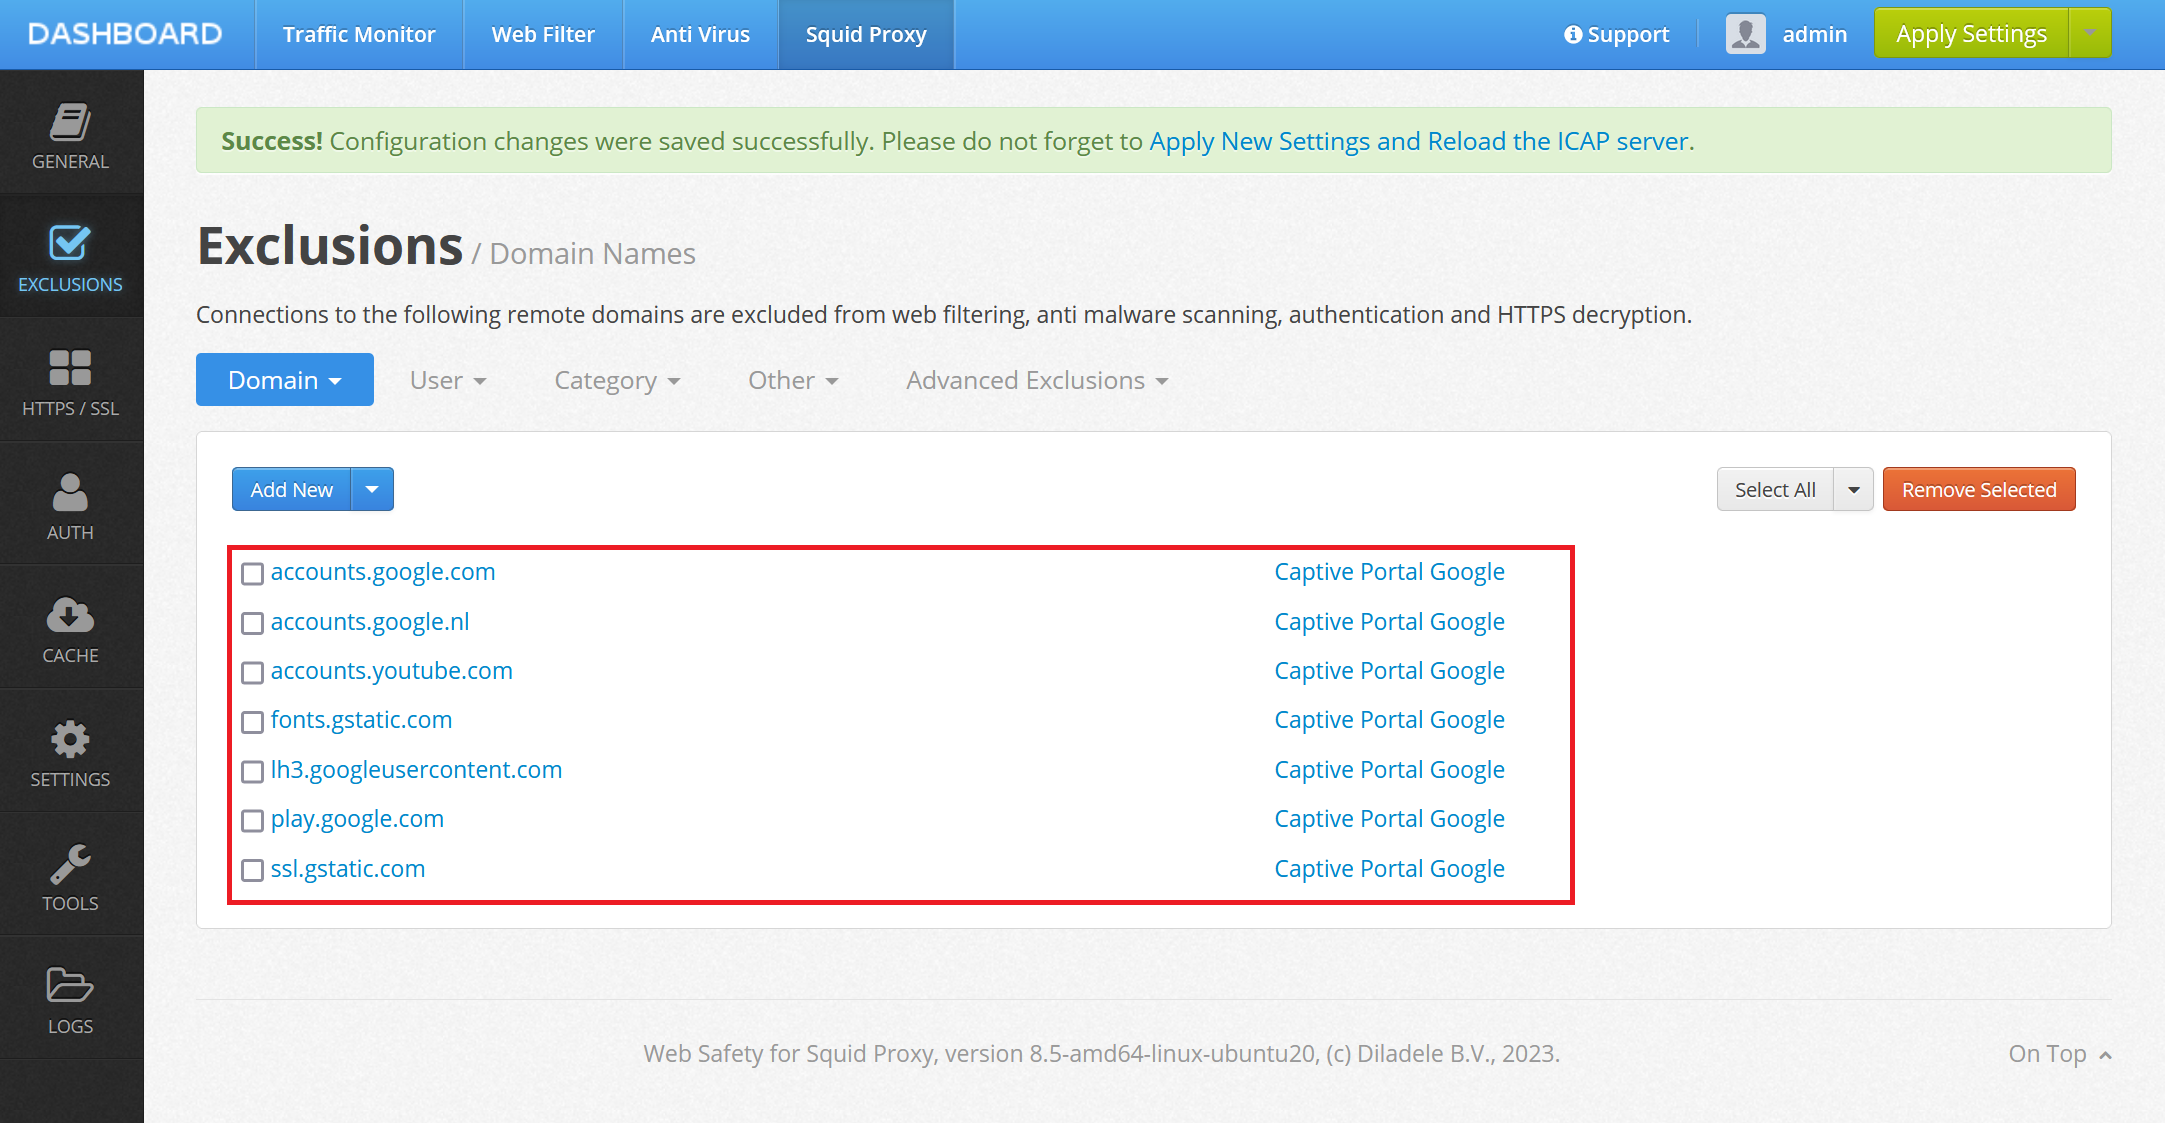
In order to let the Google Workspace to render the Login UI without redirection we would need to add the following domains to Admin UI / Squid / Global Exclusions.
accounts.google.com
accounts.google.nl
accounts.youtube.com
fonts.gstatic.com
lh3.googleusercontent.com
play.google.com
.gstatic.com
Just add those as shown on the following screenshot. Note, the list is not complete and may depend on your location (note we had to add google.nl as we are located in NL). Unfortunately, this part must be researched by yourself - the easiest way is to press F12 in the browser and carefully look for network access to google domains with failed 403 status code.