Allow Connections to Amazon AWS Proxy
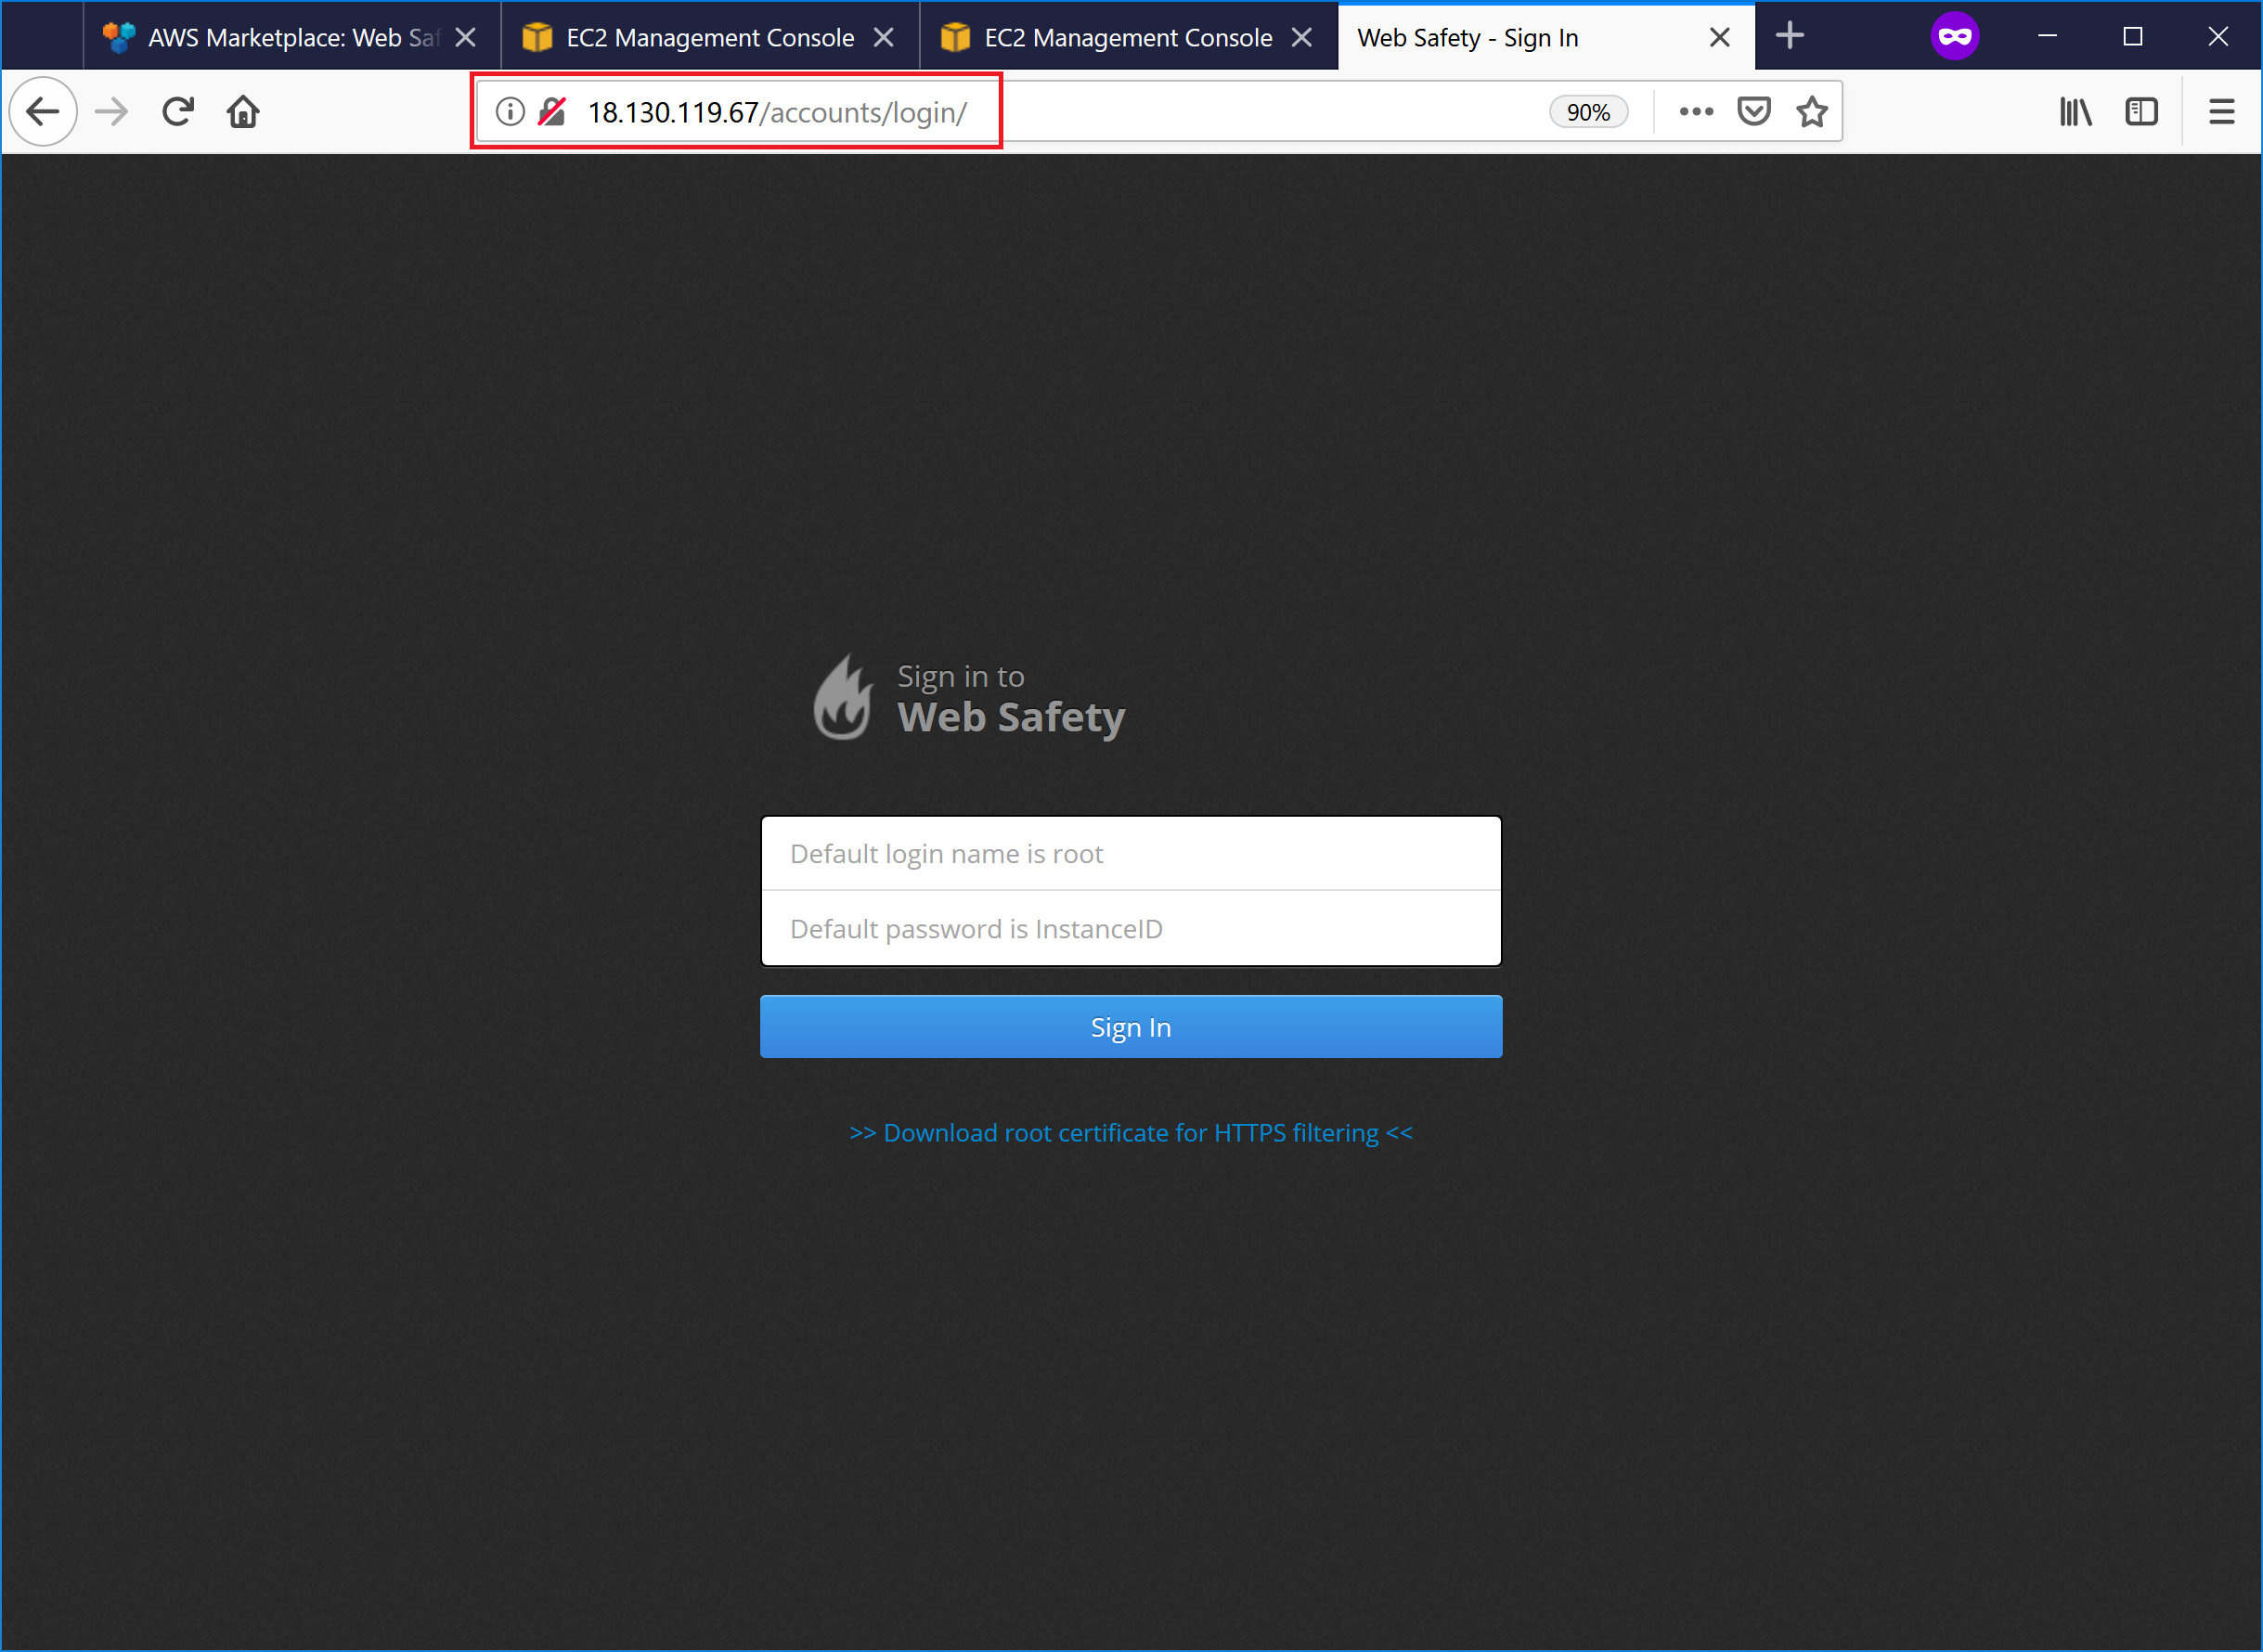
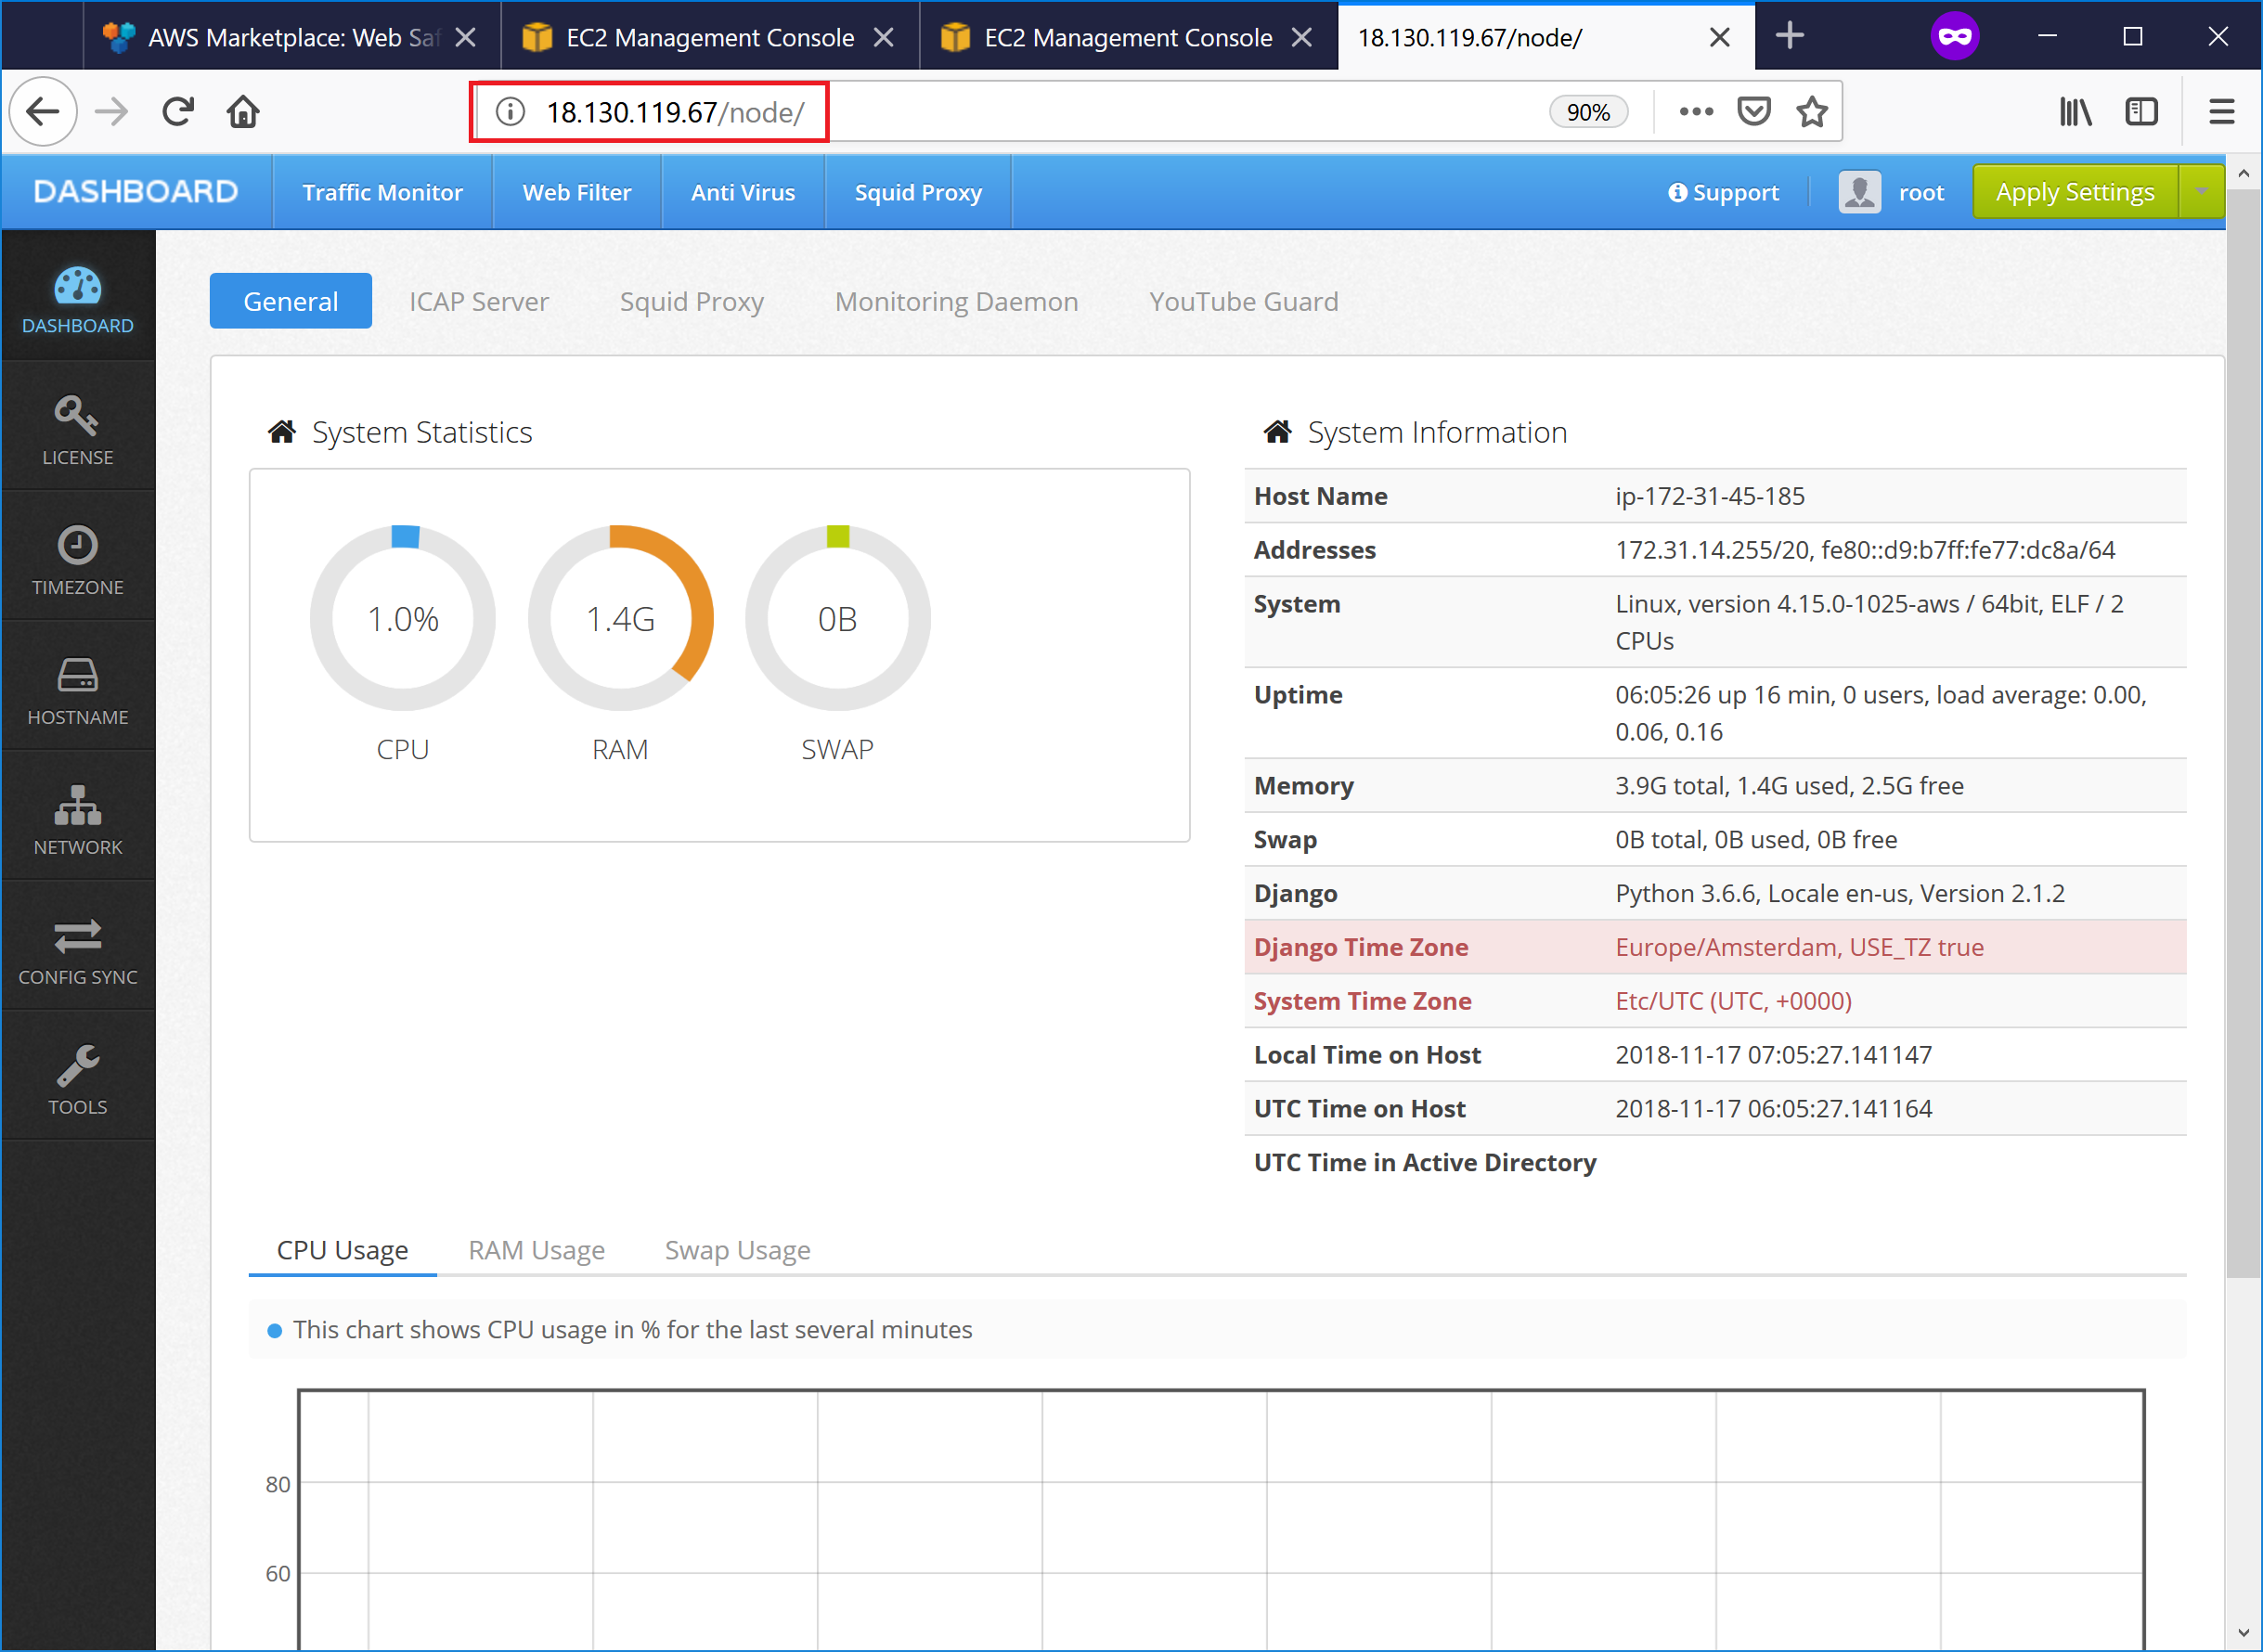
Open the browser and navigate to IP address of the running virtual machine (port 80, protocol HTTP). You should see the Admin Console UI of Web Safety. Type default root user name and the virtual machine instance ID as password ( in our case i-0ab52371d532c5ca9 ) to see the dashboard.
Important
It may happen that at the time of installation the trial license that is built into the installer has already expired. In this case get the free trial license.pem file from support@diladele.com and install it as explained in article How to install the license key?
By default proxy allows connections to itself from internal LAN IP address ranges only. When a browser uses proxy deployed in public cloud its IP address will be public set by your ISP provider. Such addresses are not allowed by default. There are two possible ways to deal with this problem.
Way 1. Allow connections from your IP only (and use firewall incoming rules)
If you have a static public IP address set by your provider, then it is a good idea to limit the incoming connections to the proxy only from this public IP address using the security group firewall rules in the Amazon AWS.
After that, open the Admin UI of Web Safety, navigate to Squid Proxy / Settings / Default ACLs and type the following directives:
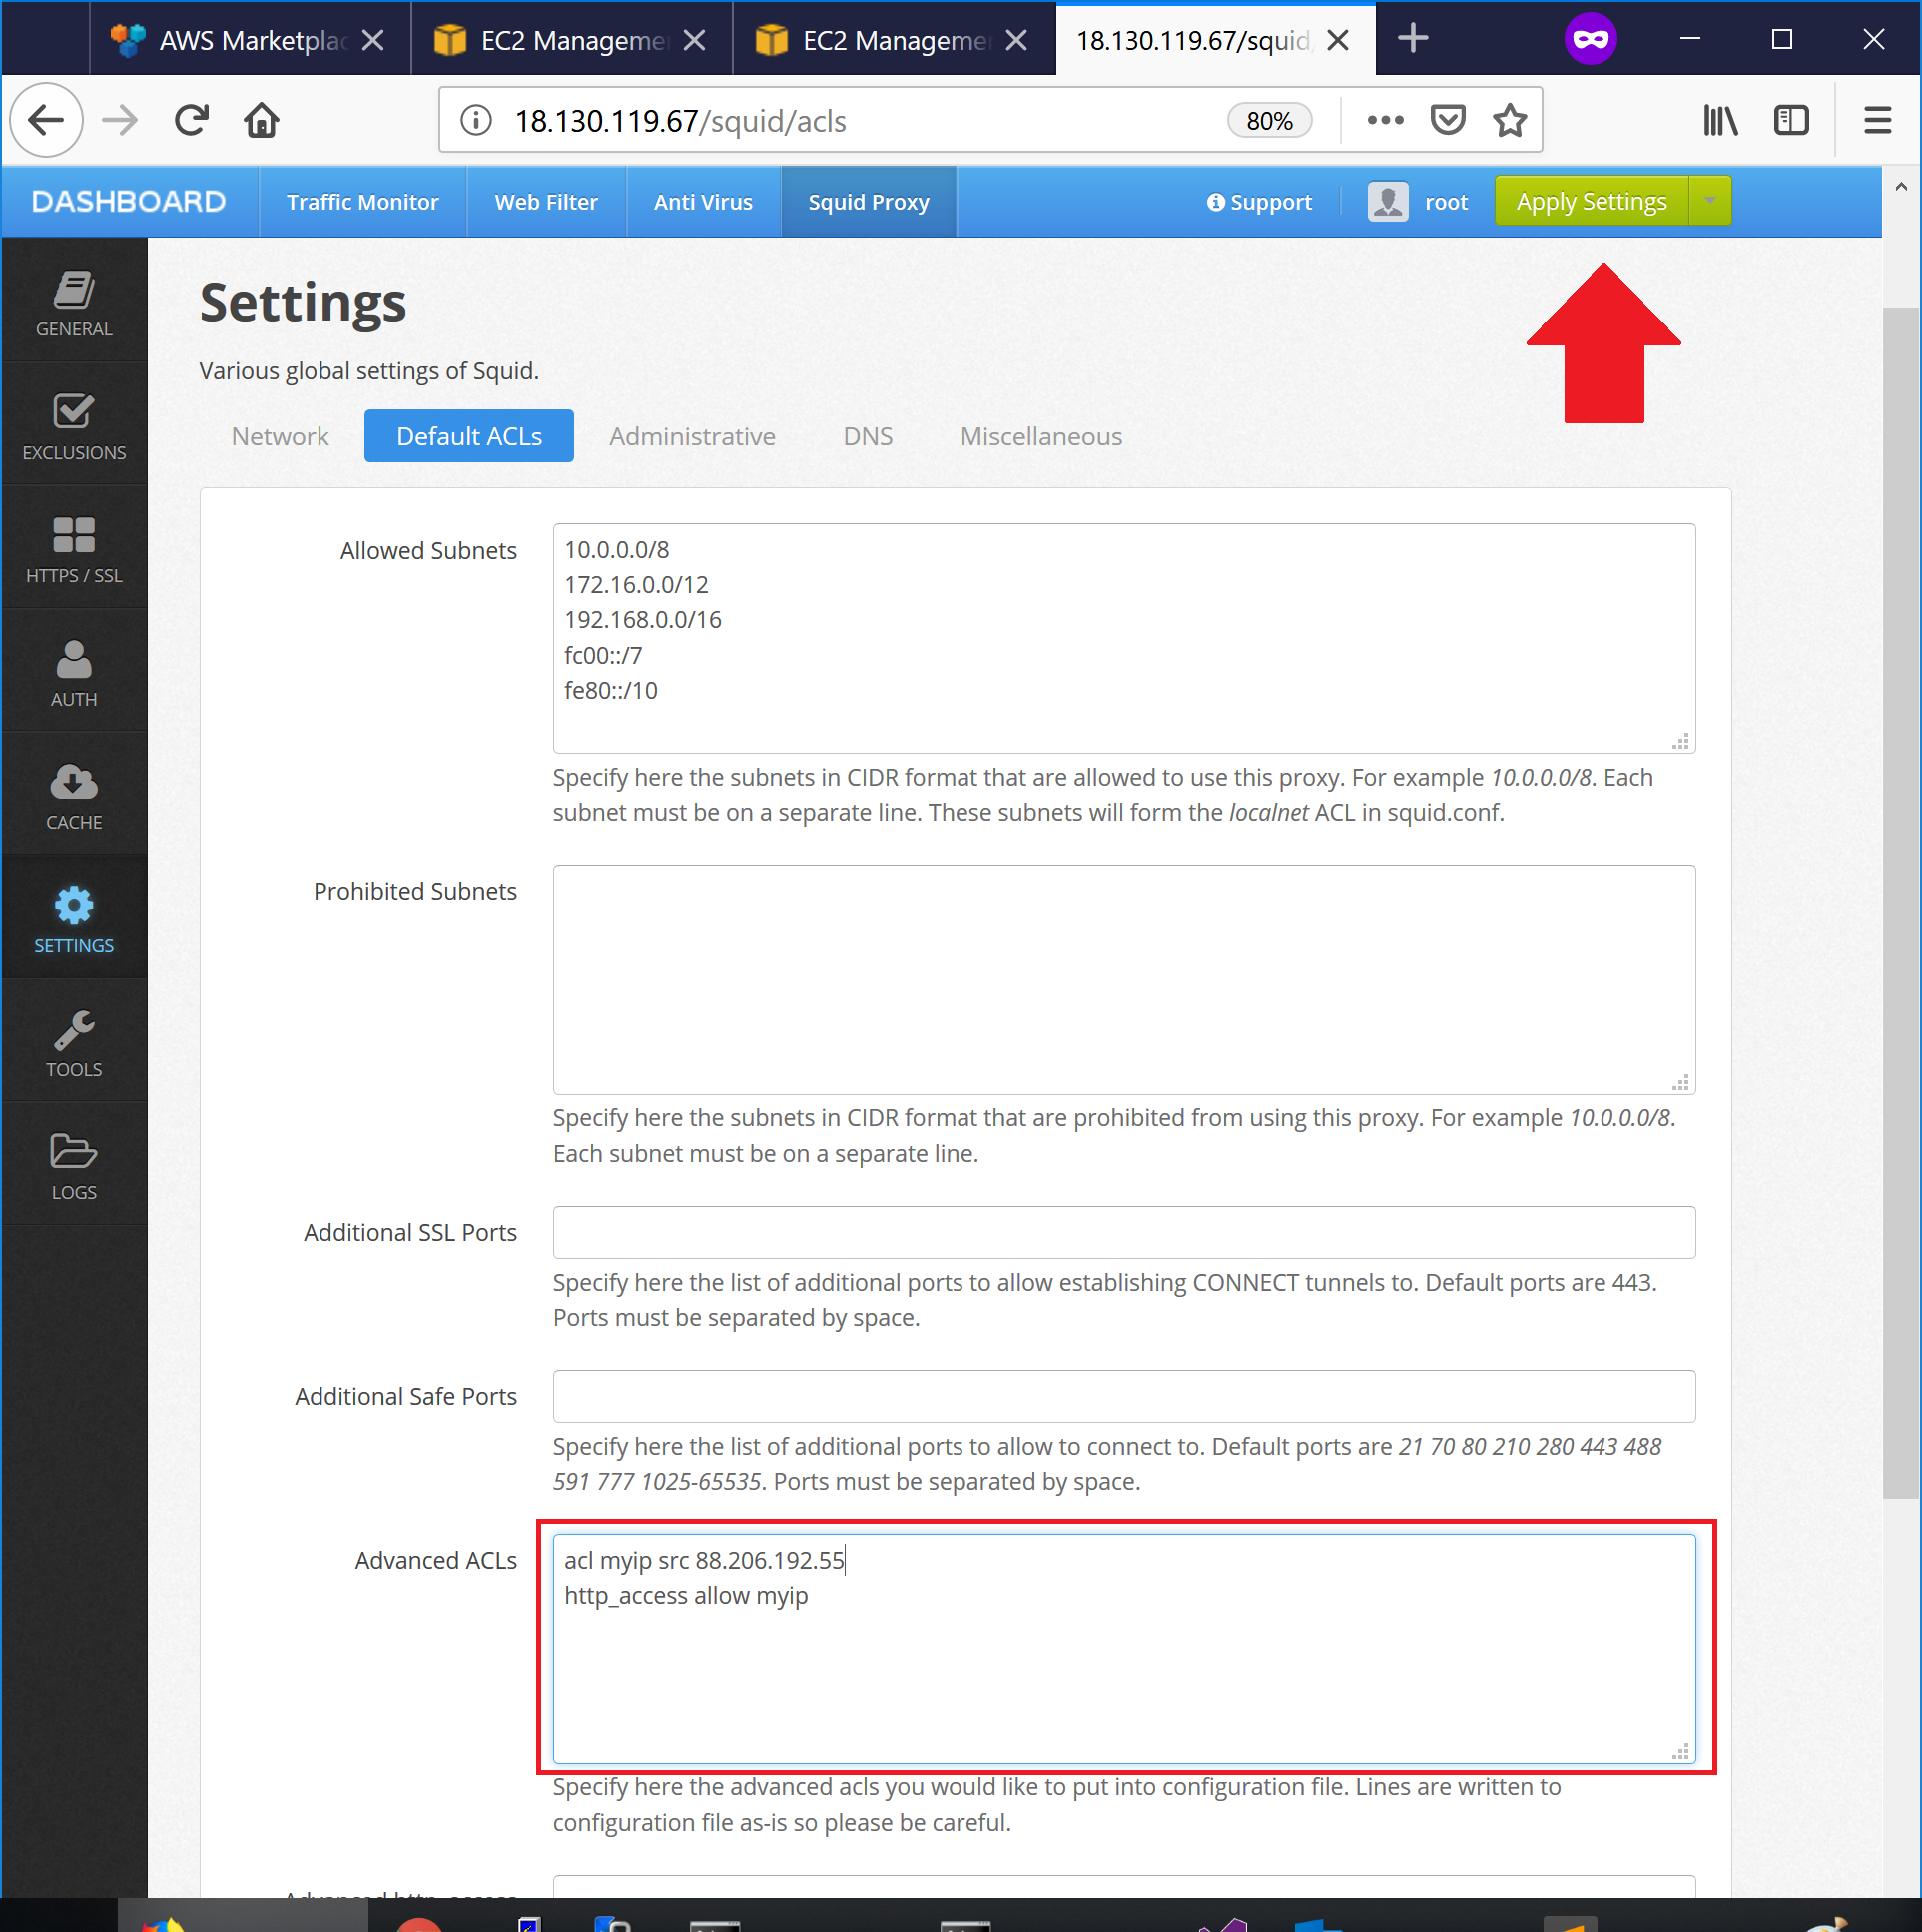
This will allow connections to the proxy from a given public IP address only.
Way 2. Require all connections to authenticate
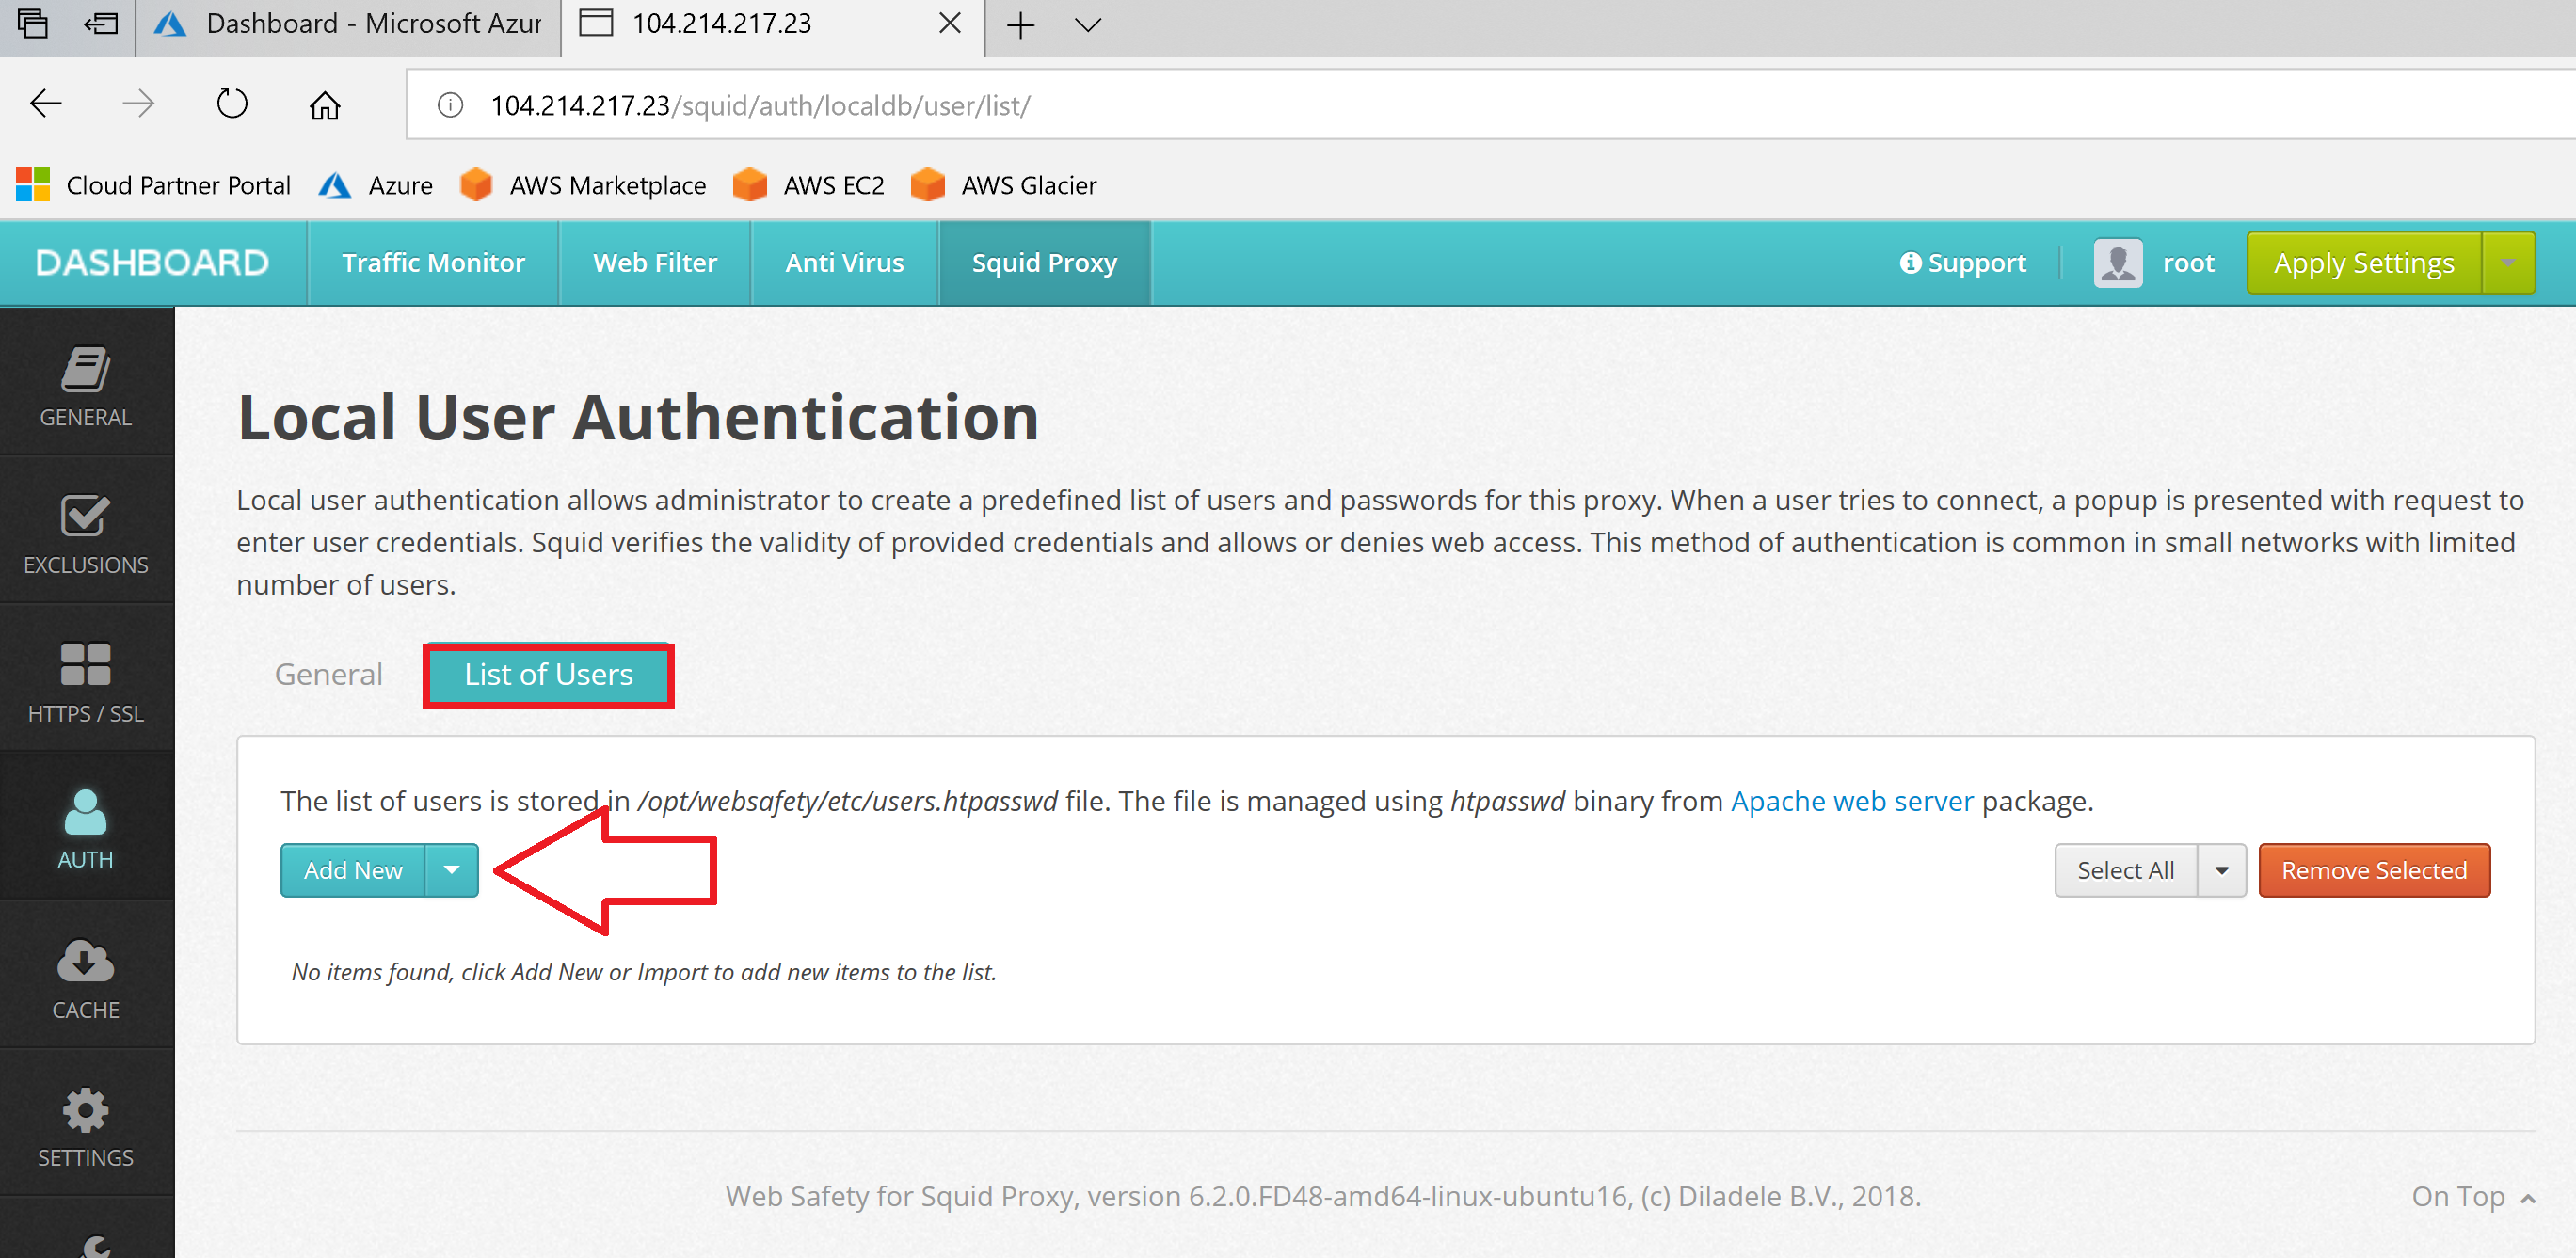
To enable basic proxy authentication, open Admin UI of Web Safety and navigate to Squid / Auth / Local User Database authentication.
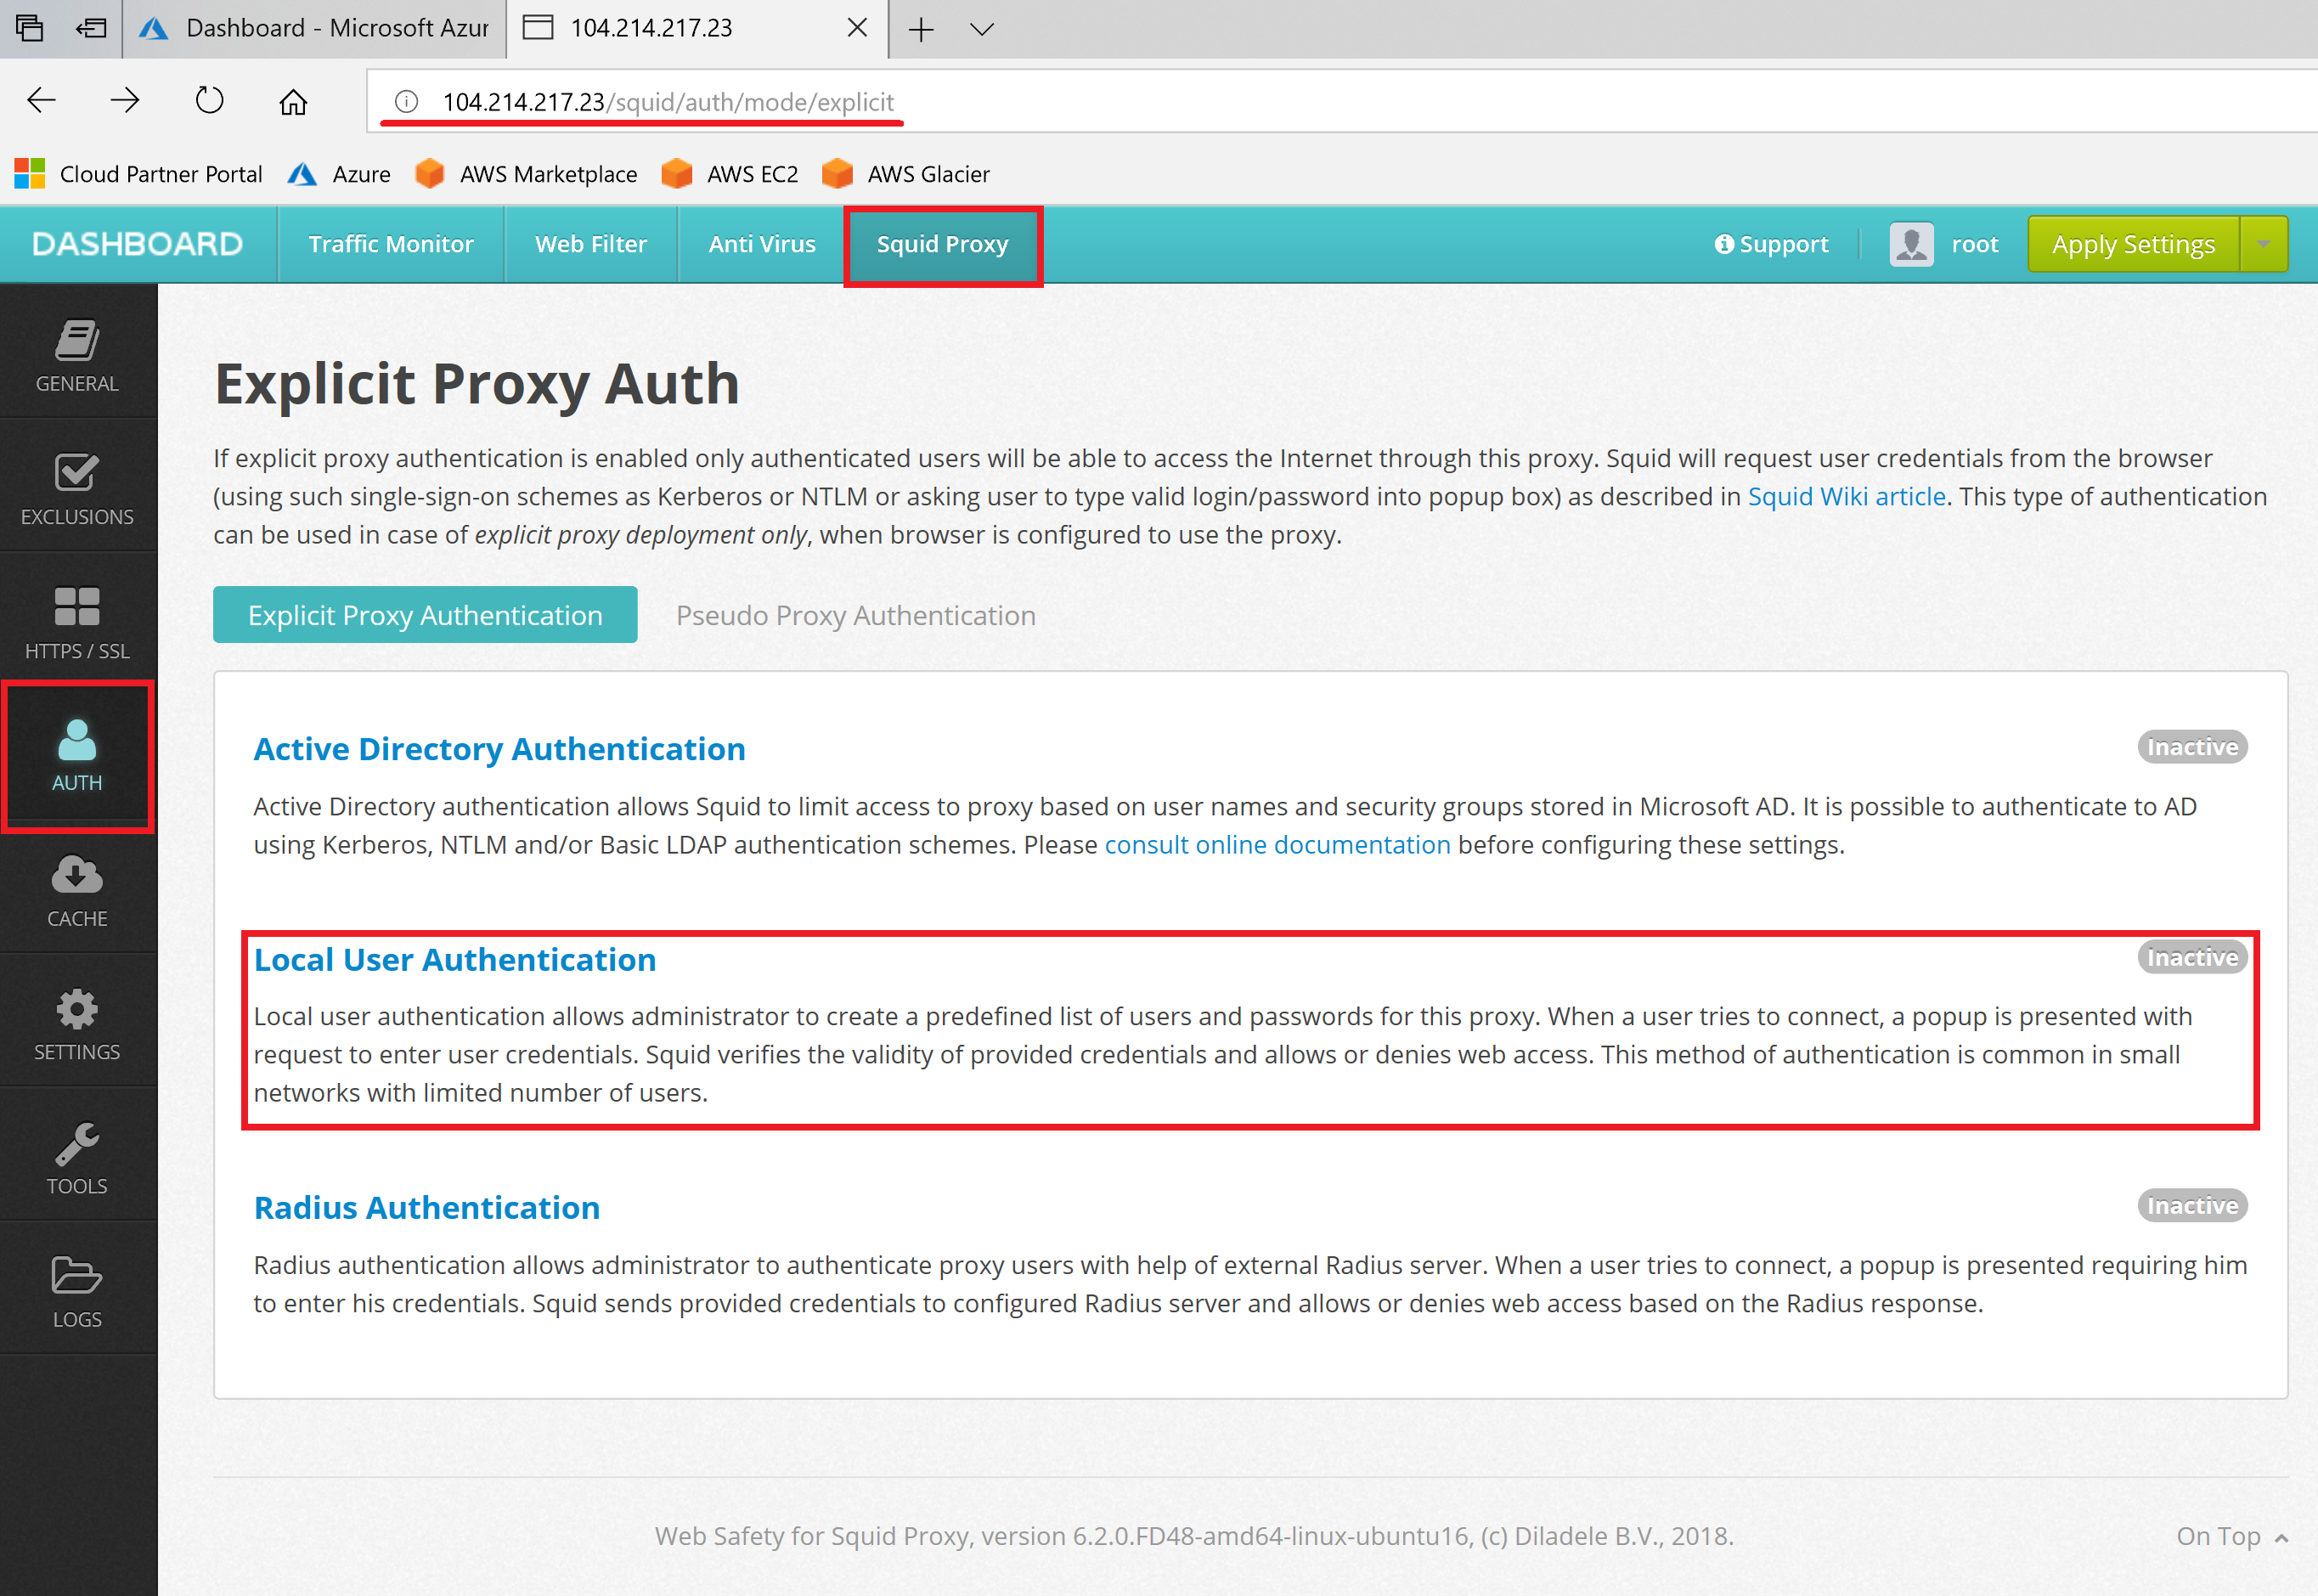
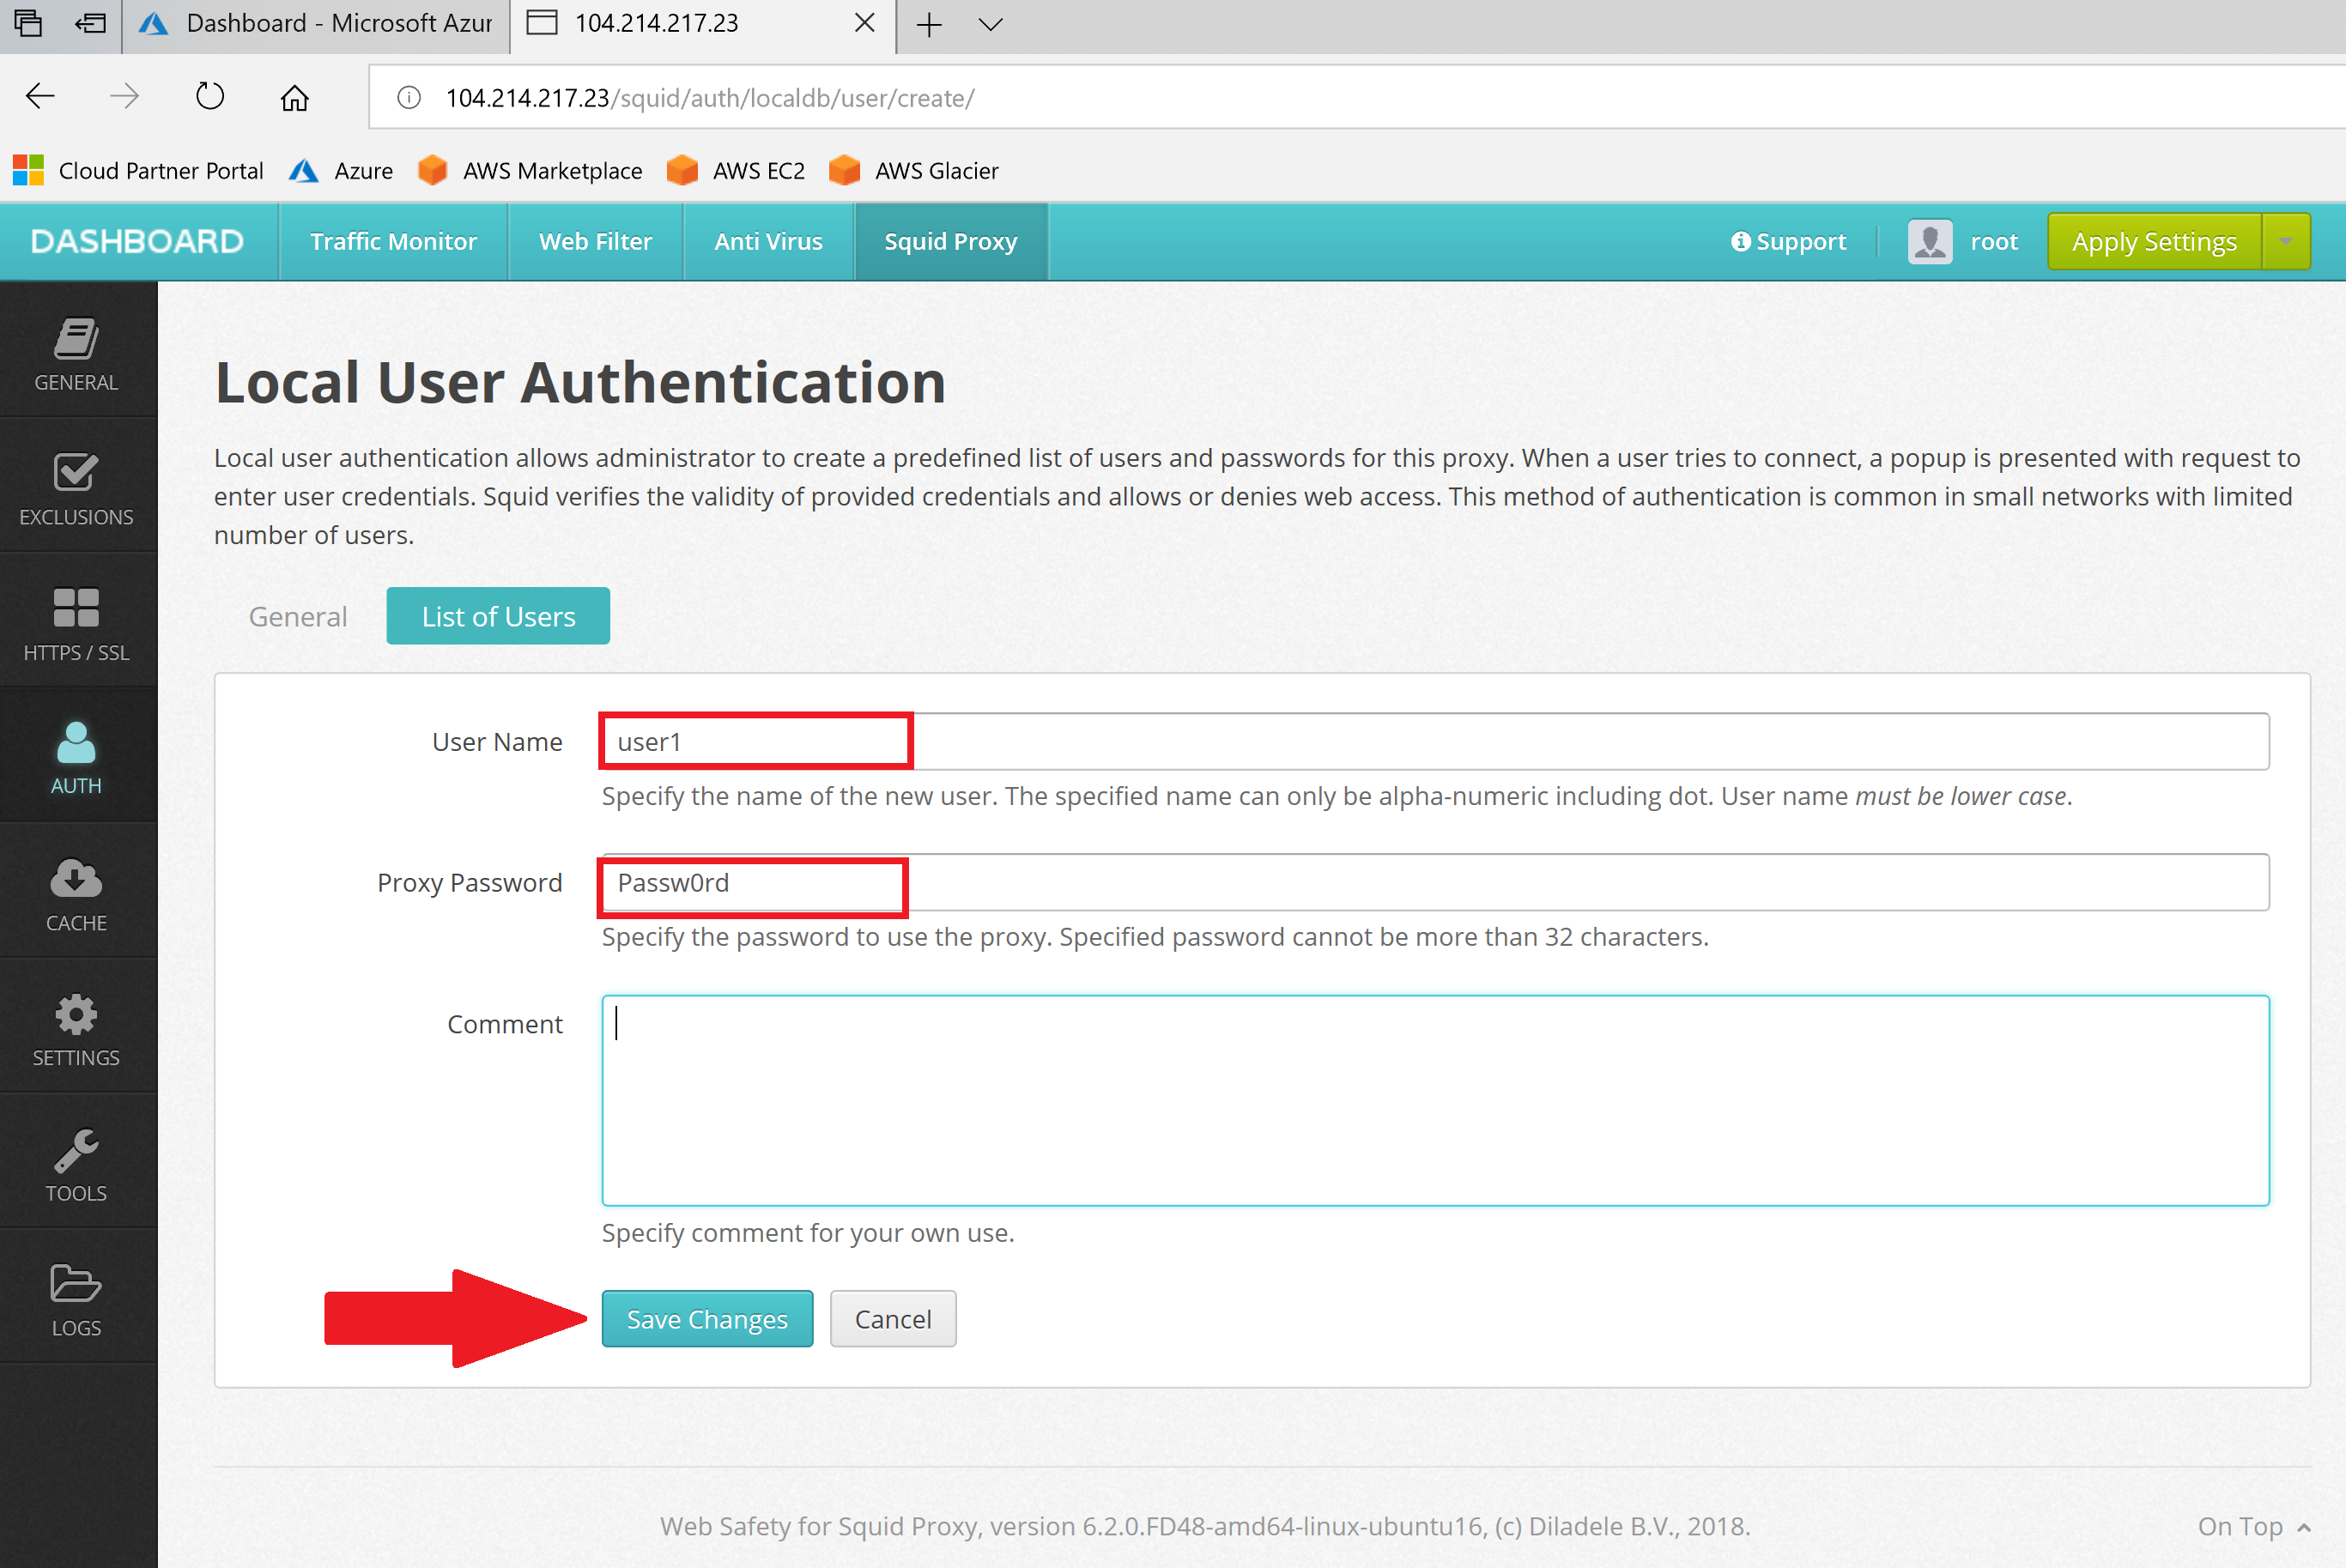
Click the List of Users to see the list of users and add a new user to the local database. Provide any user name and password.
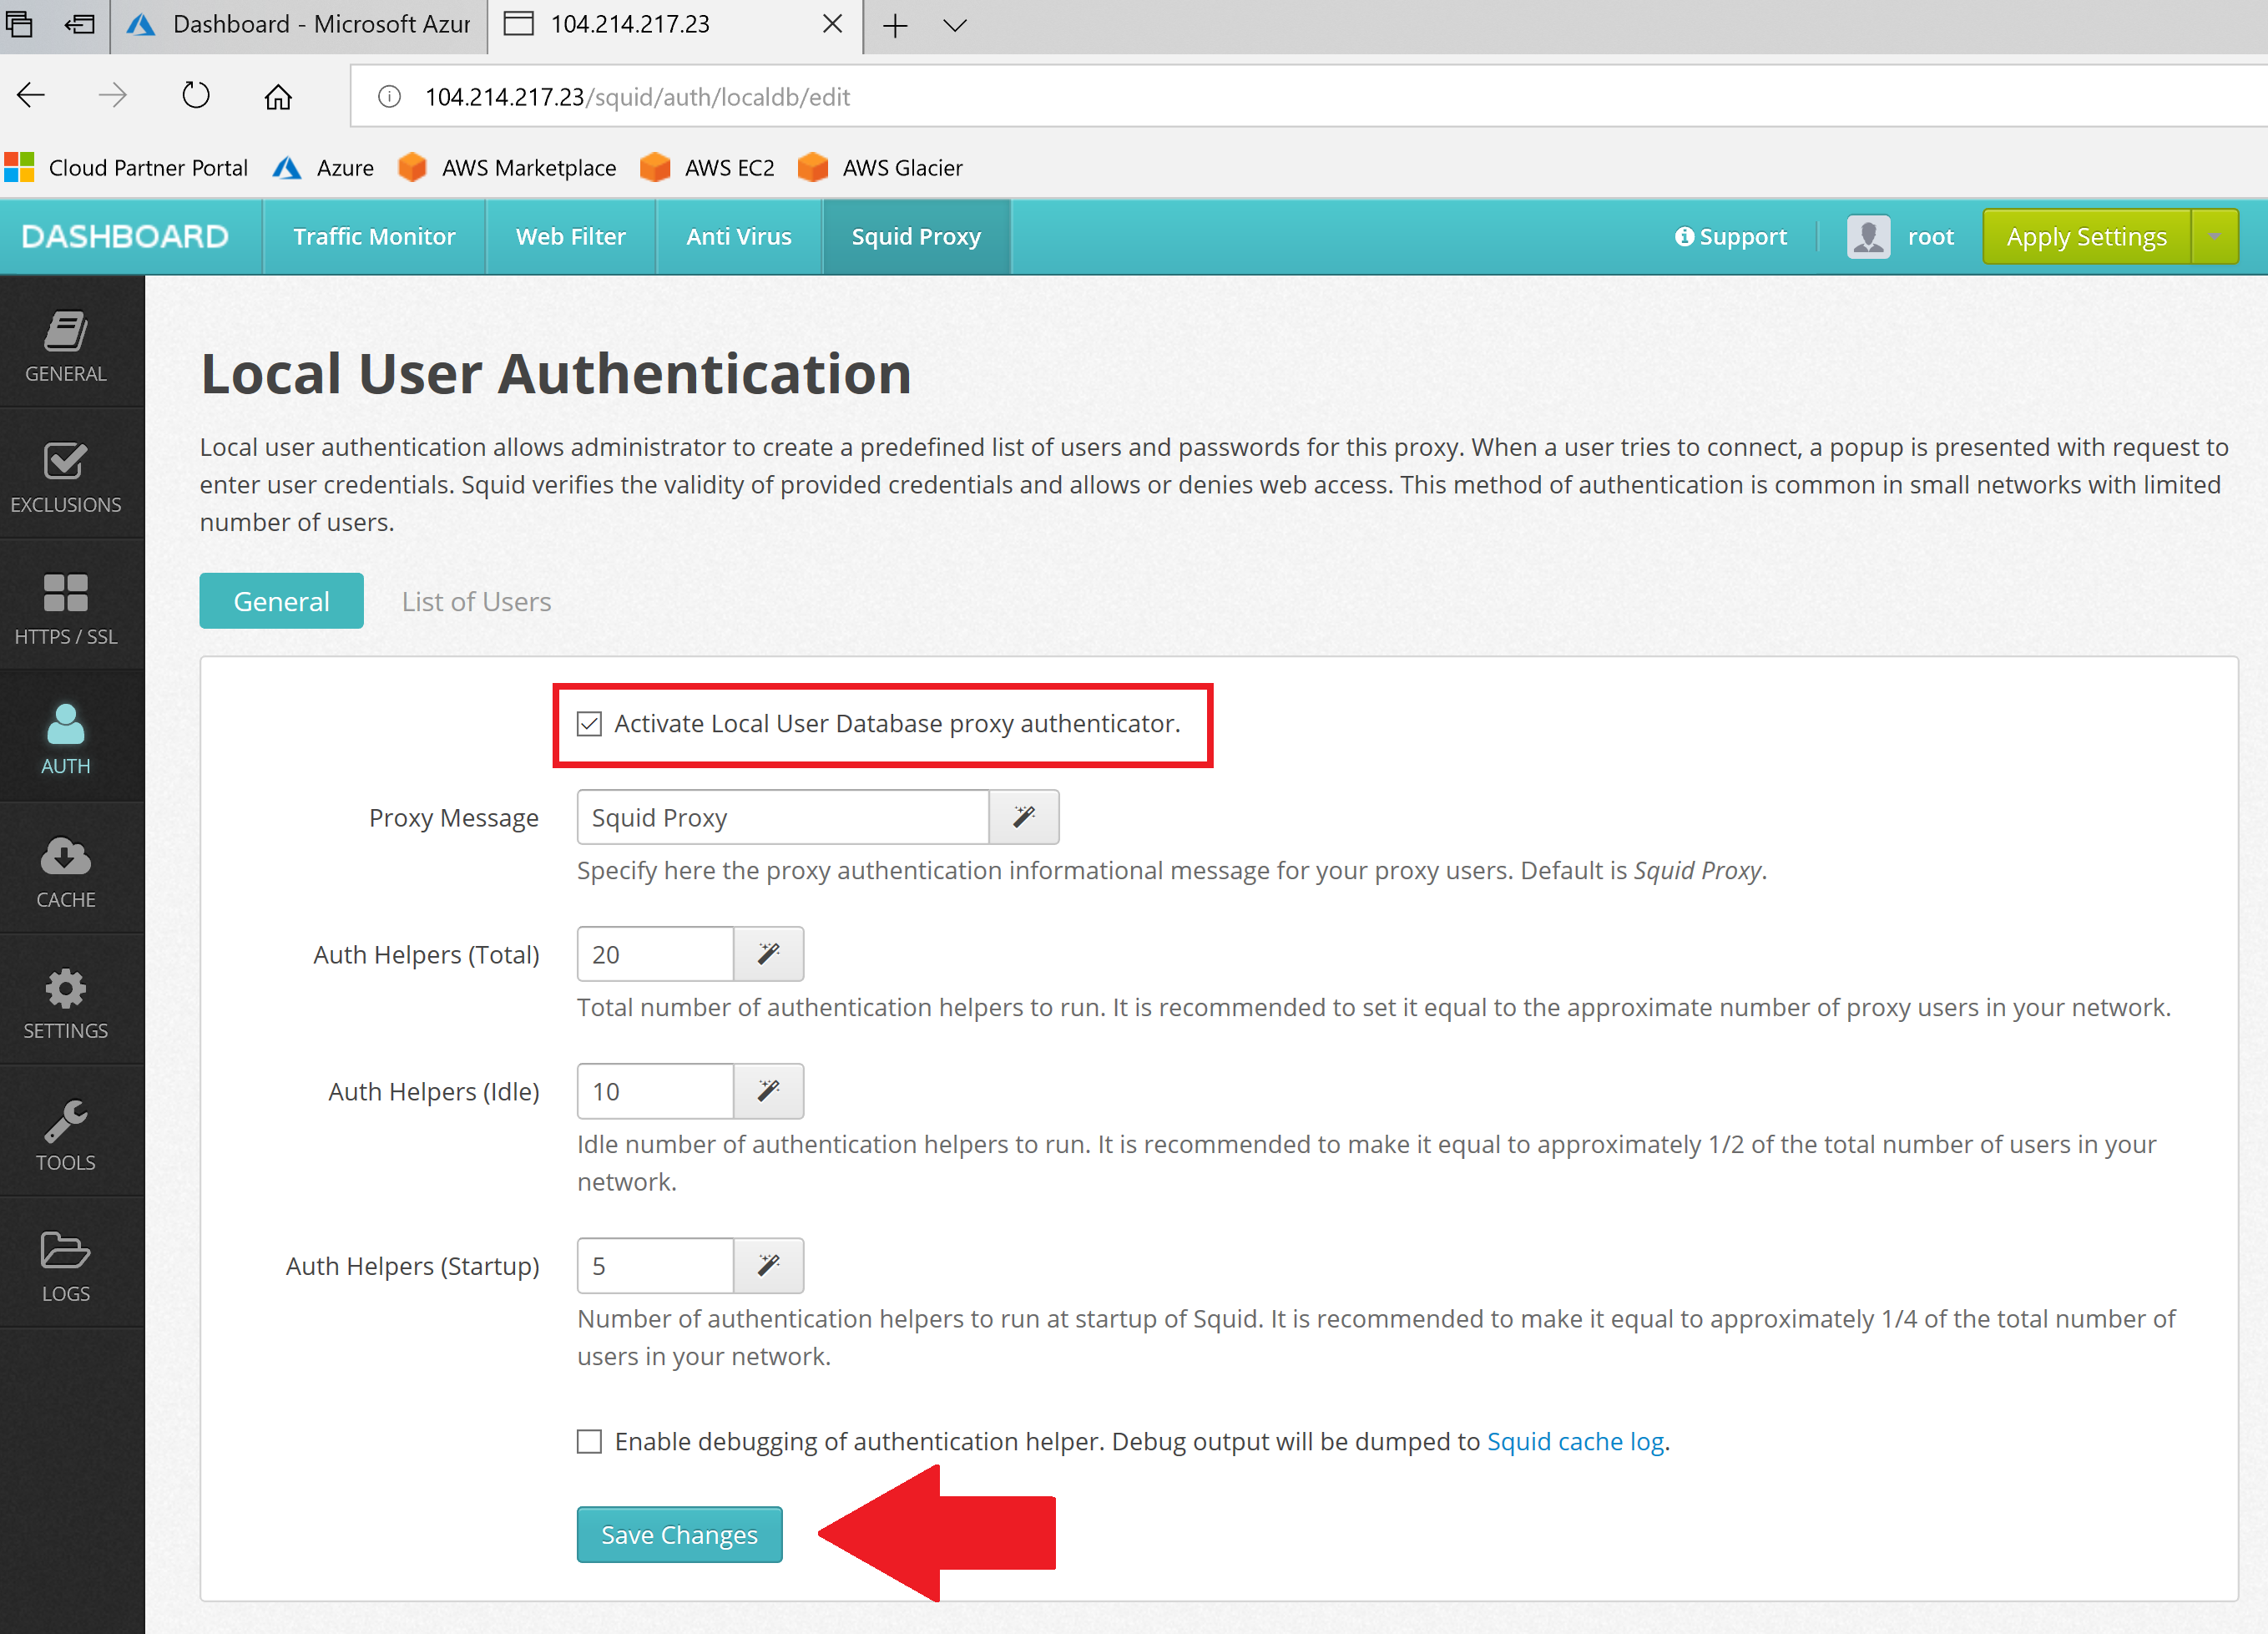
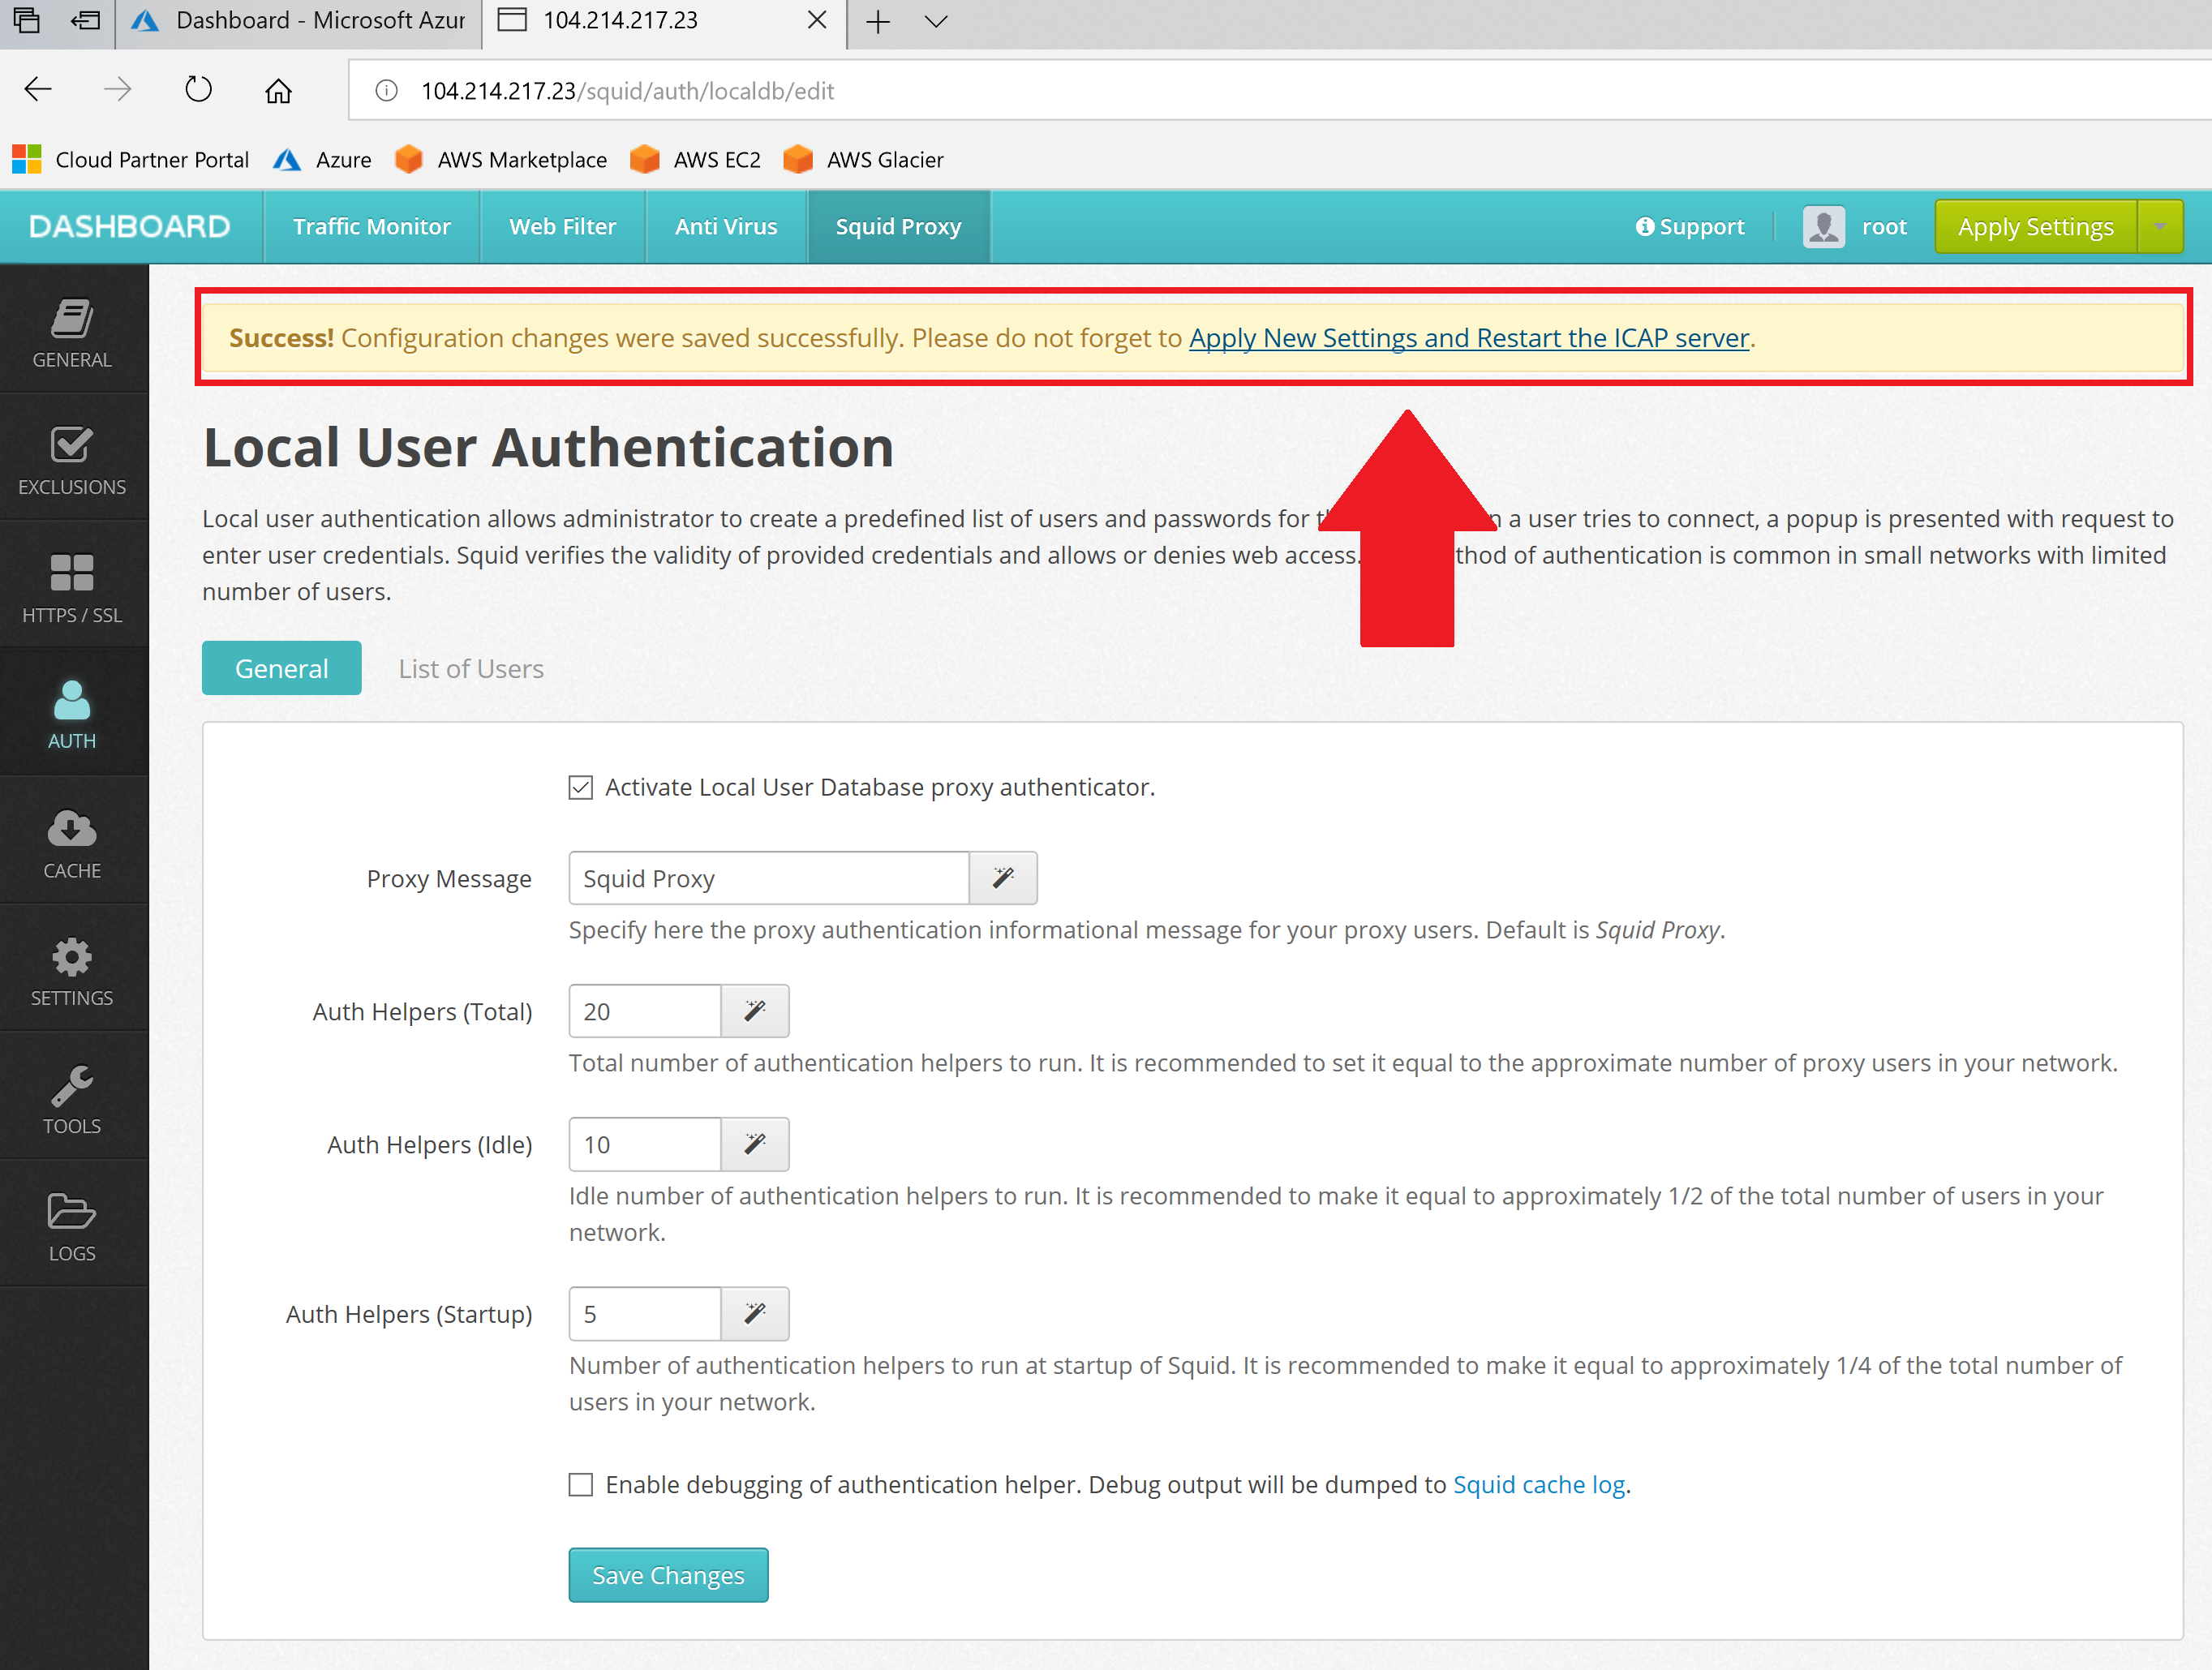
After user is added, select Activate authentication, click Save settings and reload configuration by clicking on Save and Restart.
Continue to the next step to configure browser to use our proxy.