How to Install Squid 3.5 on Windows
Note
We now have a new project - Web Filtering Proxy for Microsoft Windows. It combines best features of Web Safety but runs natively on Windows. No need to use Hyper-V or dive into Linux specifics. You can enable proxy authentication, HTTPS decryption and filtering with several mouse clicks from Microsoft Management Console. See https://webproxy.diladele.com/.
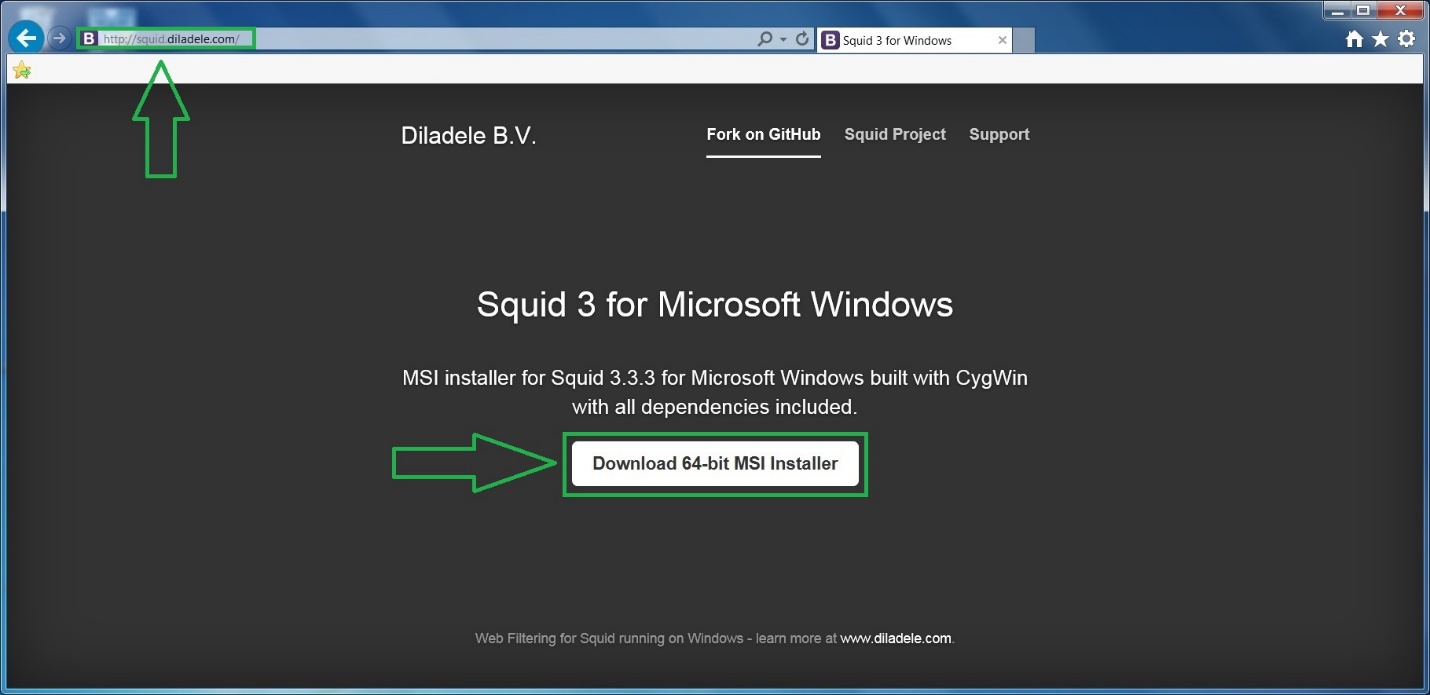
This post explains how to easily install Squid Server v.3.5.x on Microsoft Windows. We will use an MSI provided by Diladele B.V. that can be downloaded at the following link http://squid.diladele.com. This MSI is the result of the work that Diladele team is doing for promoting Squid in Windows community and is based on the Cygwin Squid server component. The installer is an open source project hosted on GitHub, so if you are willing to contribute or have any problems using it please contact support(at)diladele.com.
The actual installation process is very easy and consists of the following steps.
Download the MSI from http://squid.diladele.com. Currently only 64 bit version is provided.
After downloading, double click squid.msi. You have to be an administrator to be able to install Squid on your computer.
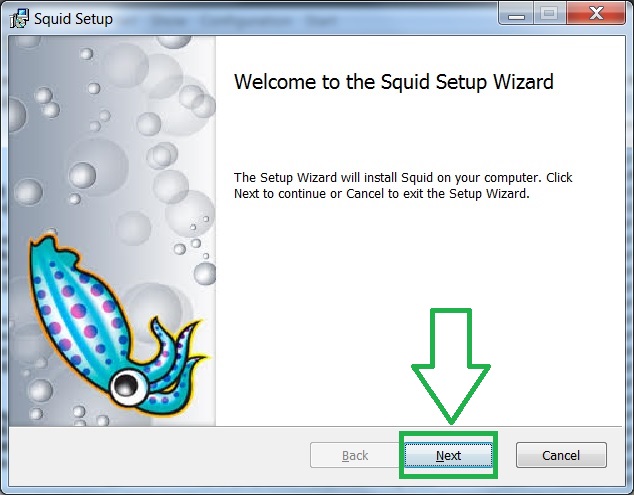
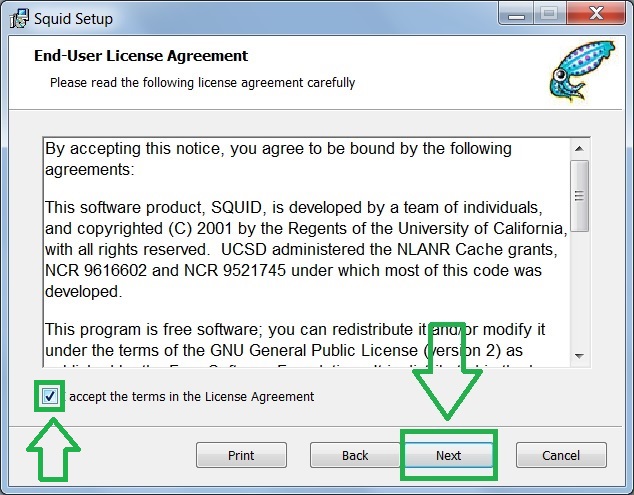
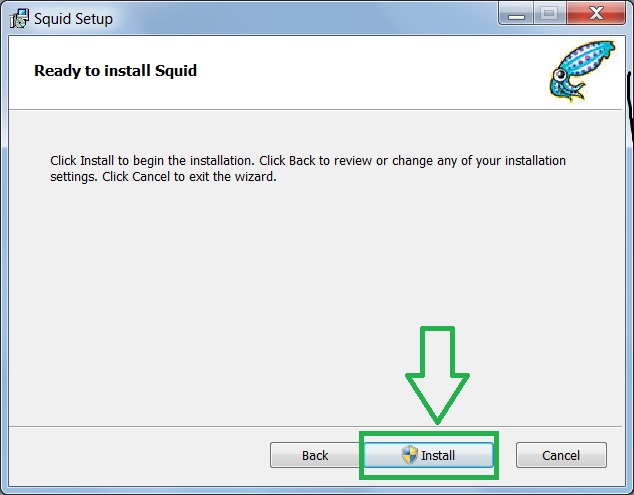
After that simply, click “Next” button till the installation is finished. You can specify a custom installation directory at the corresponding step (this is not recommended though).

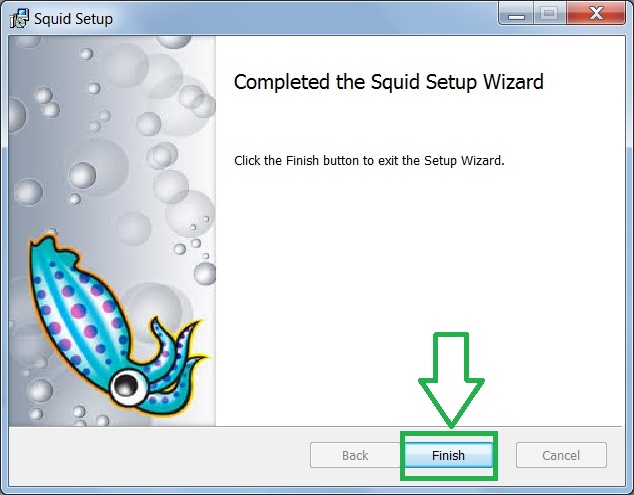
When you click “Finish” the installation process is finished. You should see a squid application appearing in the tray. This application allows you to start/stop the squid service as well as change the squid configuration.

Note
During installation the MSI installer opened TCP port 3128 required to connect to your Squid instance from another machines in your network. If for some reasons this does not work or works not as expected please follow these steps to open required TCP ports.
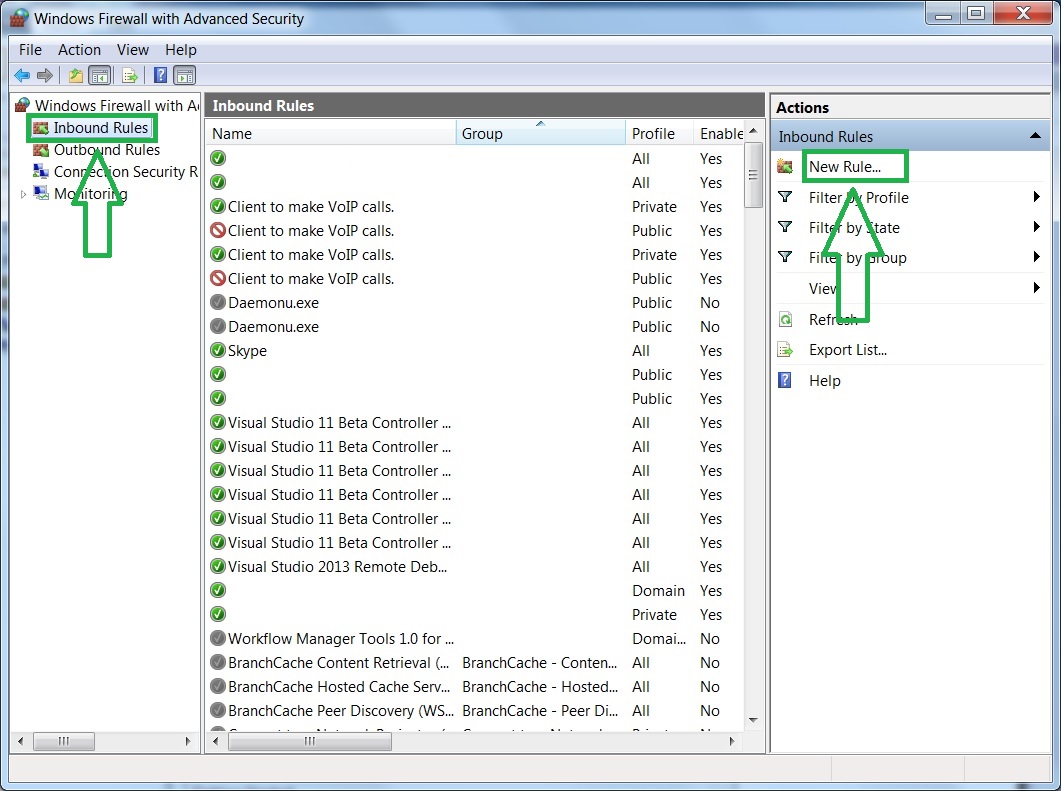
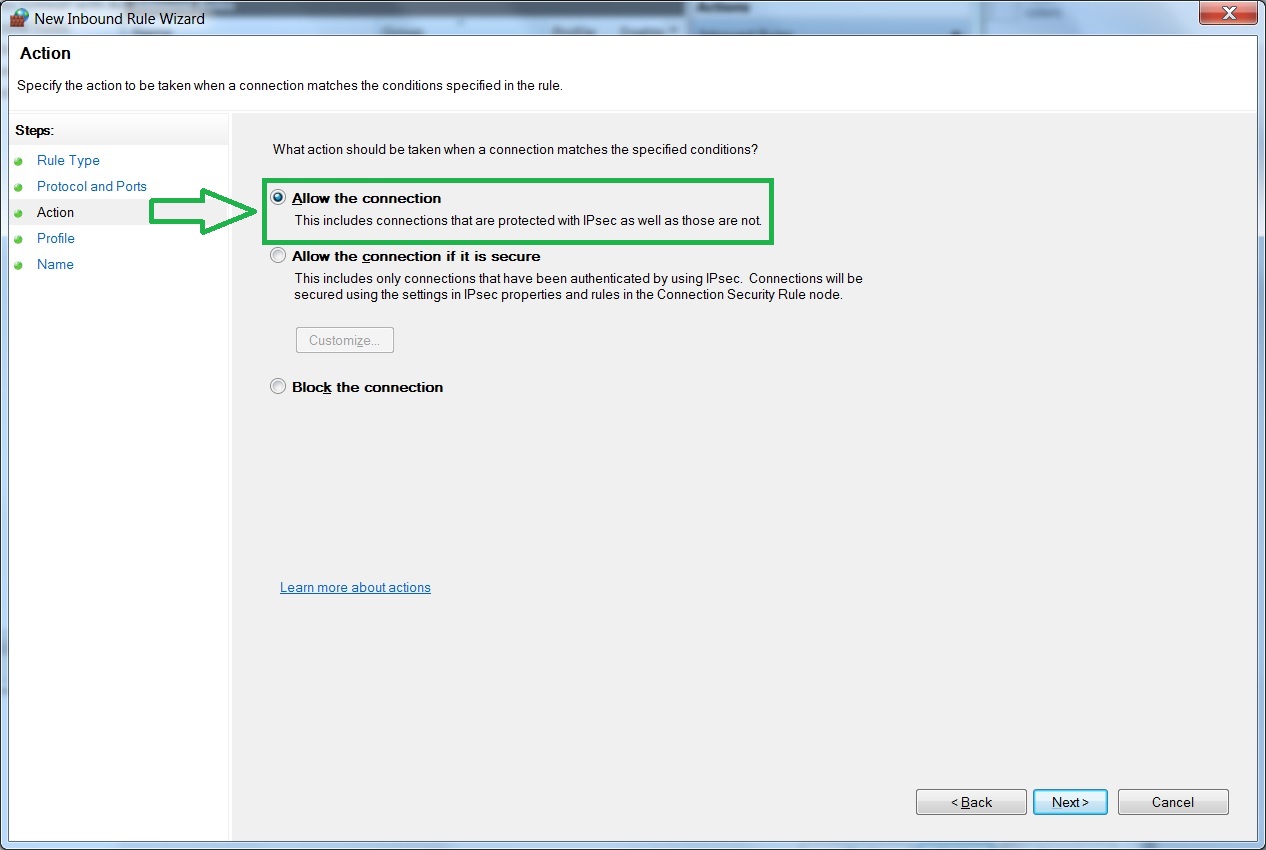
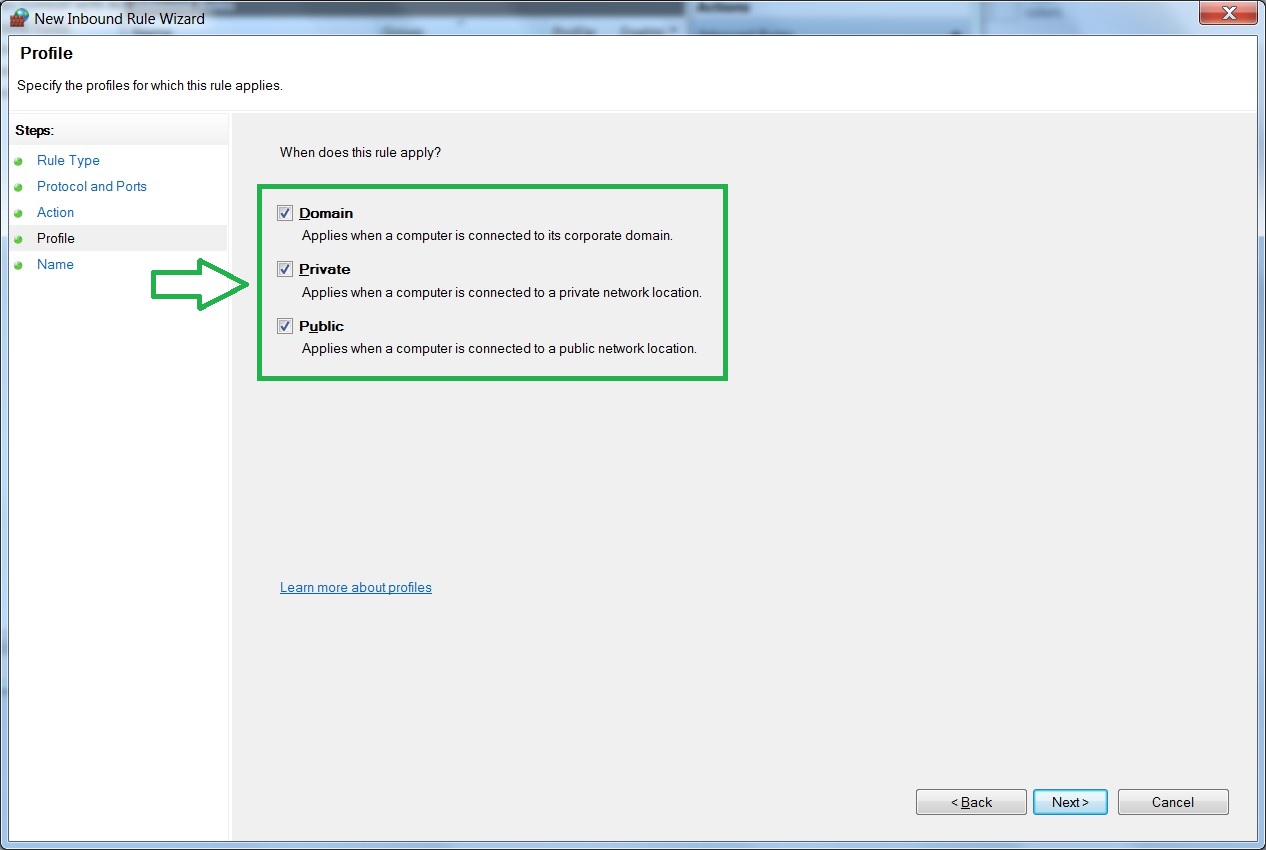
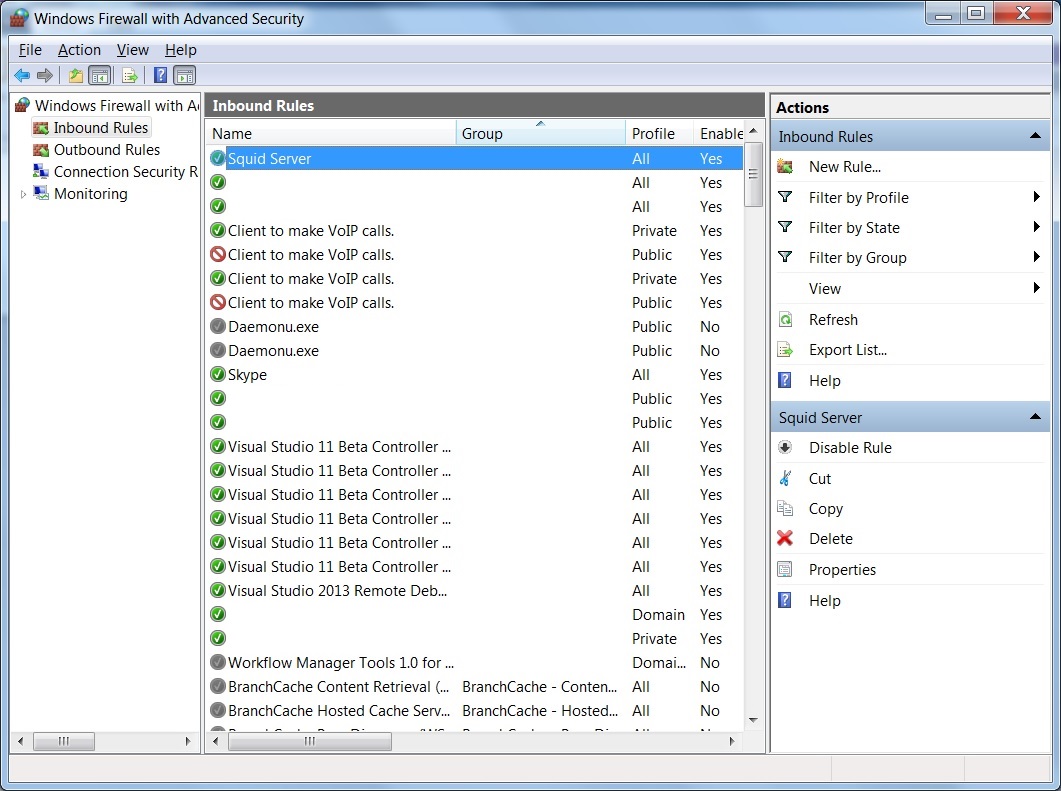
Type “Windows Firewall with Advanced Security” in the Start Search string on Windows 7 or 8 and press Enter. Click “Inbound Rules” and then “New Rule”.
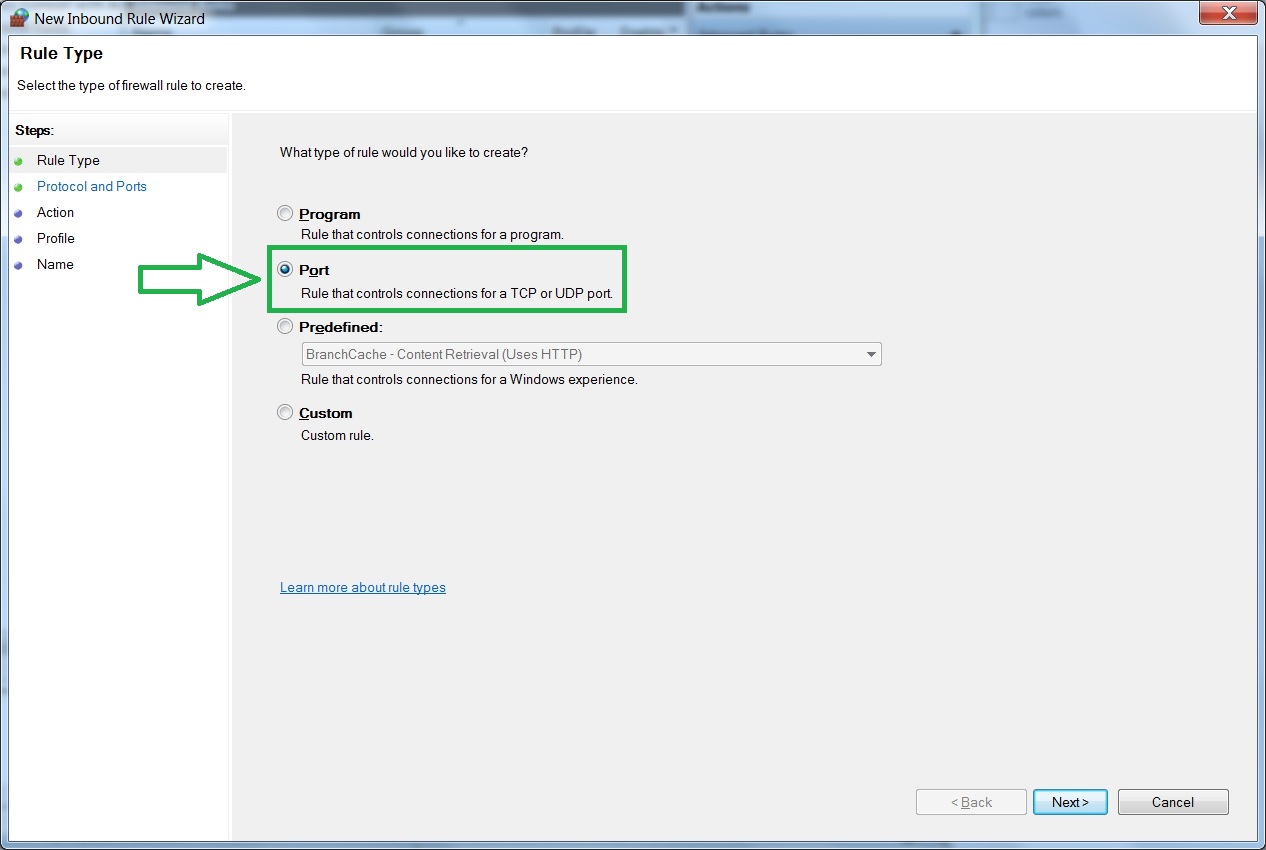
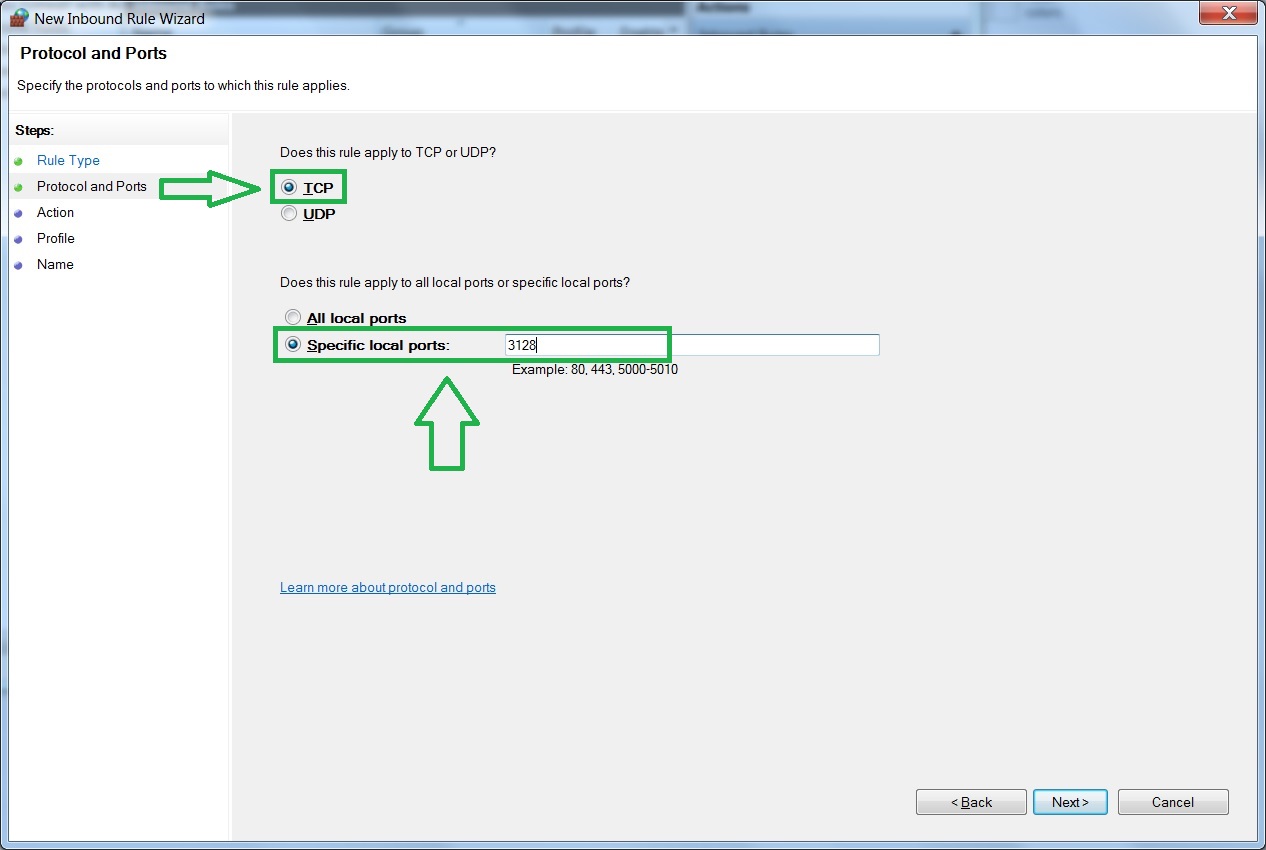
Create an inbound rule to allow clients connect to the 3128 TCP port, the default port where squid is running.

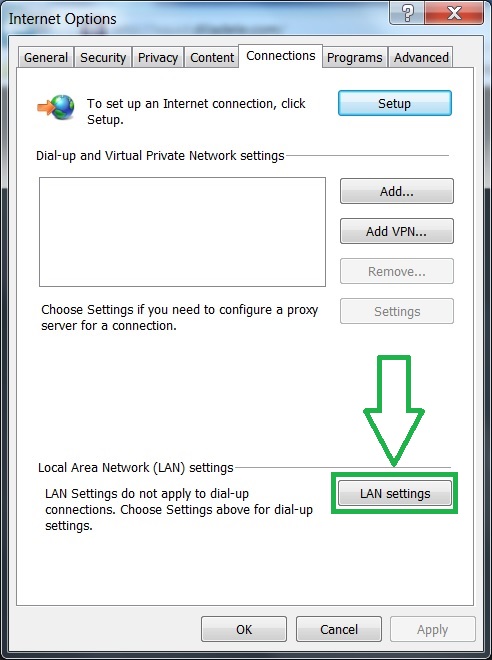
The server side configuration is over. Now let’s configure the client side. For that you have to specify the proxy in your browser, for example, for the Internet Explorer, go to Tools (Alt + X ) / Internet Options and specify the IP address of the computer where Squid is running. For example in our test lab the IP address is 192.168.0.16 (you can identify this address by running the ipconfig /all command on the computer where Squid is installed).
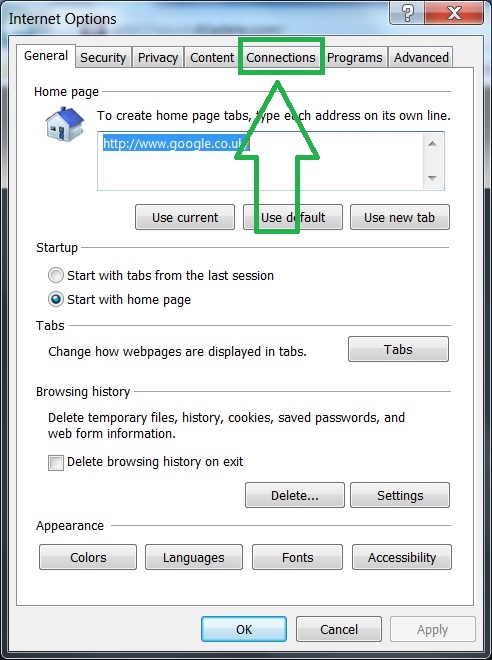
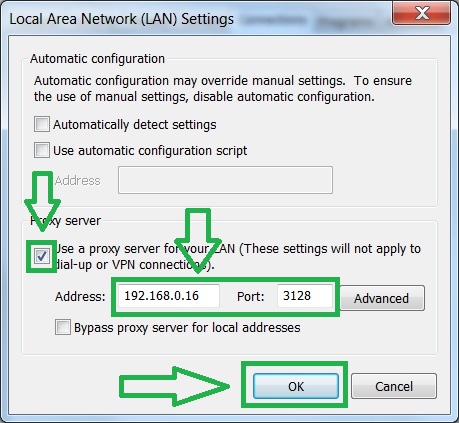
Press Ok to close the LAN settings and then Internet Options. Now your browser is using Squid as a proxy. In the next post we will see how to set up Squid for web filtering HTTP and HTTPS / SSL connections on Windows in an easy way.
Note
Default squid.conf does not work out-of-the-box in the default VMs provisioned in Rackspace and Amazon EC2 environments due to the Windows Firewall. Please, manually add a new rule to the Windows Firewall to allow incoming connections on port 3128 with a proper subnet mask (i.e. 10.0.0.0/8)