Web Filtering on Windows 7/8 with Squid and Docker
Note
We now have a new project - Web Filtering Proxy for Microsoft Windows. It combines best features of Web Safety but runs natively on Windows. No need to use Hyper-V or dive into Linux specifics. You can enable proxy authentication, HTTPS decryption and filtering with several mouse clicks from Microsoft Management Console. See https://webproxy.diladele.com/.
Foreword
In this tutorial we show how you can easily enable efficient and fast web filtering at your home, school or small company if you have a machine that runs Microsoft Windows 7/8 or Microsoft Windows Server.
Overview
As the basis for our solution we will use Squid Proxy Server and Web Safety.
Squid is an open source and well-known web caching proxy server supporting different protocols including HTTP, HTTPS and FTP. It helps reducing bandwidth by caching most frequently requested web pages and provides functionality for extensive access controls and content adaptation. Even though Squid is mostly supported for Unix platforms, its recent versions also support Windows (see this git hub project to get MSI installer for Squid on Windows - https://github.com/diladele/squid3-windows).
Web Safety for Squid Proxy is an ICAP web filtering server that integrates with Squid Proxy and provides rich content filtering functionality to sanitize Internet traffic passing into internal home/enterprise network. It may be used to block illegal or potentially malicious file downloads, remove annoying advertisements, prevent access to various categories of web sites and block resources with explicit/adult content.
The underlying platform that allows us to run Squid on Windows is Docker. This technology enables easy and self-contained build and deployment of applications on different operating systems. You can read more about it on its official site (https://www.docker.com/).
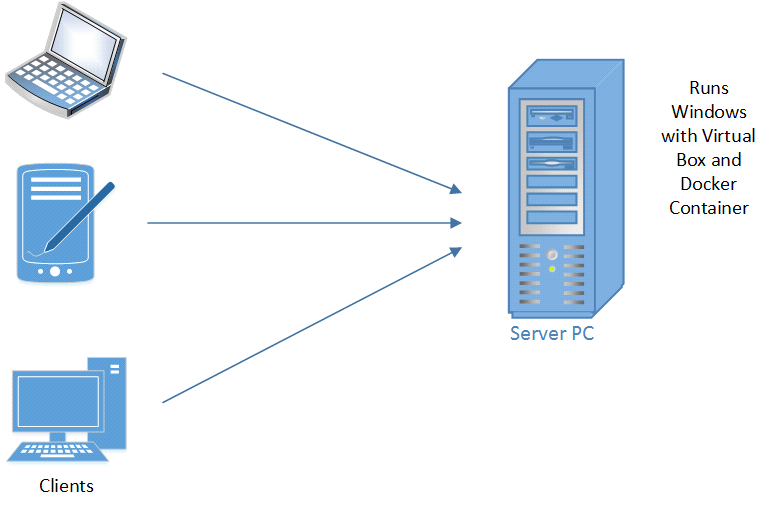
Our network setup is depicted in the figure below. We will setup an explicit filtering proxy on the Server PC and redirect client browsers on all devices in the local network to use it in order to access the Internet. We will filter both HTTP and HTTPS traffic.
How to configure filtering proxy
Prerequisites. Currently, Docker supports only 64 bit version of Windows 7 or 8 and corresponding Servers. So we expect this operating system to be installed on the server PC. You also need connection to the Internet.
Step 1. Go to the docker tool box page (https://www.docker.com/docker-toolbox) and click download (Windows) button. This will download the docker executable (size is approximately 200 MB).
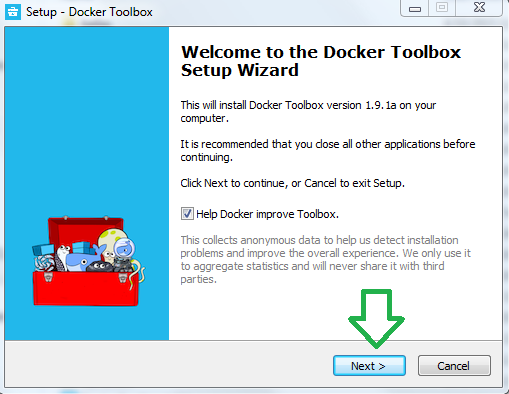
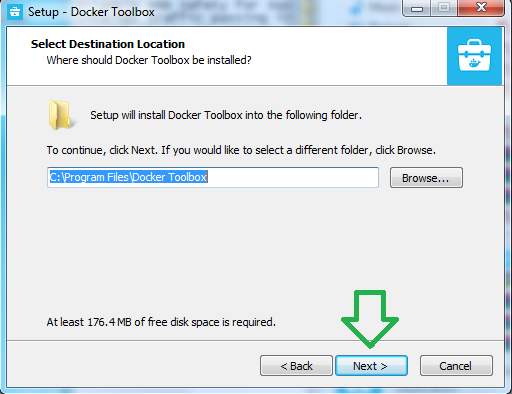
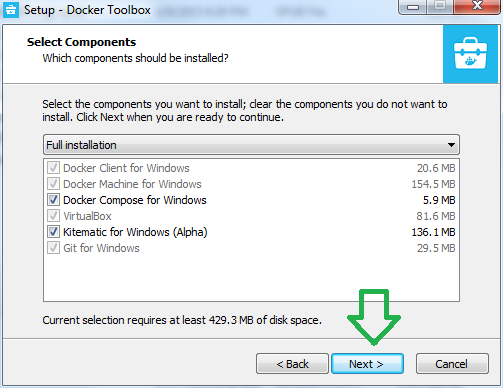
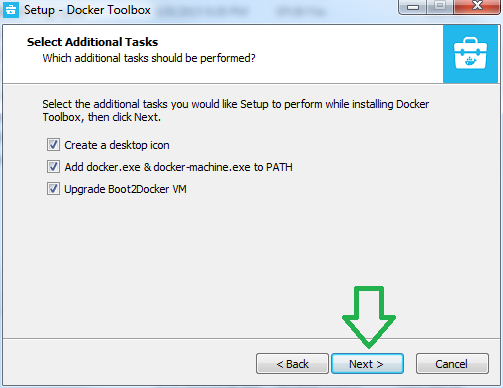
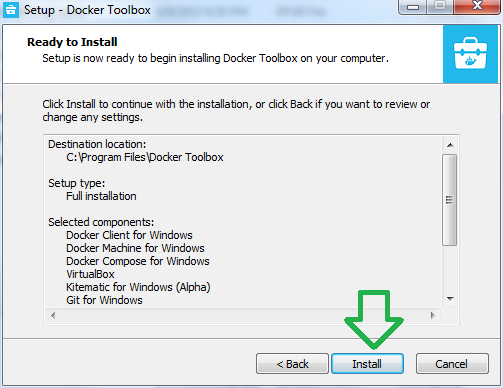
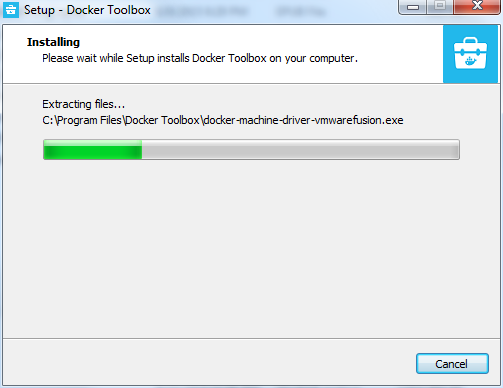
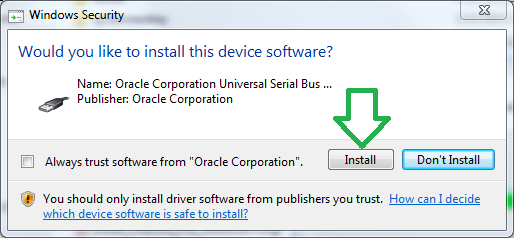
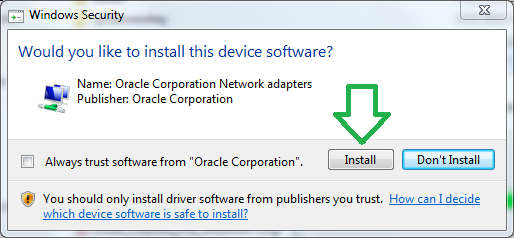
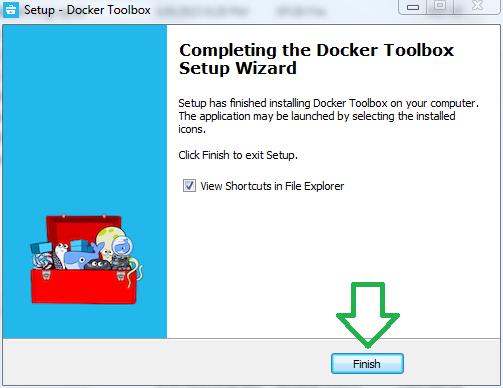
Step 2. Run the executable and click Next or Ok till the docker is installed (including Oracle Virtual Box):
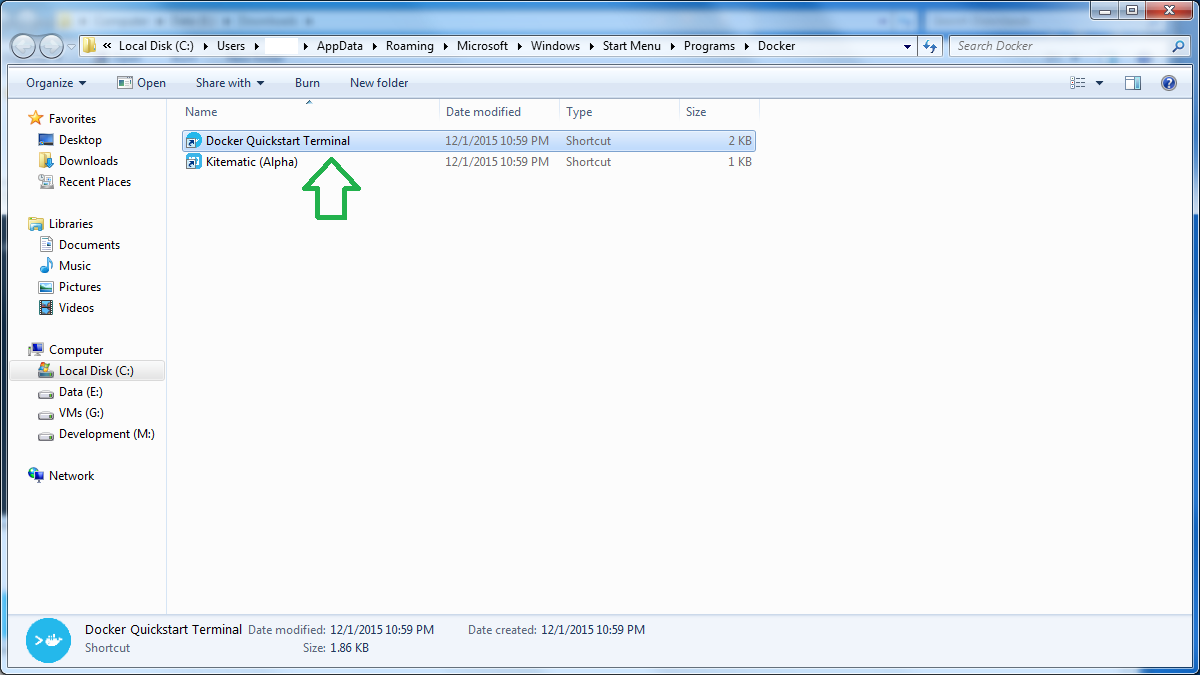
Step 3. When the Docker is installed, click on the Docker Quickstart Terminal (Start/All Programs/Docker/Docker Quickstart Terminal).
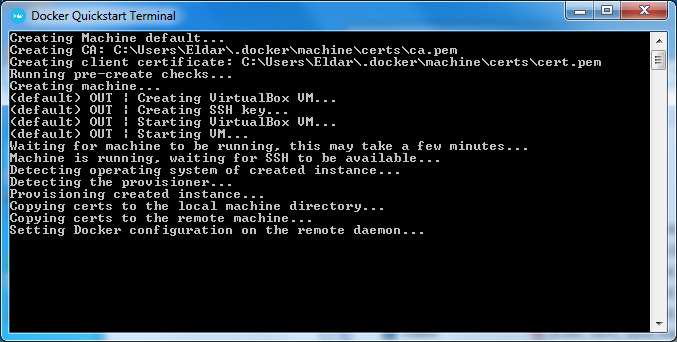
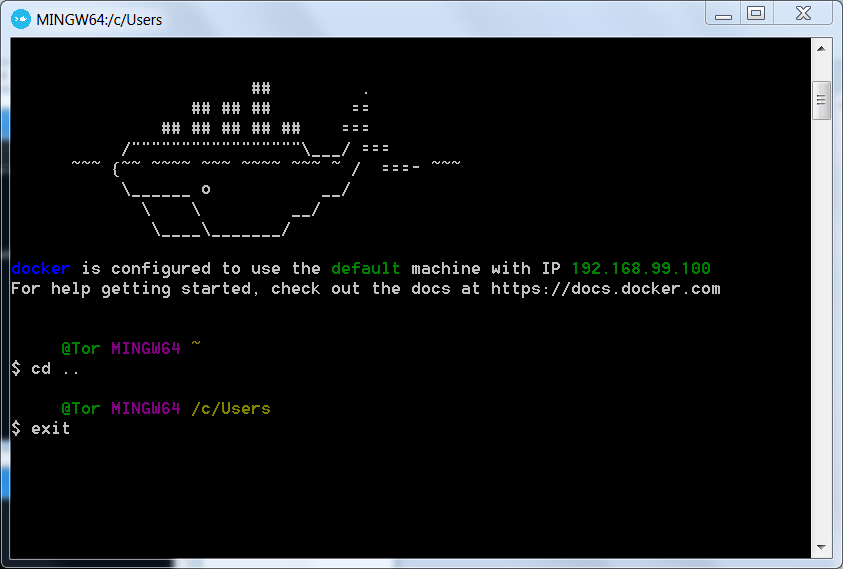
This will cause the initial setup of the default Virtual Box machine. When setup finishes you will be presented with Docker terminal:
Type exit and hit Enter:
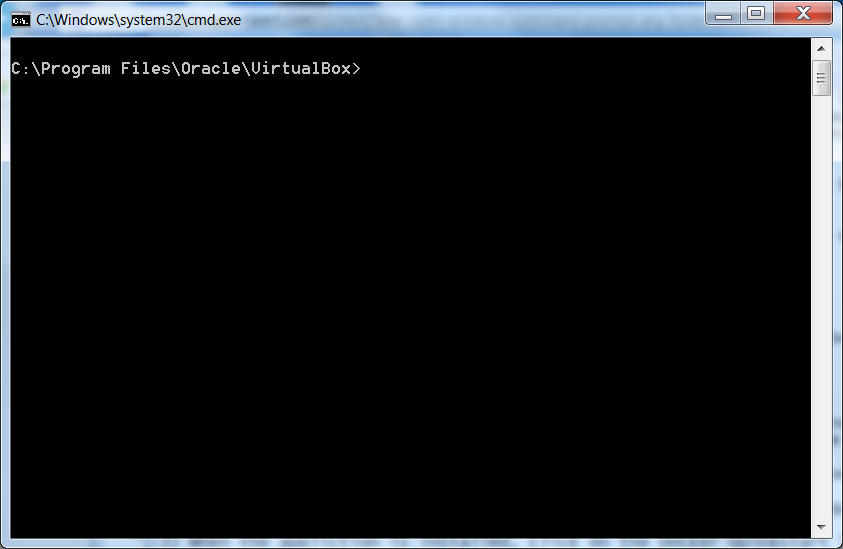
Step 4. Because docker is hosted in Oracle Virtual Box, we need to redirect open ports of our host computer (Windows) to the Virtual Box (Linux). Please Open file explorer where VBoxManage.exe resides (default location is here):

Then holding Shift right-click on the white area on the right. You will see a context menu. Please press “Open command window here”. This will start a command line in this directory:

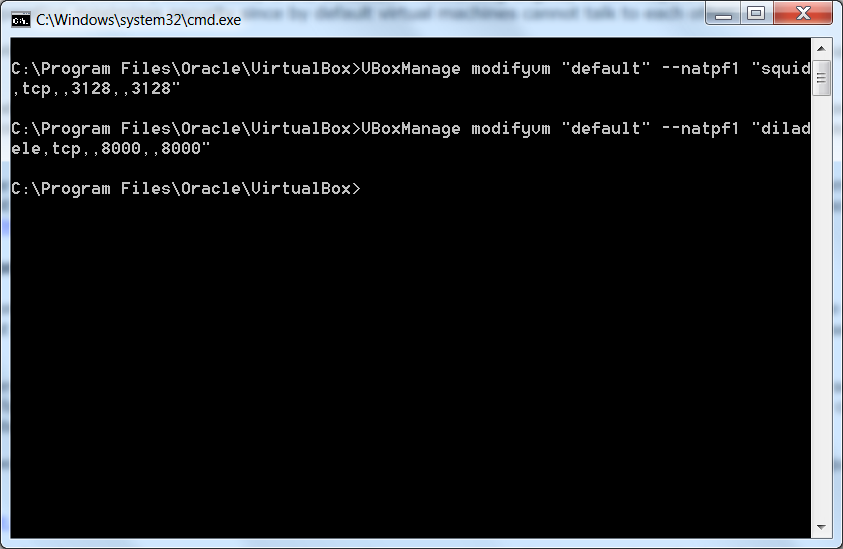
Run the following commands:
VBoxManage modifyvm "default" --natpf1 "squid,tcp,,3128,,3128" and Hit Enter
VBoxManage modifyvm "default" --natpf1 "diladele,tcp,,8000,,8000" and Hit Enter
This will redirect ports 3128 and 8000 on your Windows machine to the Virtual Box.
More details about this procedure can be found here - https://www.virtualbox.org/manual/ch06.html#natforward
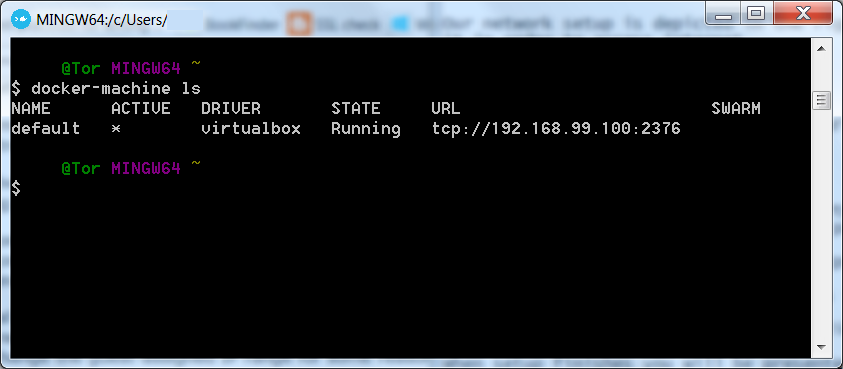
Step 5. Now open the Docker Quickstart Terminal again and type docker-machine ls. This should give you some information about your virtual machine:
Now we are ready to run Squid and Diladele. It can be done typing the following commands in the terminal and hitting Enter:
docker run -it --name websafety-config diladele/websafety:6.1 /usr/local/bin/firstrun.sh
docker run --name websafety -ti -p 8000:80 -p 3128:3128 diladele/websafety:6.1
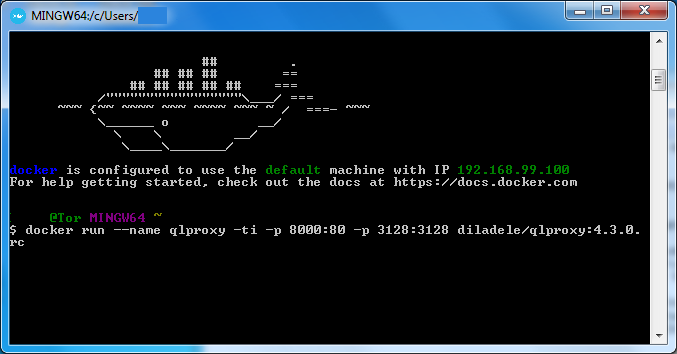
This command downloads the image from the Internet (involves quite some pull requests), so this can take some time. After that it starts all needed processes. The output should look similar to this:
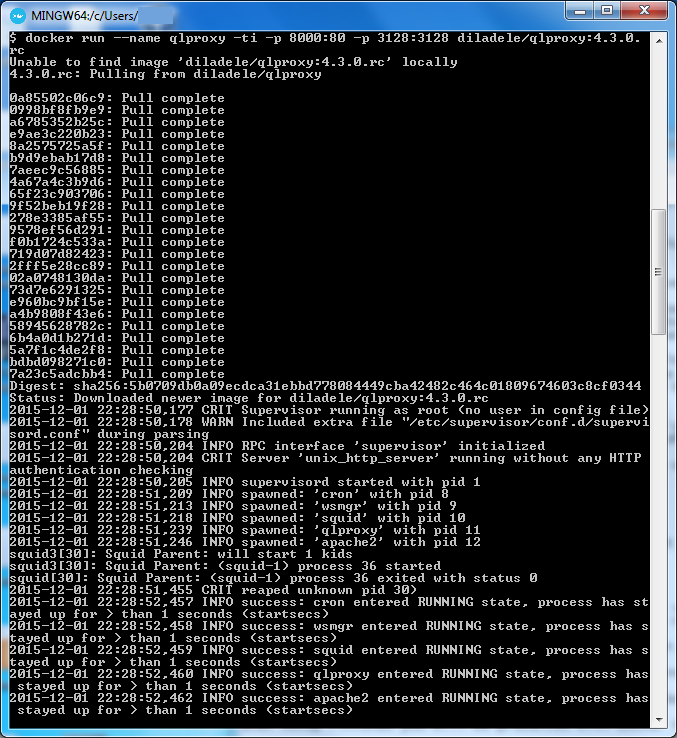
Now you have your server running.
Note
At any moment in time from another Docker Quickstart Terminal you can stop the running container using docker stop websafety or start it with docker start websafety. In order to remove the container, use docker rm -v websafety.
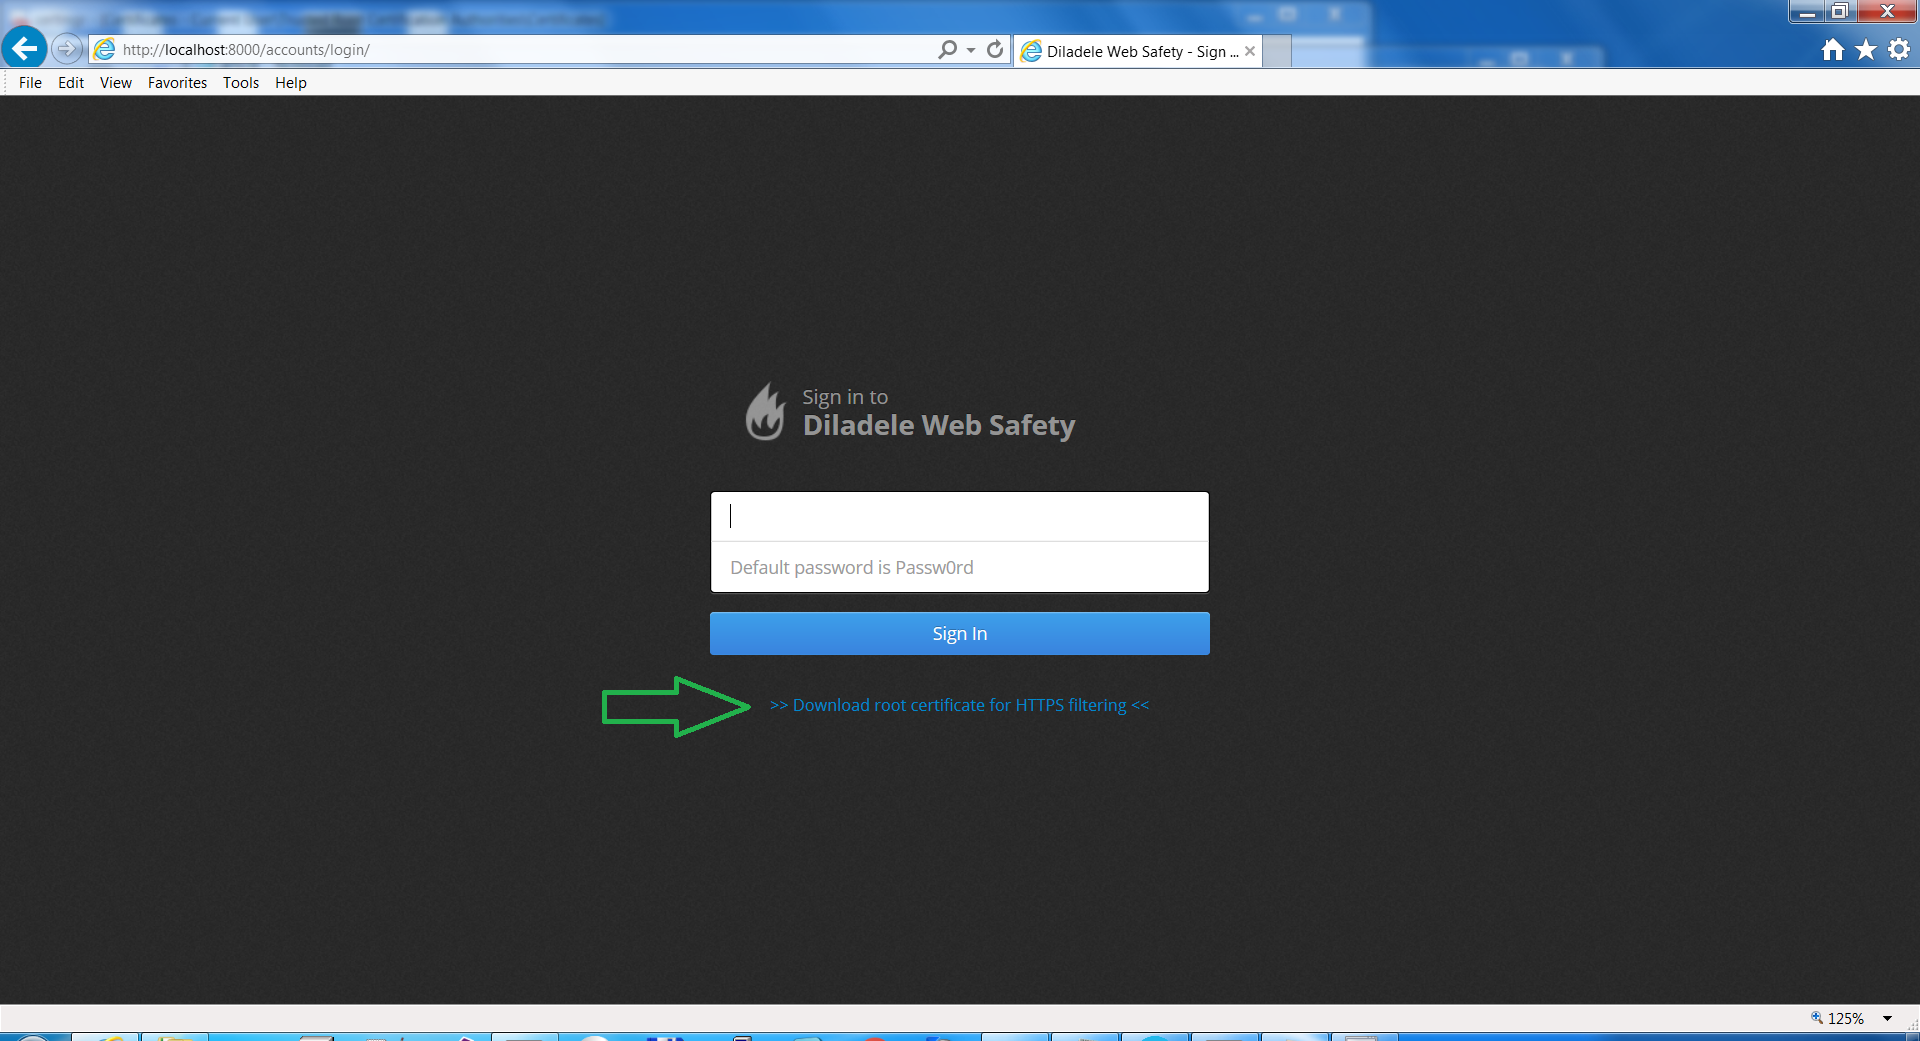
Step 6. Open Internet Explorer or some other browser and go to http://localhost:8000
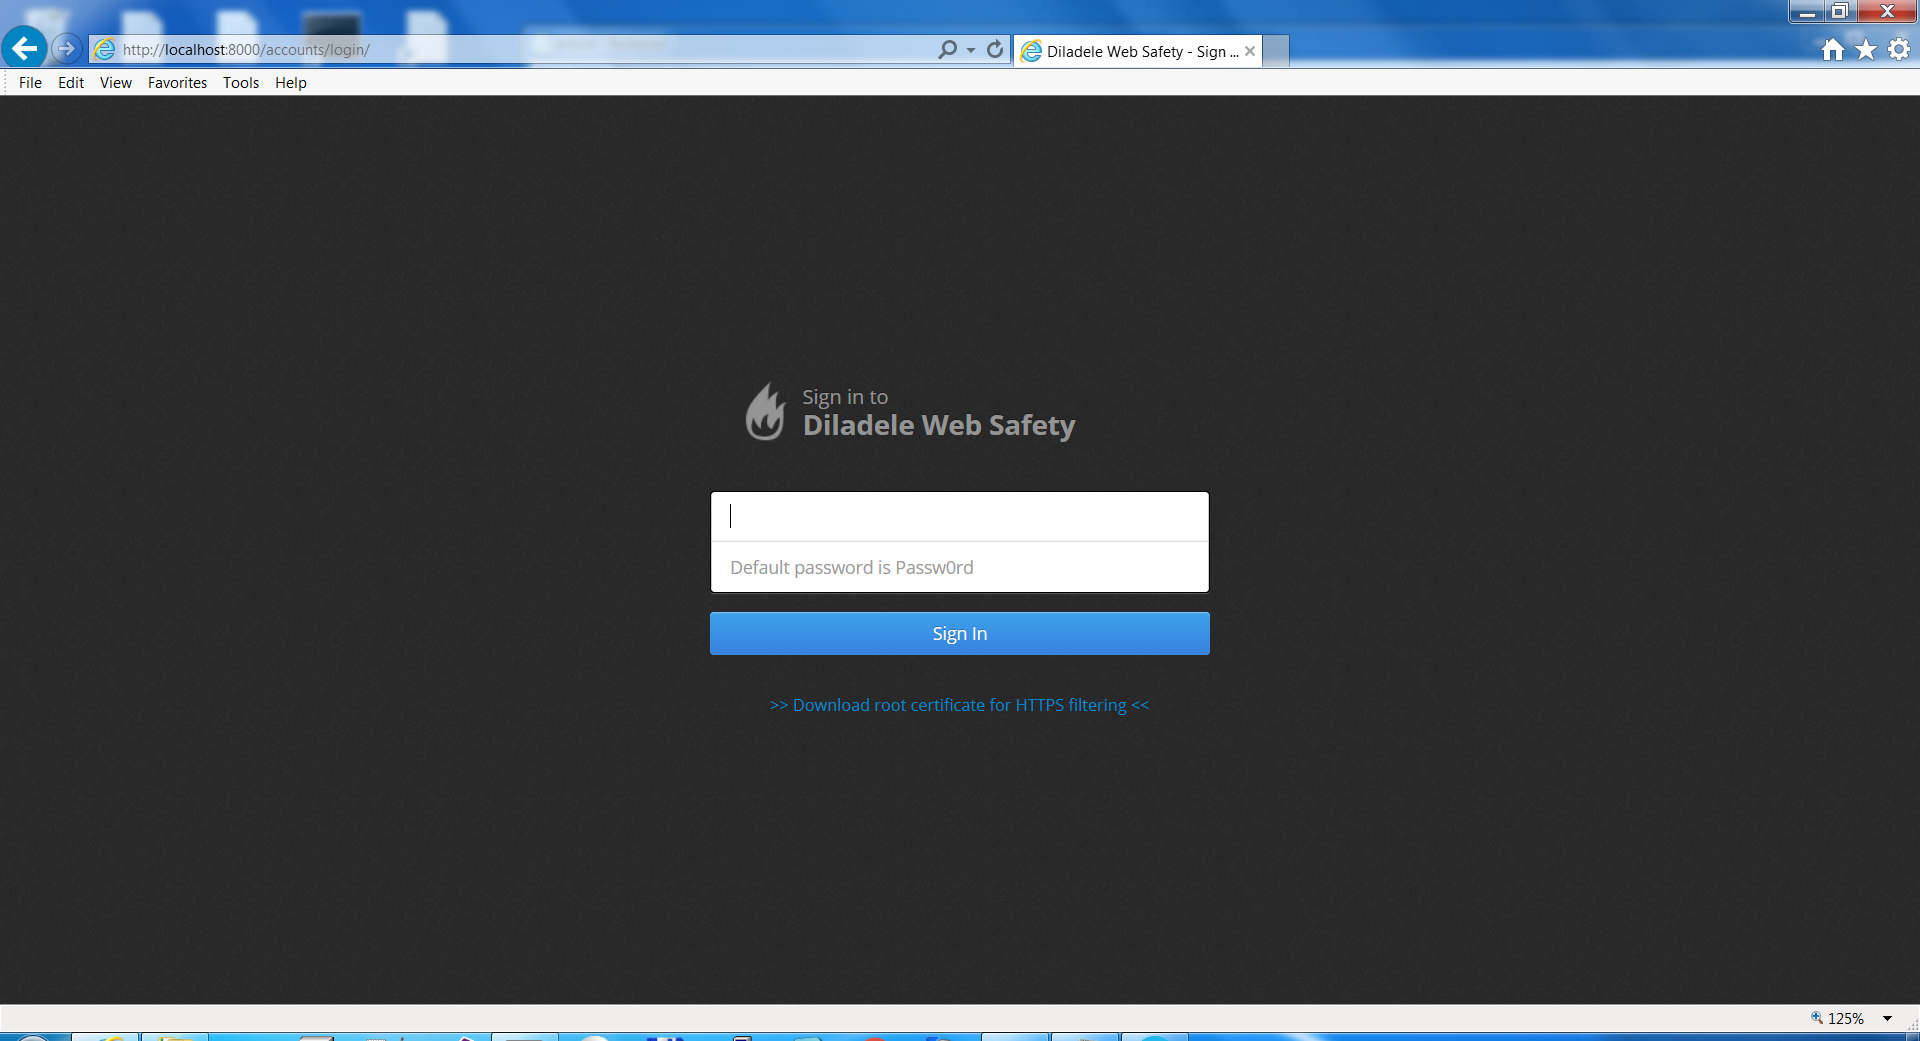
You should be presented with Diladele Management Console. Put root as login and Passw0rd as password (please notice zero “0”). Check that dashboard does not have any errors. You can use this console to configure your filtering rules and all types of policies. For more information please see Administrators Guide 9.1 (Stable).
We recommend changing the administrator password immediately.
How to configure client browsers
On your server, please open command line (Start->Type “cmd.exe” in the search box and hit Enter) and type ipconfig. This should give you ip address of you Windows host machine that we have to specify in the client browsers (in my case it is 192.168.0.160).
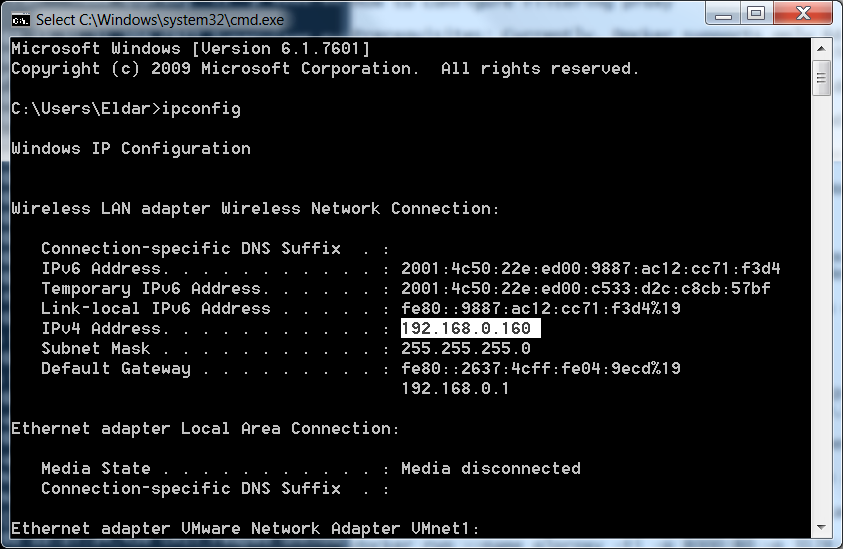
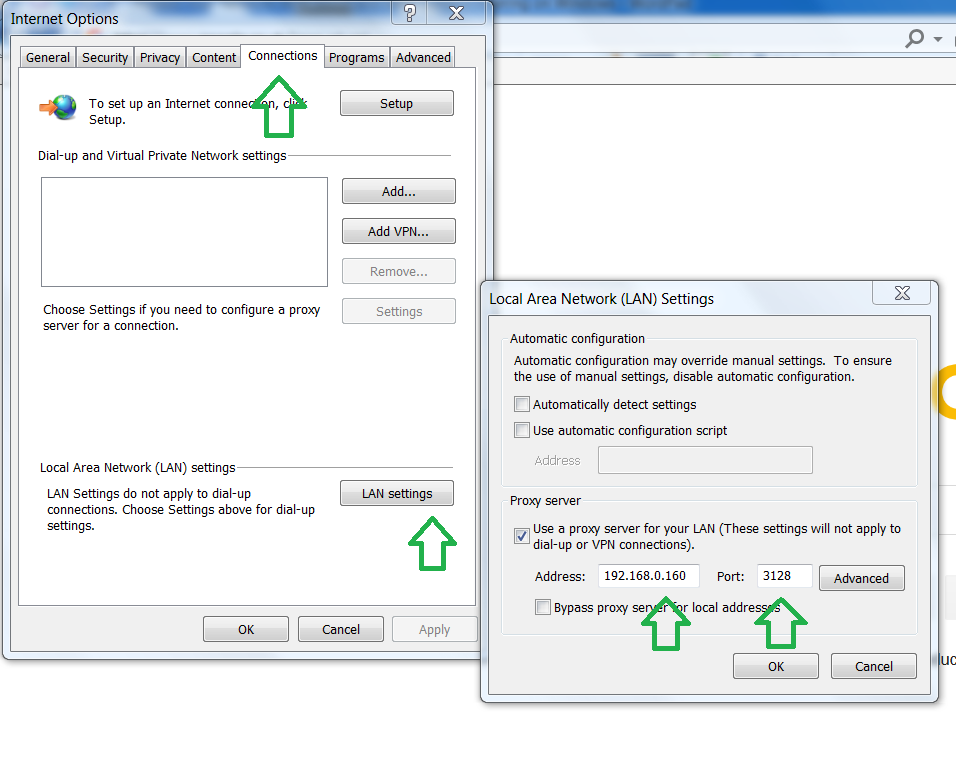
On the client machine open Internet Explorer (or any browser you use) and set the proxy to this the server IP address and port to 3128.
Note
Please make sure, if you have a firewall on your server machine, port 3128 should be opened!
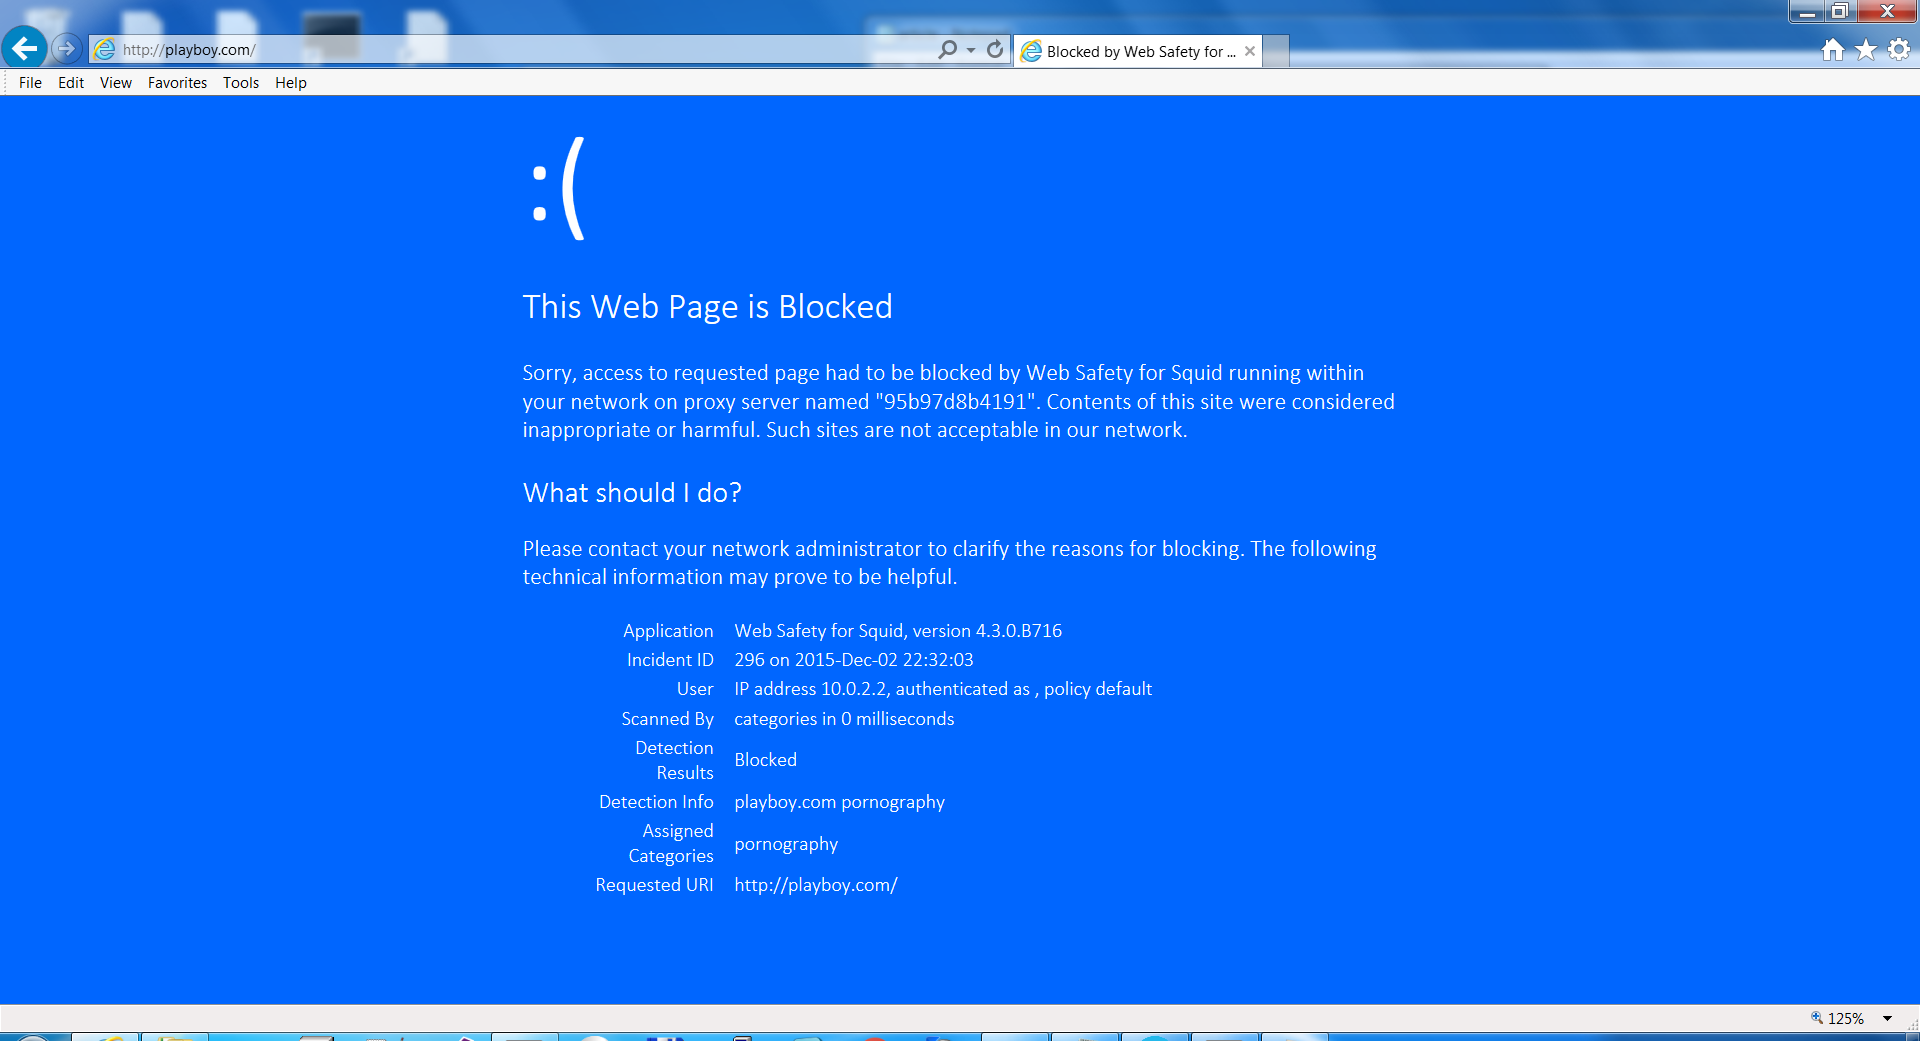
Now if you try to access some website with adult content you should see a blocking page:
Configuring HTTPS filtering
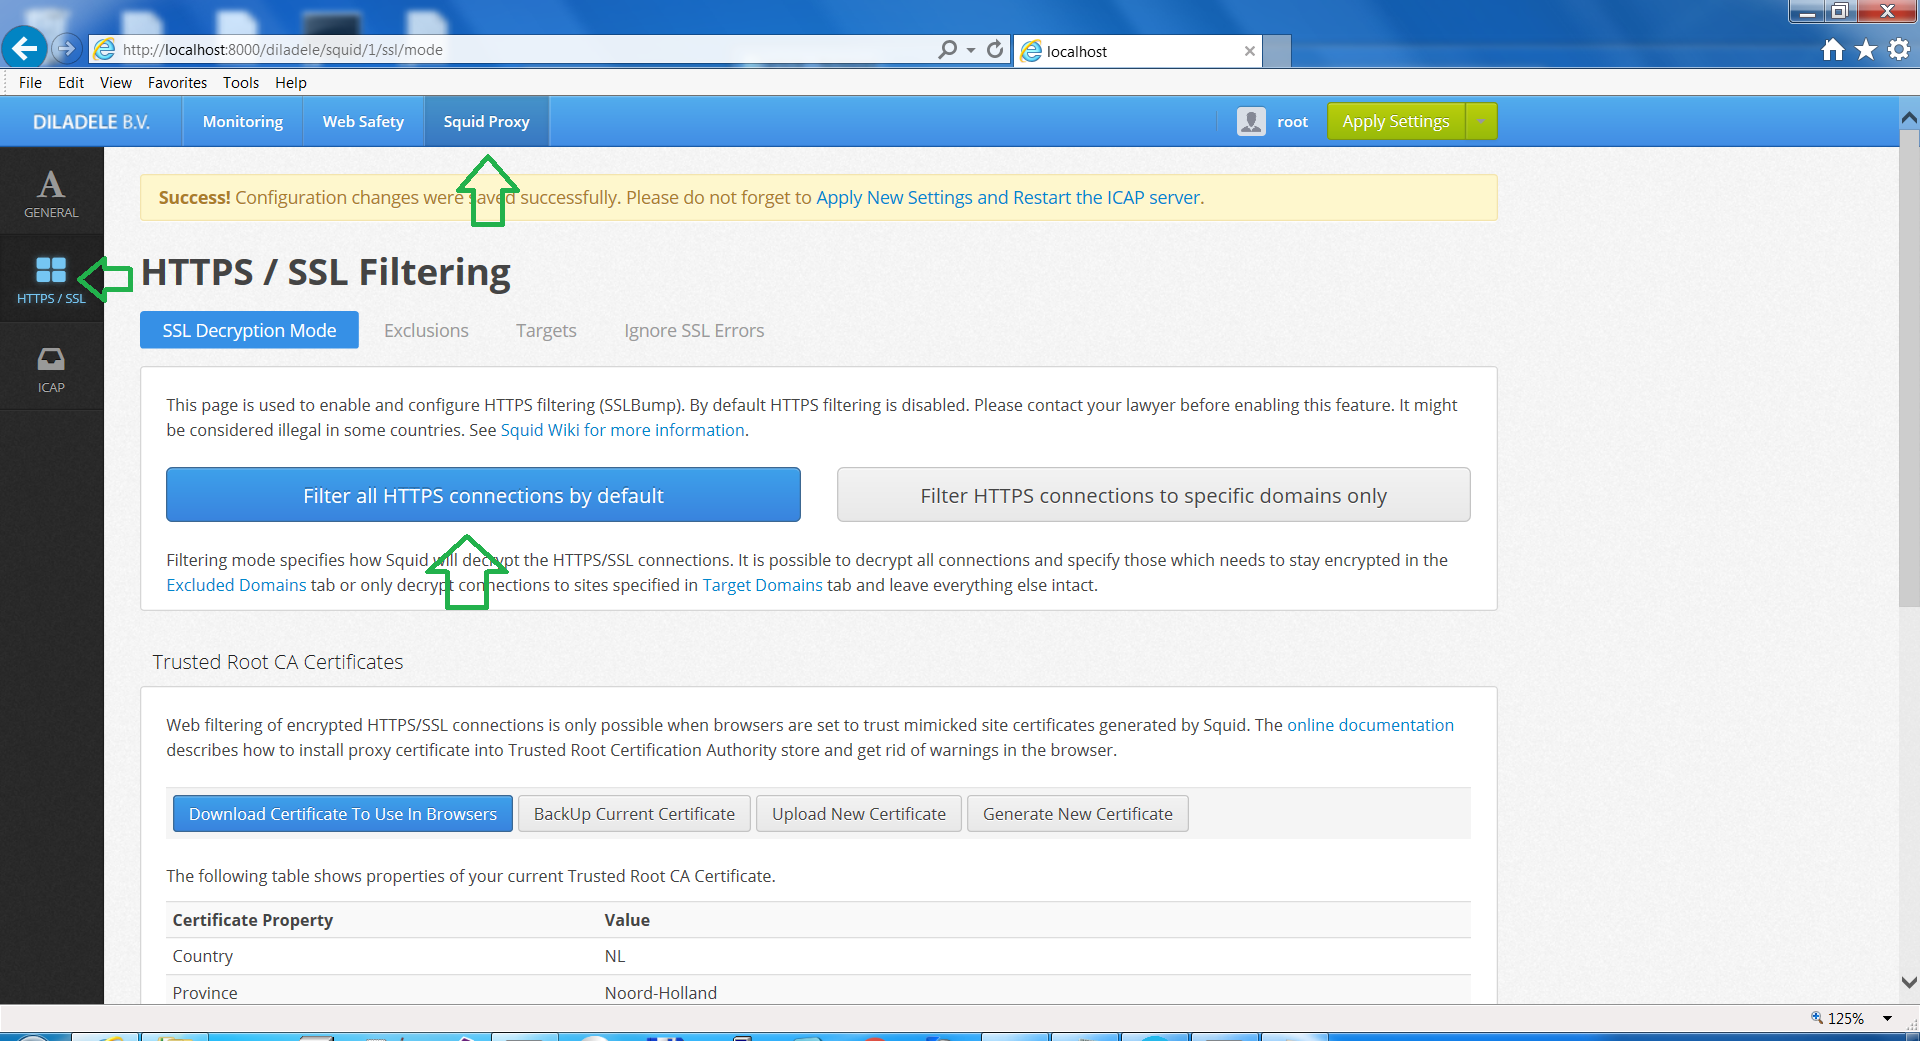
In order to enable HTTPS filtering (i.e. for Google Safe Search, YouTube, Facebook), please go to Diladele Management Console, then Squid Proxy (right top), HTTPS/SSL (left panel) and click “Filter all HTTPS connections by default”:
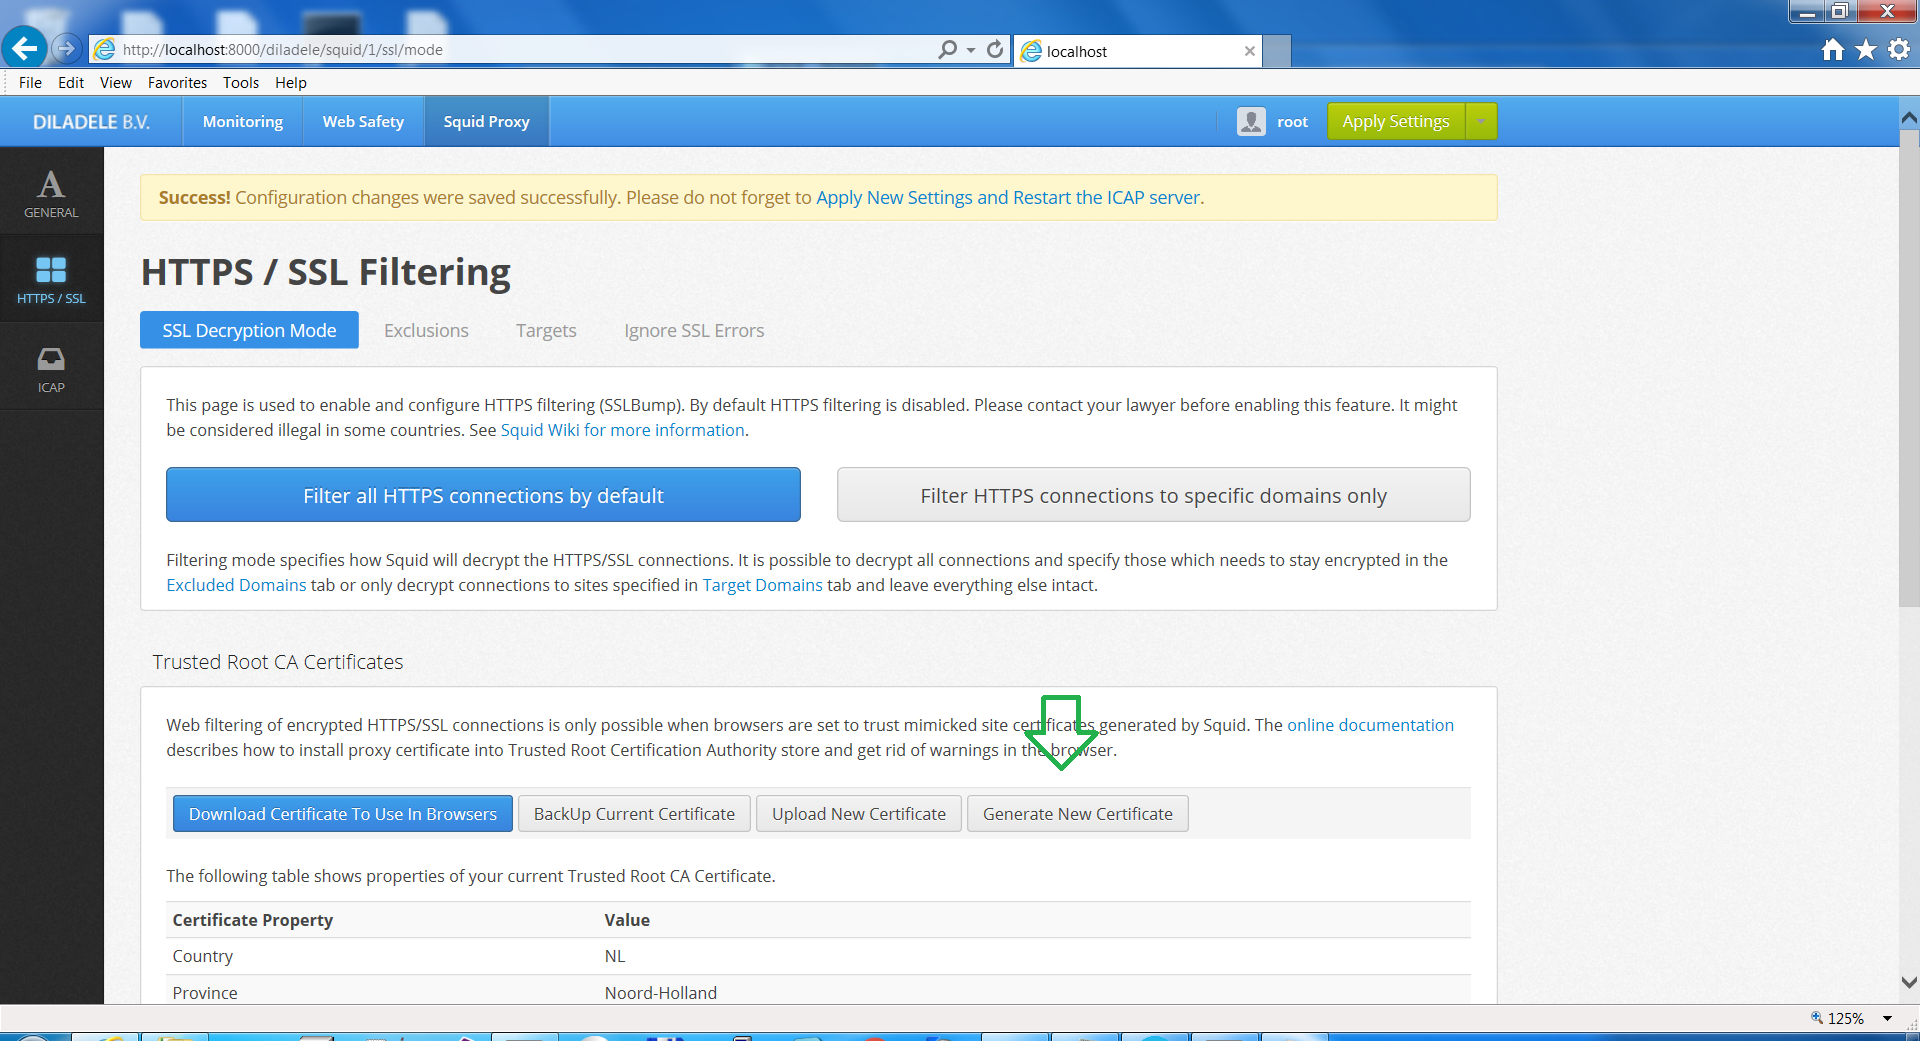
Click Generate new certificate, fill in your data and press Generate Certificate. This will generate a self-signed certificate that can be used by the clients in order to use HTTPS without warnings.
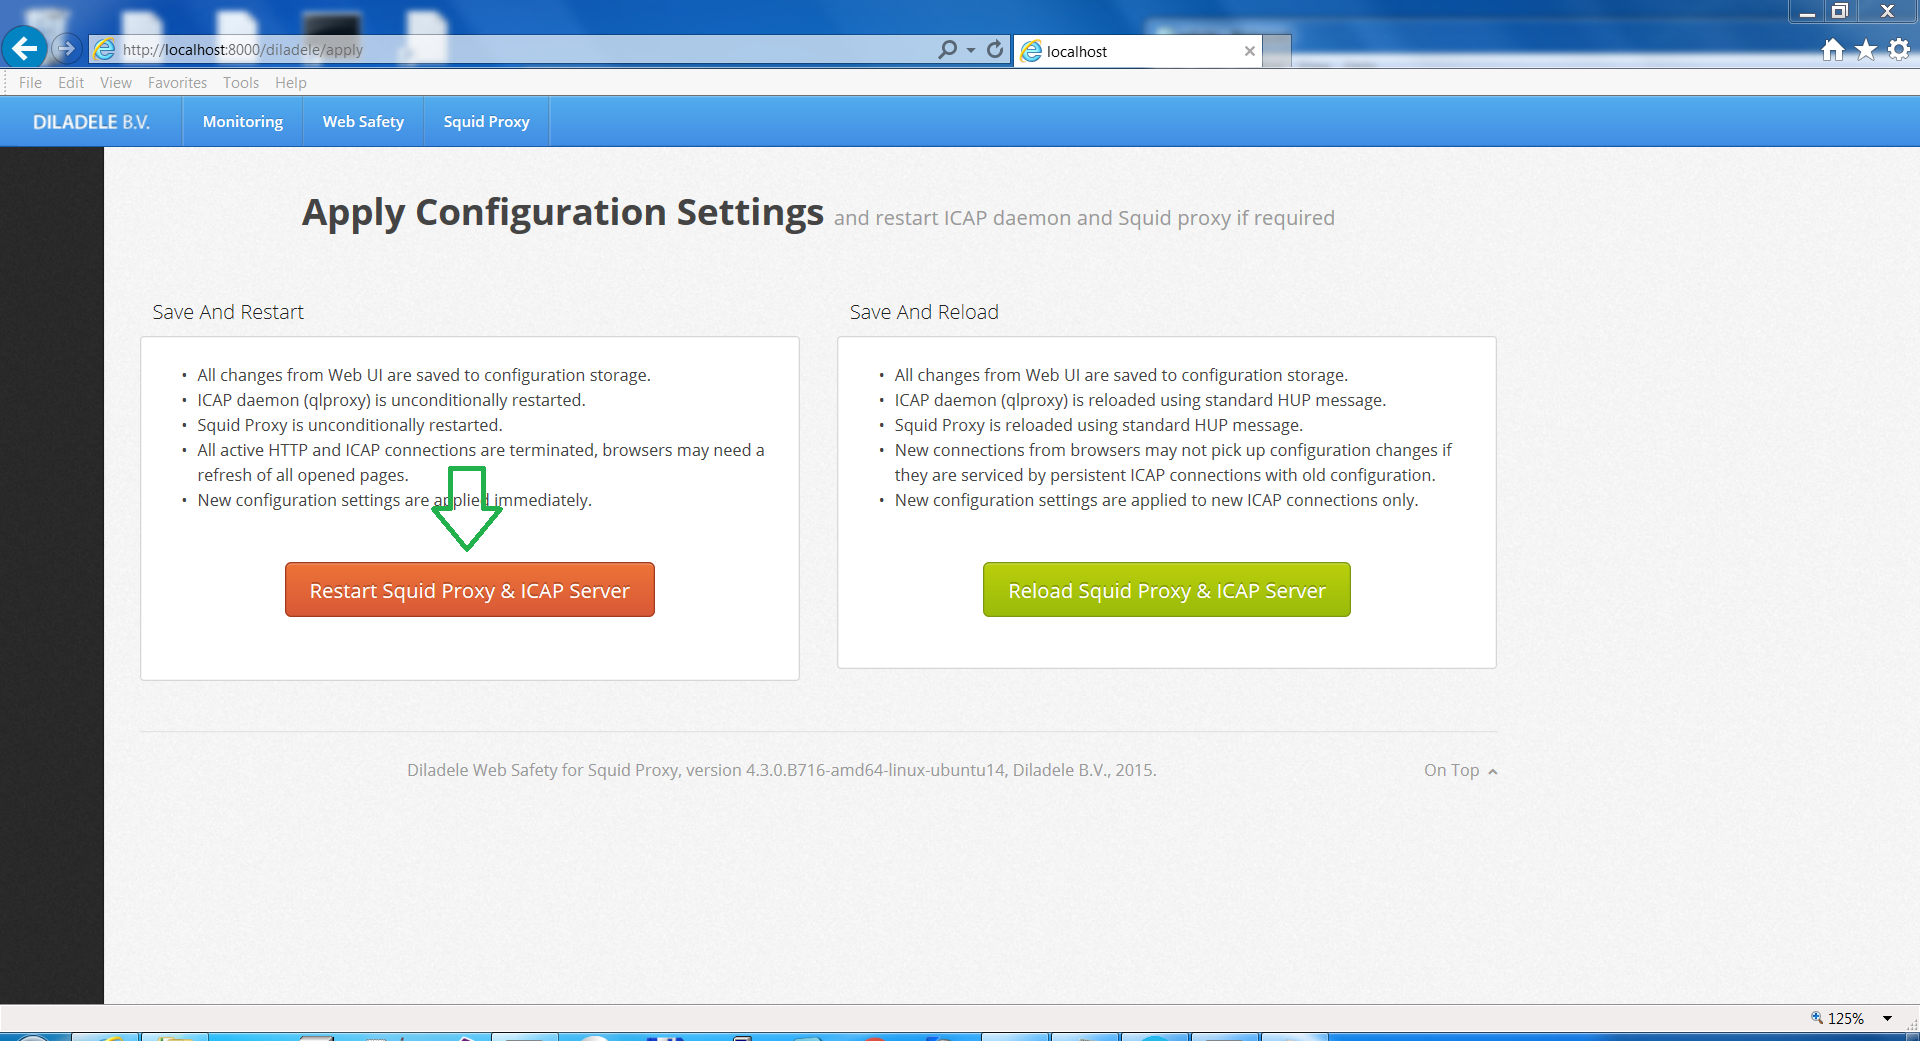
Then click “Apply New Settings and Restart ICAP Service”:

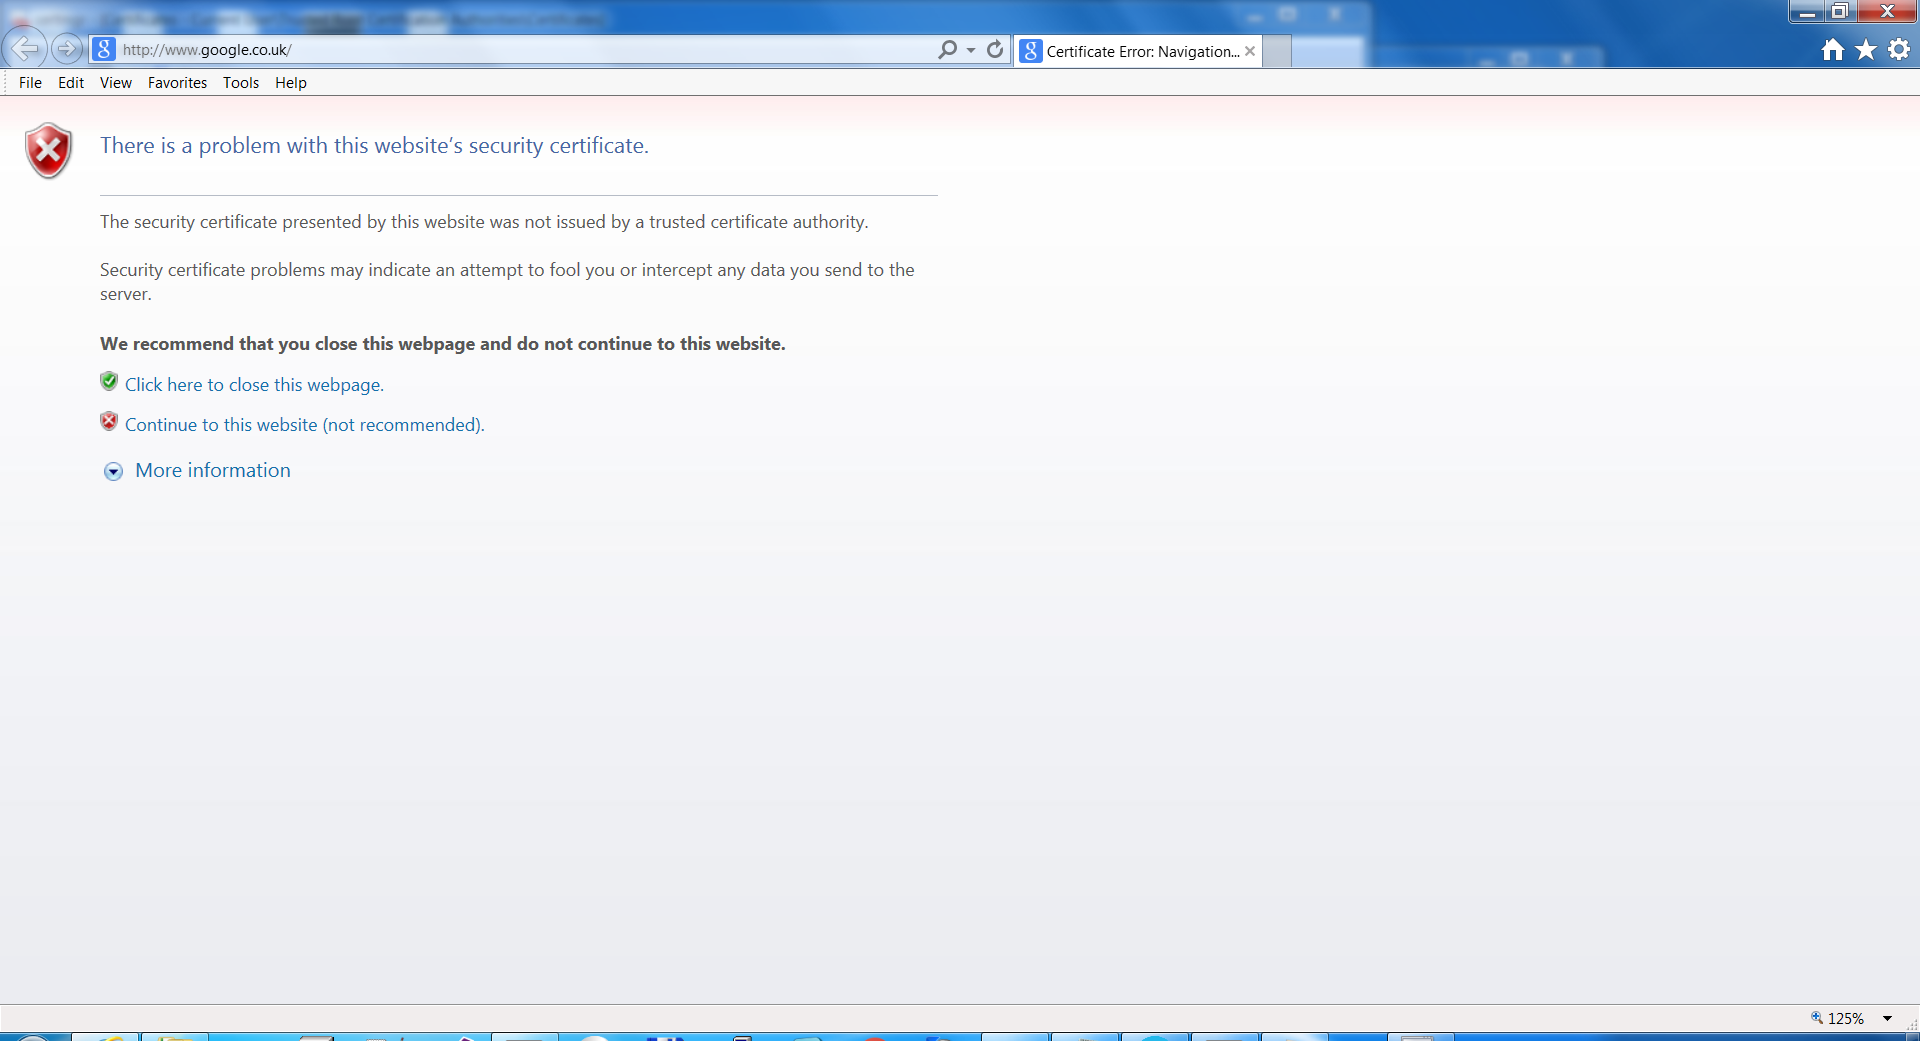
If you try opening Google on the client machine you will see a warning that certificate is not trusted (you can read how HTTPS filtering works in more detail here - HTTPS Filtering.
To get rid of it, we have to install our generated certificate on the client machine. Go to the Diladele Management Console and download the certificate.
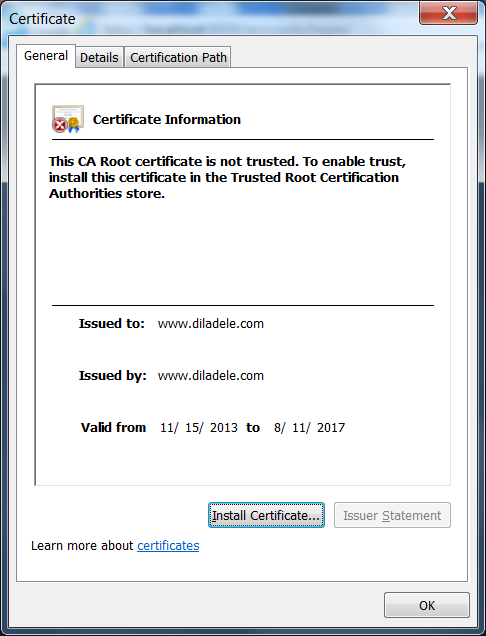
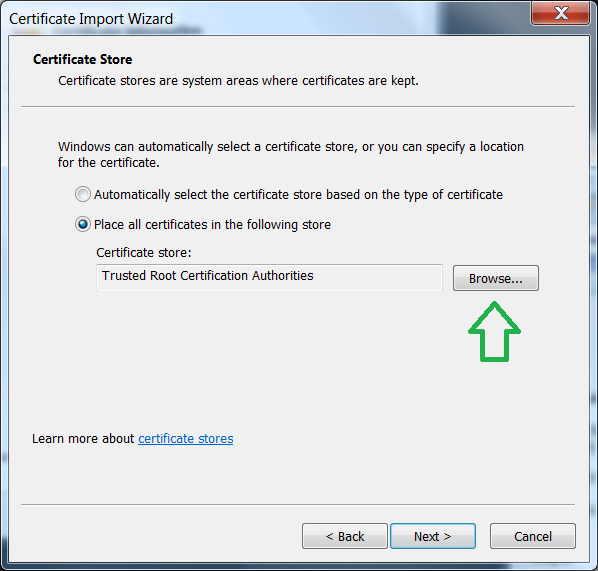
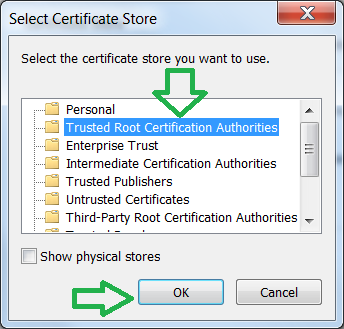
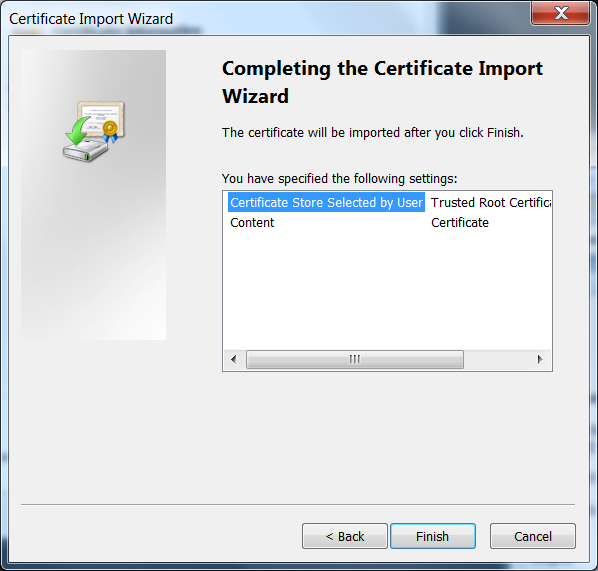
Double click it and install in the Trusted Certificate Store:
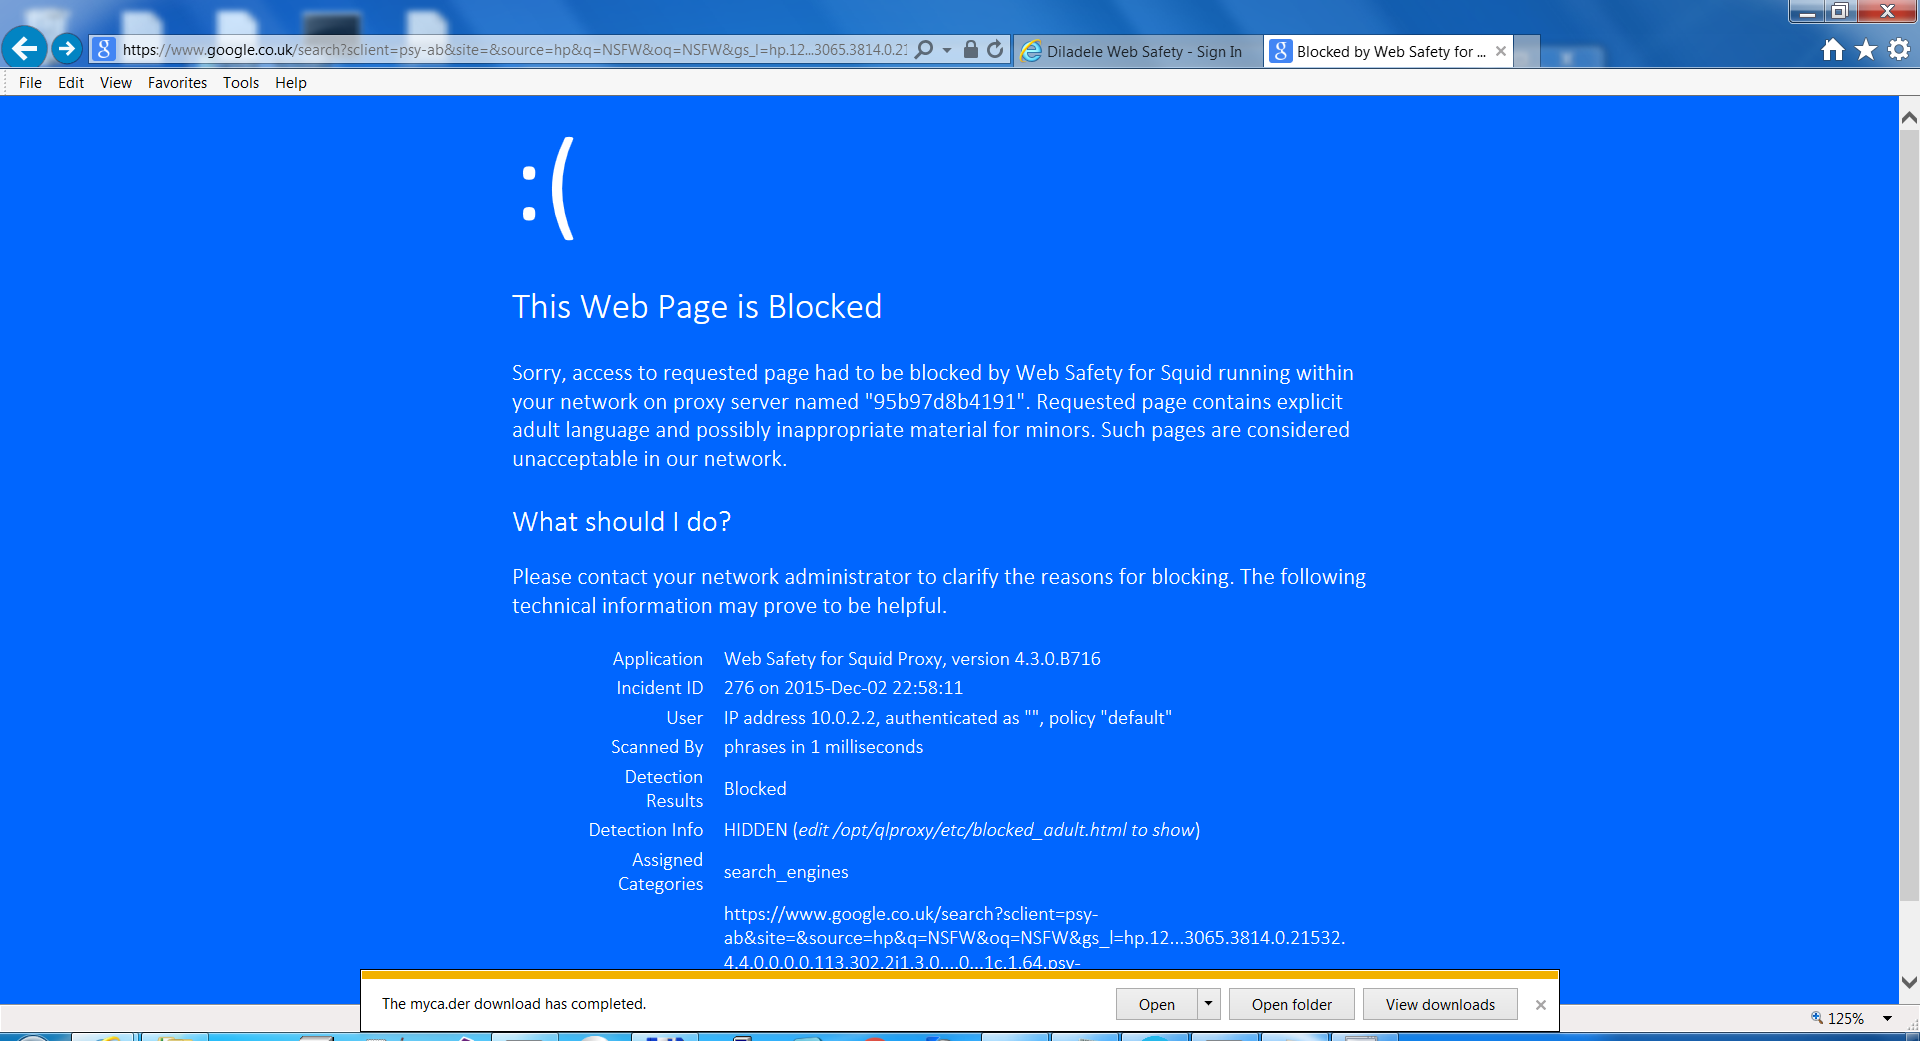
Now if you go to google there should be no warnings. Try searching for NSFW term - it should be blocked and lead to the following page:
Conclusion
Thus, we successfully enabled filtering of HTTP and HTTPS on the local network.
Notes
If Squid blocks your access to port 3128 - you should add your network to the /etc/squid3/squid.conf or check your firewall settings.
If your browsing is slow there are two possible problems:
DNS is not set correctly by docker; run
docker exec -it websafety /bin/bashand see what is in/etc/resolv.conf. You can try specifying your local DNS or only8.8.8.8.Docker is simply too slow for your setup - then we recommend either downloading full virtual appliance here (https://www.diladele.com/download.html) or switching to proxy server to Ubuntu ../../administrator_guide_stable/install/ubuntu20/index.